Back to the Basics, Sewing a Pink Floral Dress with Shoulder Ruffles
If you’ve followed my content for some time, you might know that I usually create cosplay or costume-related items. However, I've recently noticed so many cute dresses in online advertisements and in stores I pass by. It seemed like fate when I was at Joann’s, buying fabric for a Renaissance faire project, and saw a super cute pink floral fabric. It was very soft, 70% off, and had a lovely drape, so I picked up about 4 yards, figuring that would cover any future ideas. I have an entire album on my camera roll full of cute dresses I want to make, so I decided, why not? I’m sure we all see many cute things we want to buy but practice some self-restraint not to.
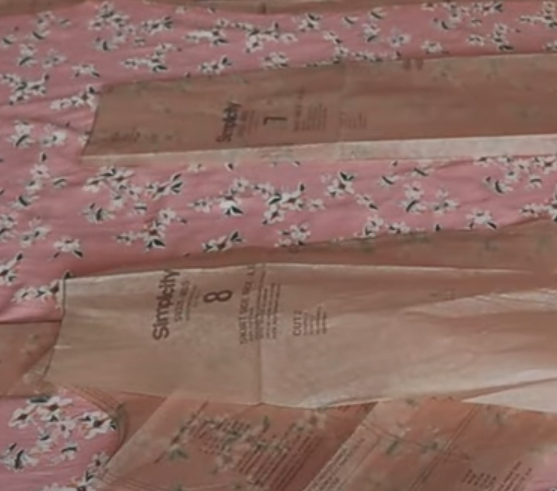
I happened to have a pattern lying around already—actually, several that would work—but I chose a simple one with some ruffle details at the shoulder. One of my favorite things to do every Black Friday is to buy patterns online. Simplicity patterns usually all go for $1.99, which is how I obtained this one. Because of this pattern-buying habit, I also have many other unused patterns that need attention. Hopefully, that attention will come soon!
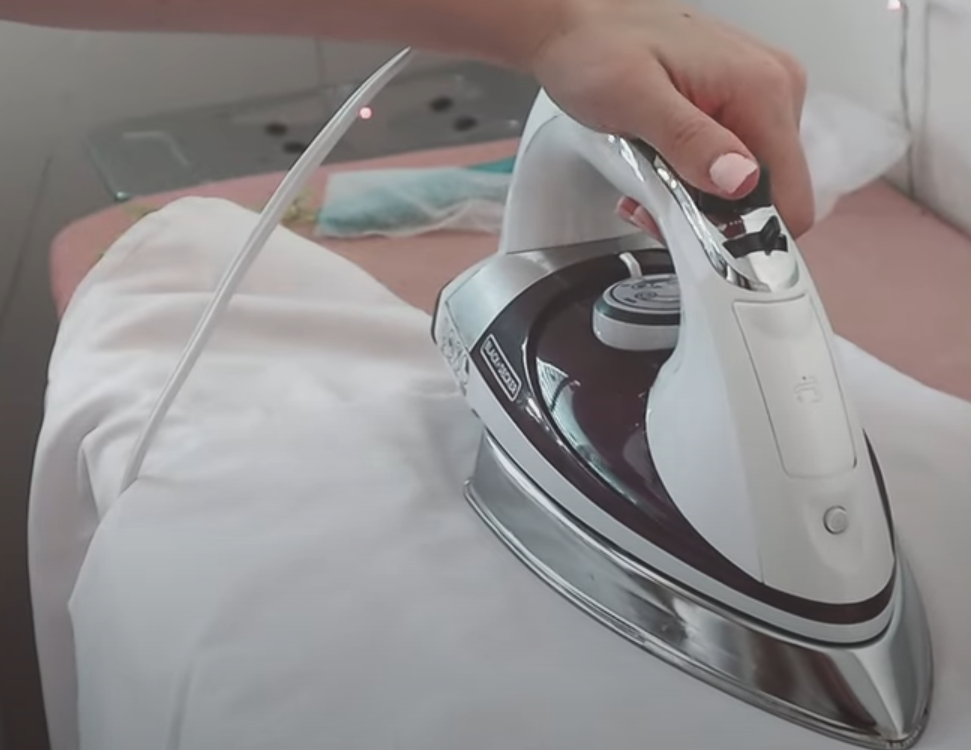
Regardless, I cut out the pattern and then cut both the lining fabric and the main fabric. The pattern did not intend for the skirt portion of the dress to be lined, but my fabric was a tiny bit sheer, so I lined the entire dress. Even if it weren’t sheer, I always enjoy a lined skirt; it adds volume and an odd feeling of security, like safety shorts but not quite. I do wish I had added more structure to everything, such as interfacing in the bodice. I’ve now washed it twice, and while it holds up, it would require much less ironing if I had thought that through.
Assembling the dress started with overlocking every edge with my serger. This is a personal preference passed on to me by my costume design teacher. Some people prefer to overlock edges after the initial sewing. However, I like to press my seams open, which would not work with overlocking an edge post-sewing. Overlocking before sewing also prevents fraying edges as you sew. This wasn’t a problem with this material, but with many fabrics, such as satin, fraying can be an issue.
The skirt was the first piece to be assembled. I put together each piece after laying it out, then pressed each seam. The same process was done with the lining, but I didn’t attach them immediately. The bodice was assembled in the same way and then sewn to its lining and flipped inside out. Honestly, I find the physics of flipping a lined bodice around to be mind-boggling—it just works, and I have no good explanation for why, no matter how many times I see videos on loop. Once the bodice was flipped right side out, I attached the bodice lining to the skirt lining and did the same with the outer layer.
This project wasn’t a quick 8-hour one because after the initial try-on, which isn’t in my video, I realized it fit poorly. The pattern size 12 measurements matched mine, but there was so much room. So, I took apart some areas in the waist and underarm to tighten by about 2 inches using darts. Those two inches made a massive difference, and then I had a good fit, so I put in the zipper. I’m so happy I’ve recently mastered invisible zippers; zippers were the bane of my existence for way too long. Then, I had a cute dress for work the next day! Thanks for reading, and if you haven’t already, please take a look at my media.


