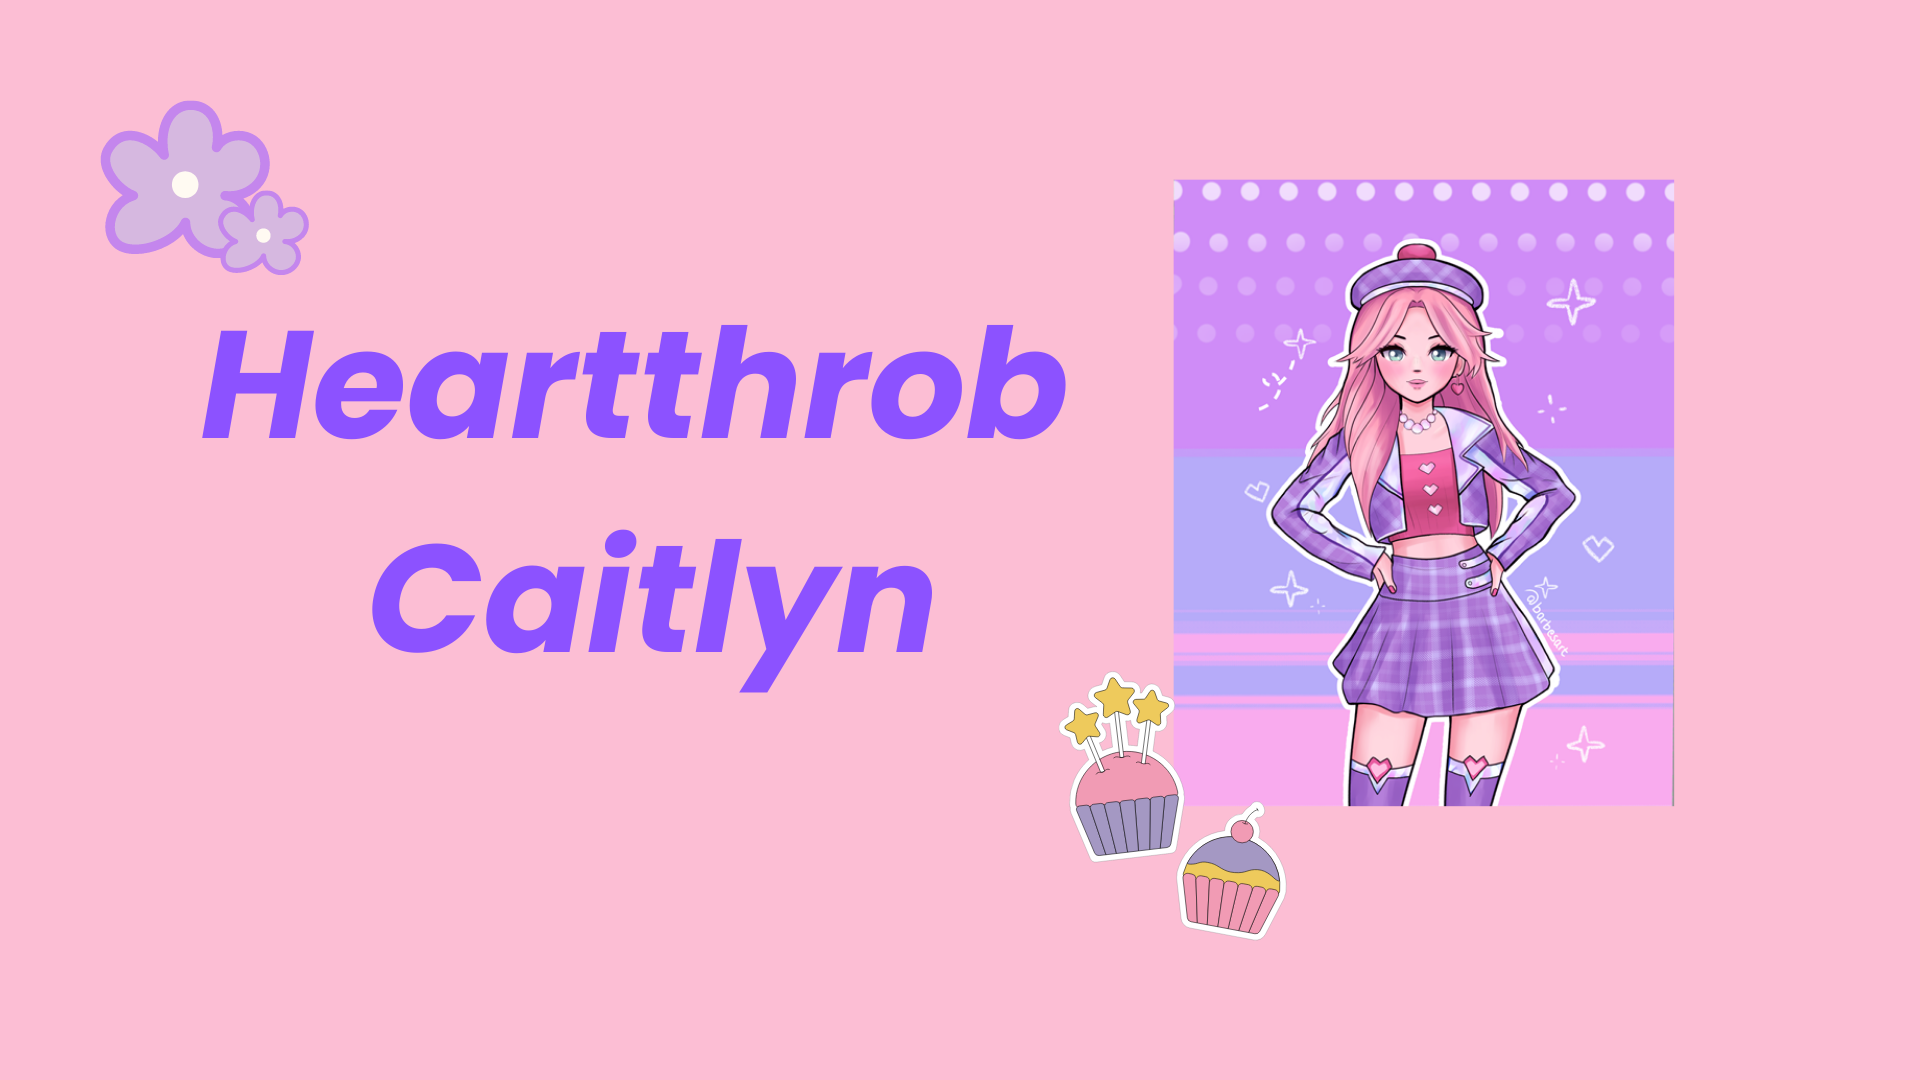
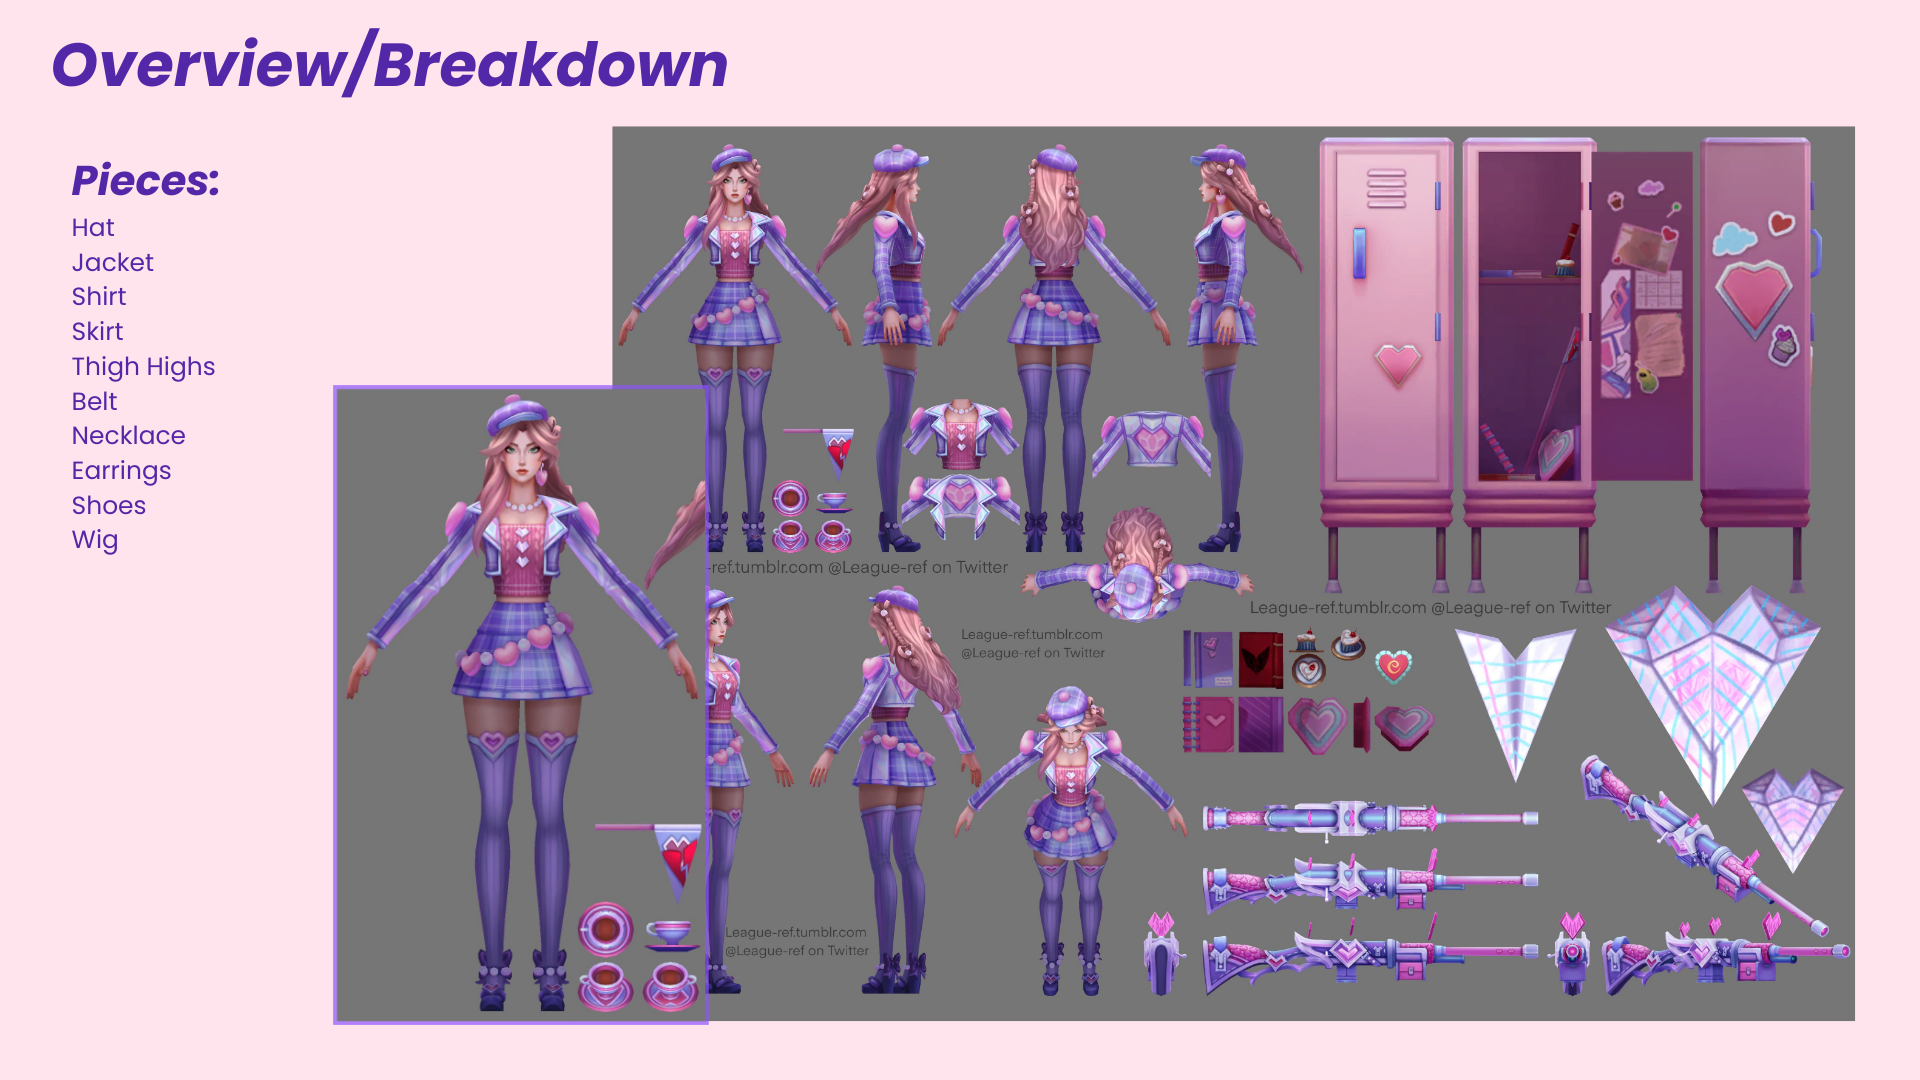
Making the heart throb Caitlyn Cosplay
This cosplay is one of Caitlyn’s skins from League of Legends. When I saw this skin I thought it was absolutely too cute for me to not make while I was in a stage of trying to decide on my next craftsmanship piece. Below is my work process.
Project Planning


pATTERN cREATION
The BlazeR
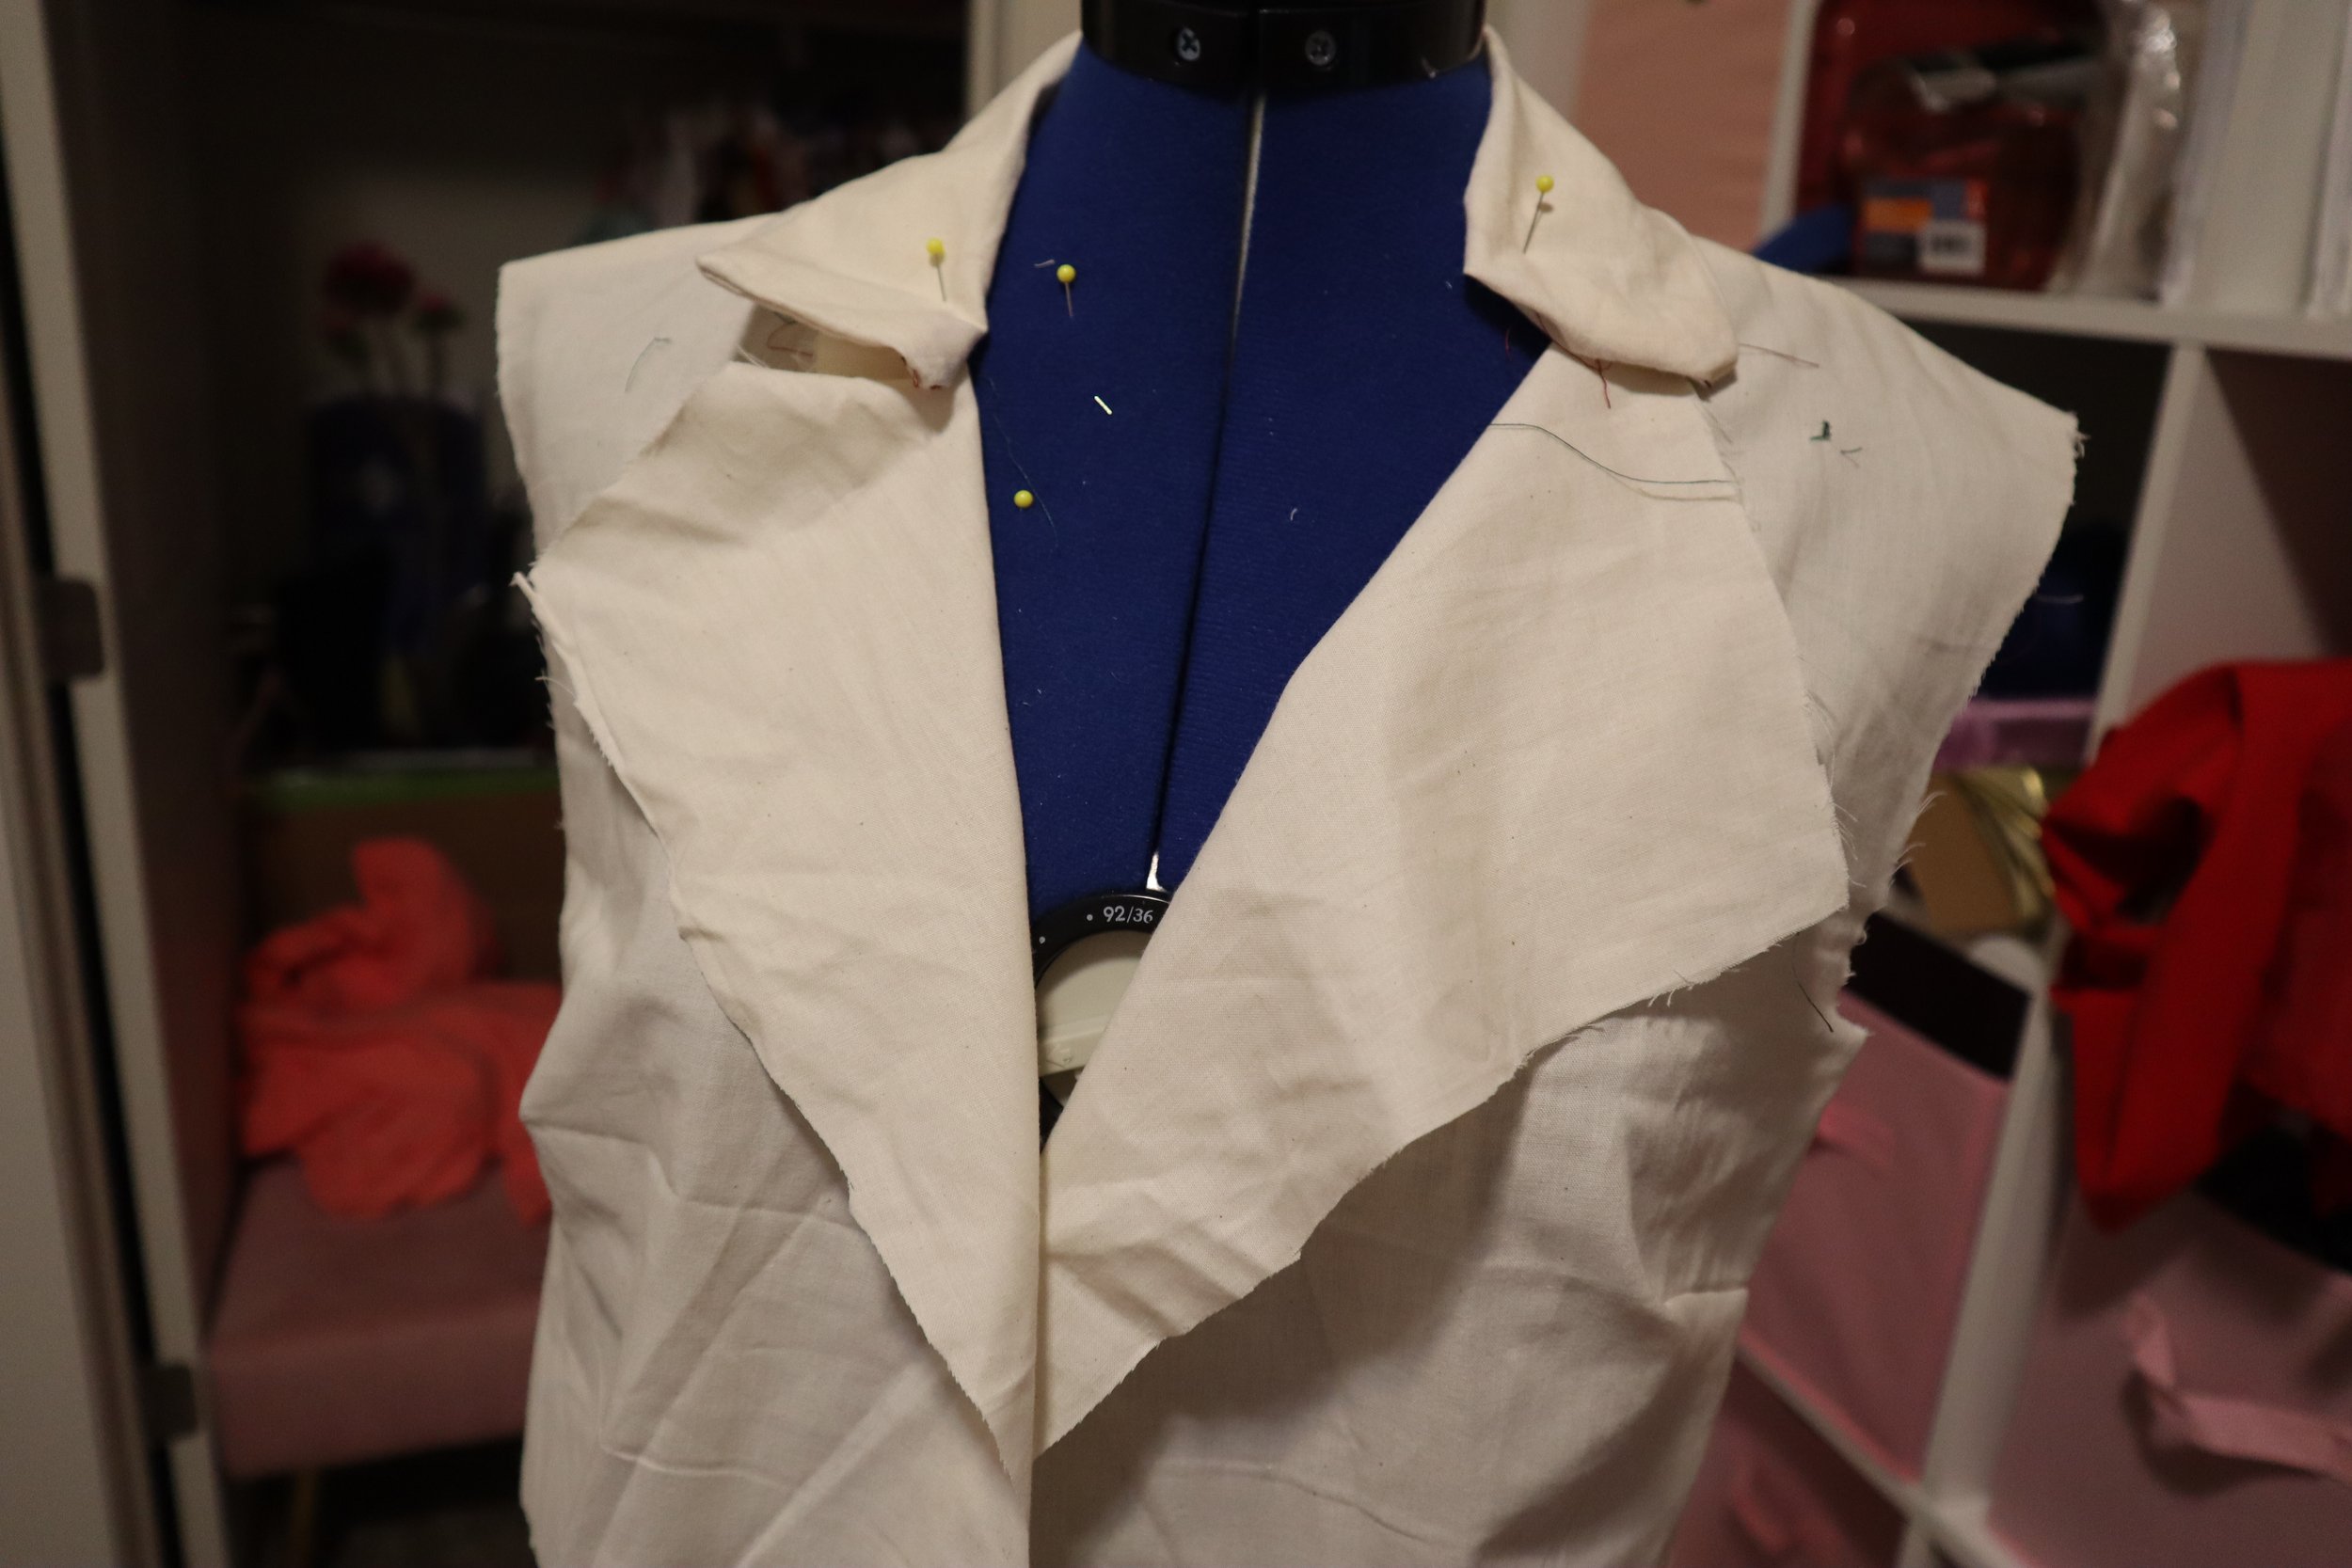
Starting the project off I decided my first mockup would be based off of the pattern “Mccalls M7141” since it includes a blazer and skirt pattern (both of which needed for this cosplay. I followed the blazer part of this pattern then while the muslin version was on my dress form, I cut into it to crop it.
Then, I realized that the blazer didn’t quite look right in the collar area. I decided to remake the two front pieces to get the style of collar seen in Caitlyn’s outfit.
Then, I realized blazers entirely and completely confused me. If you don’t know me, I adore making skirts and dresses. They are my strong suit. Something just wasn’t clicking in how a blazer goes together. It was mainly how the lining works with the outside layer. I found a super helpful video that made it click for me though after a solid 2-3 hours of scrolling YouTube.
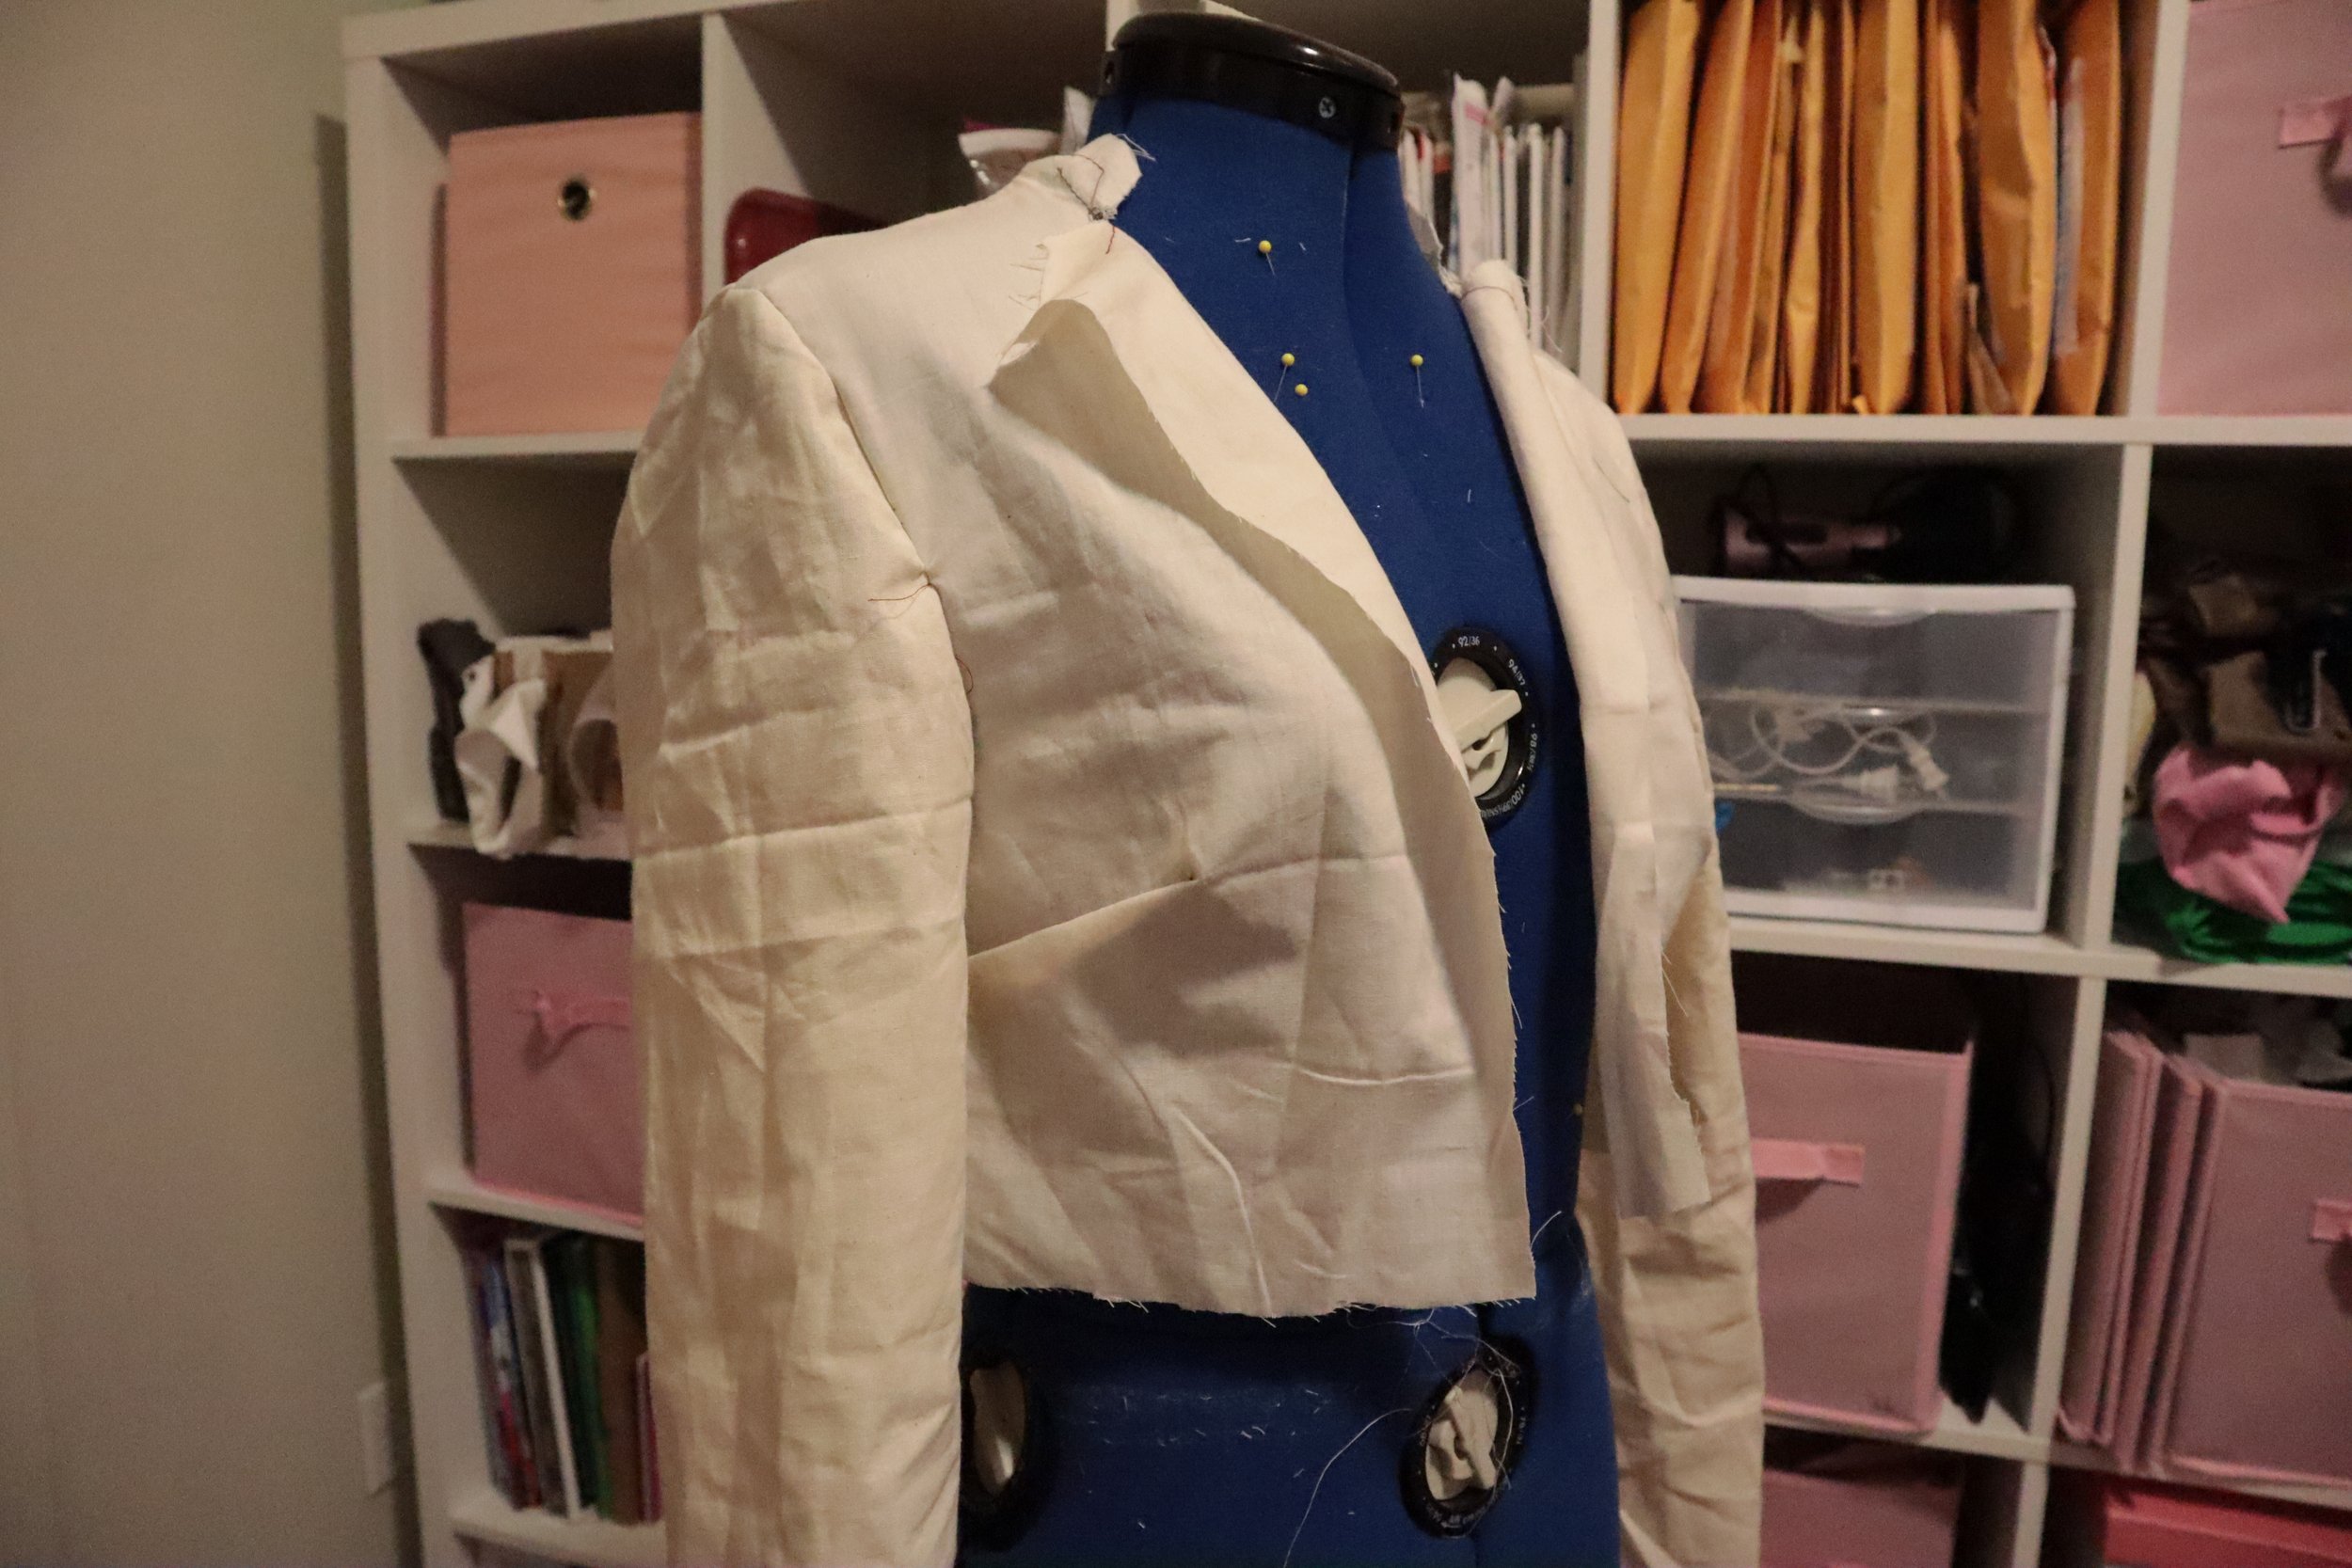
After watching the video, it clicked for me! In the next two evenings after getting home from work I finished the first version of the blazer pattern. There were two big challenges with this.
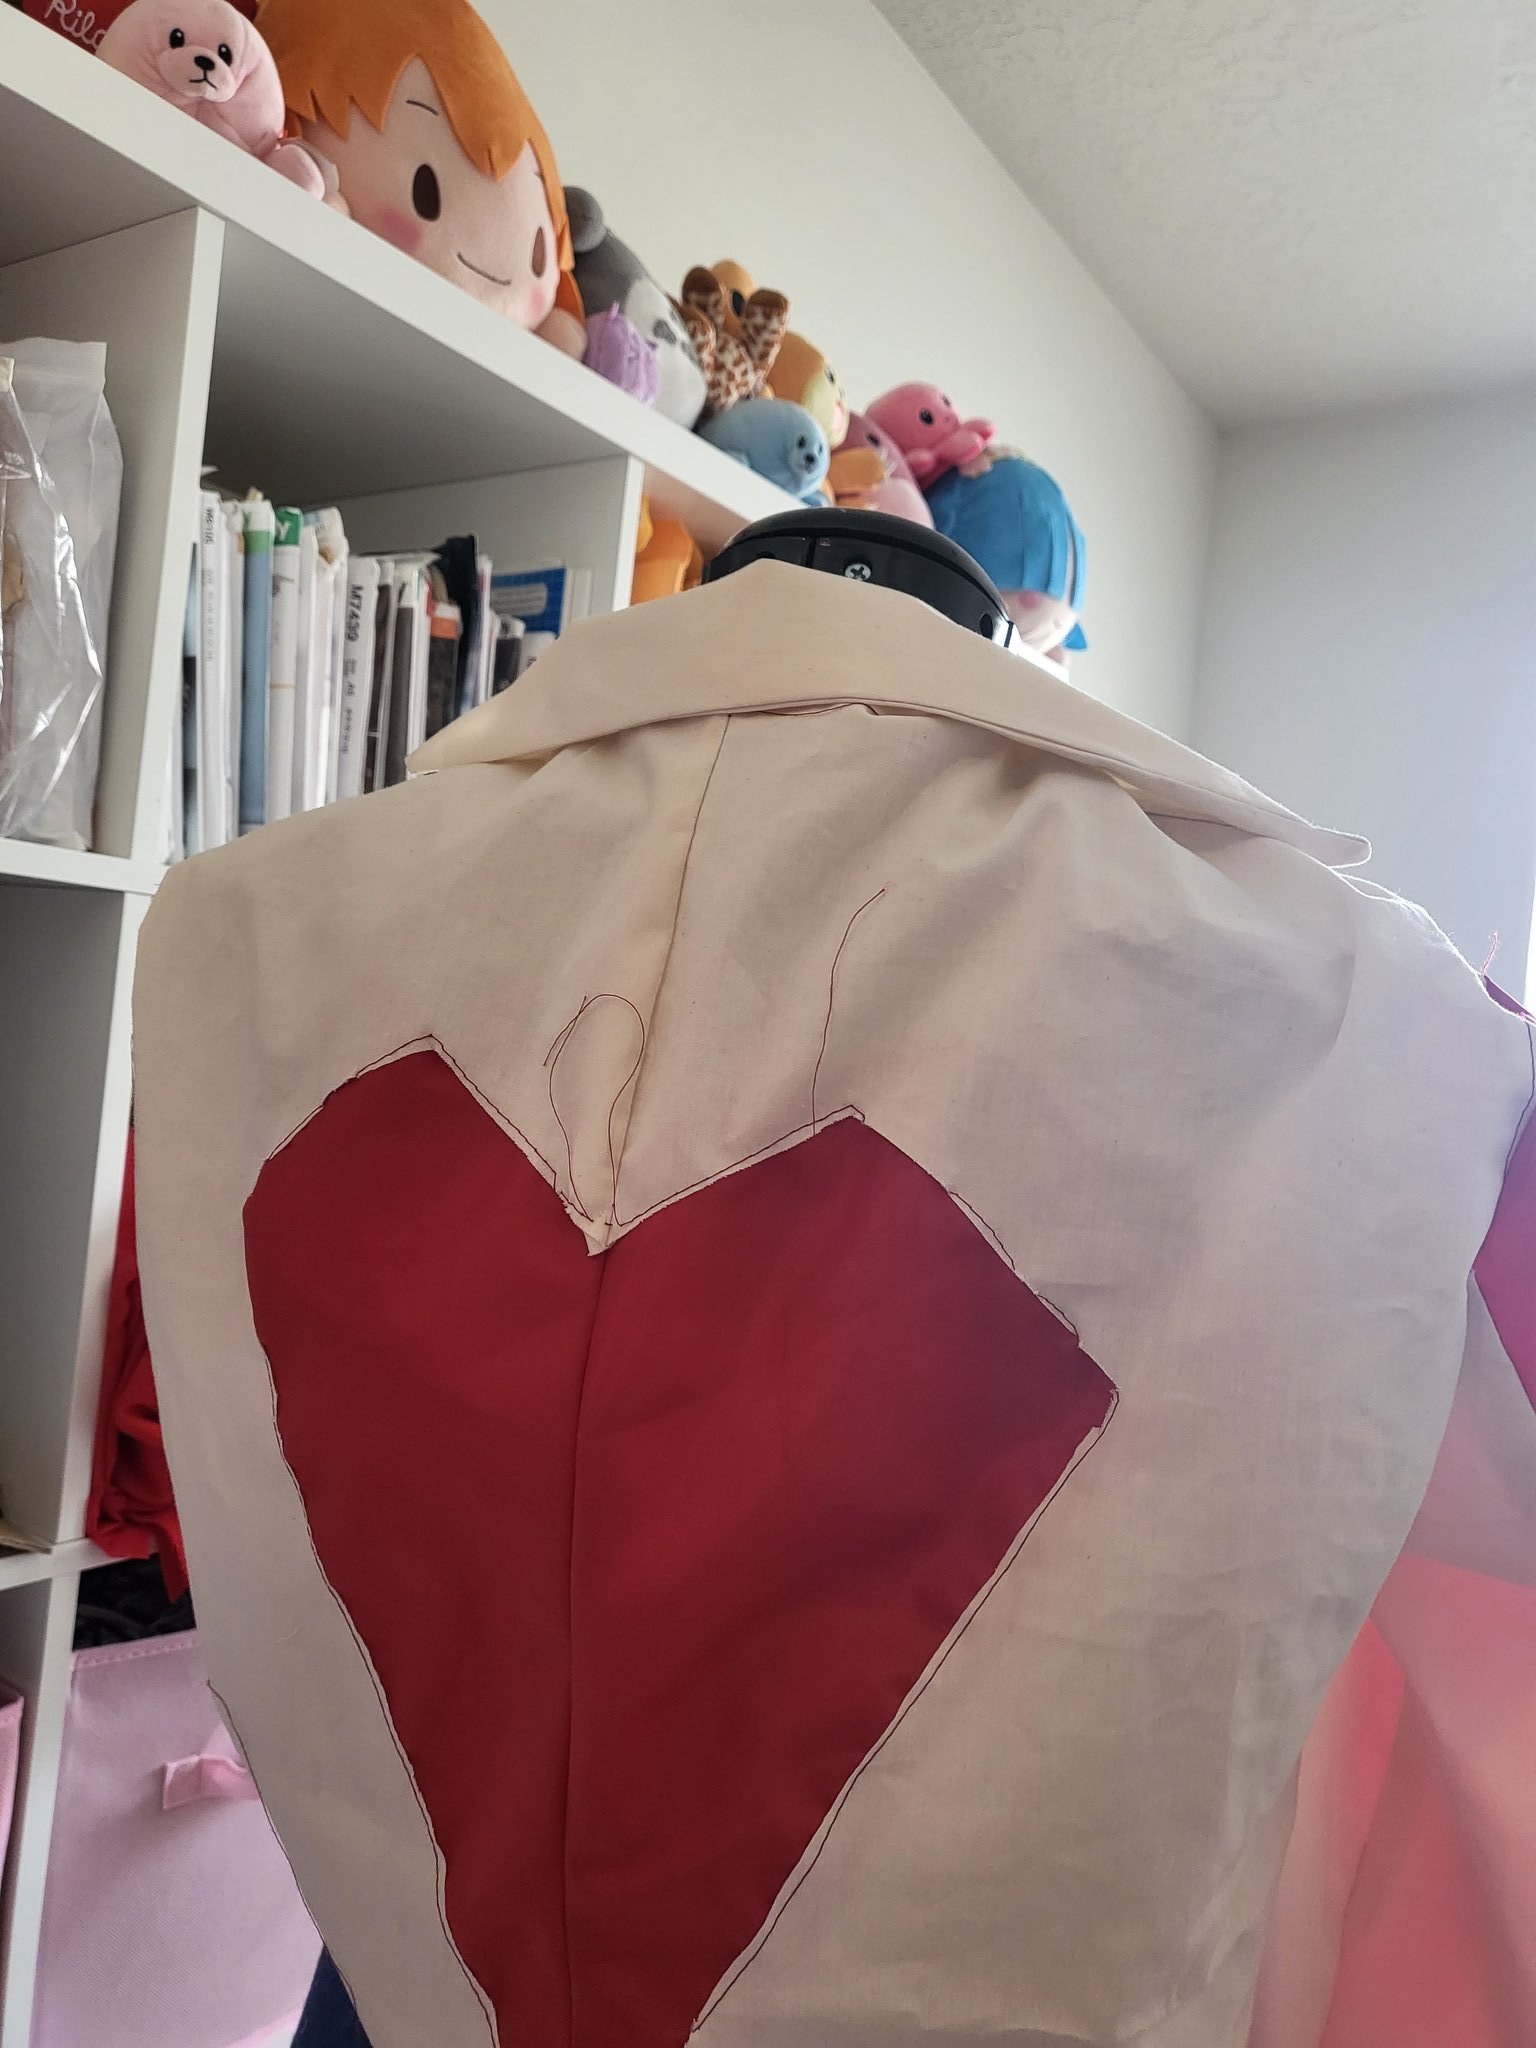
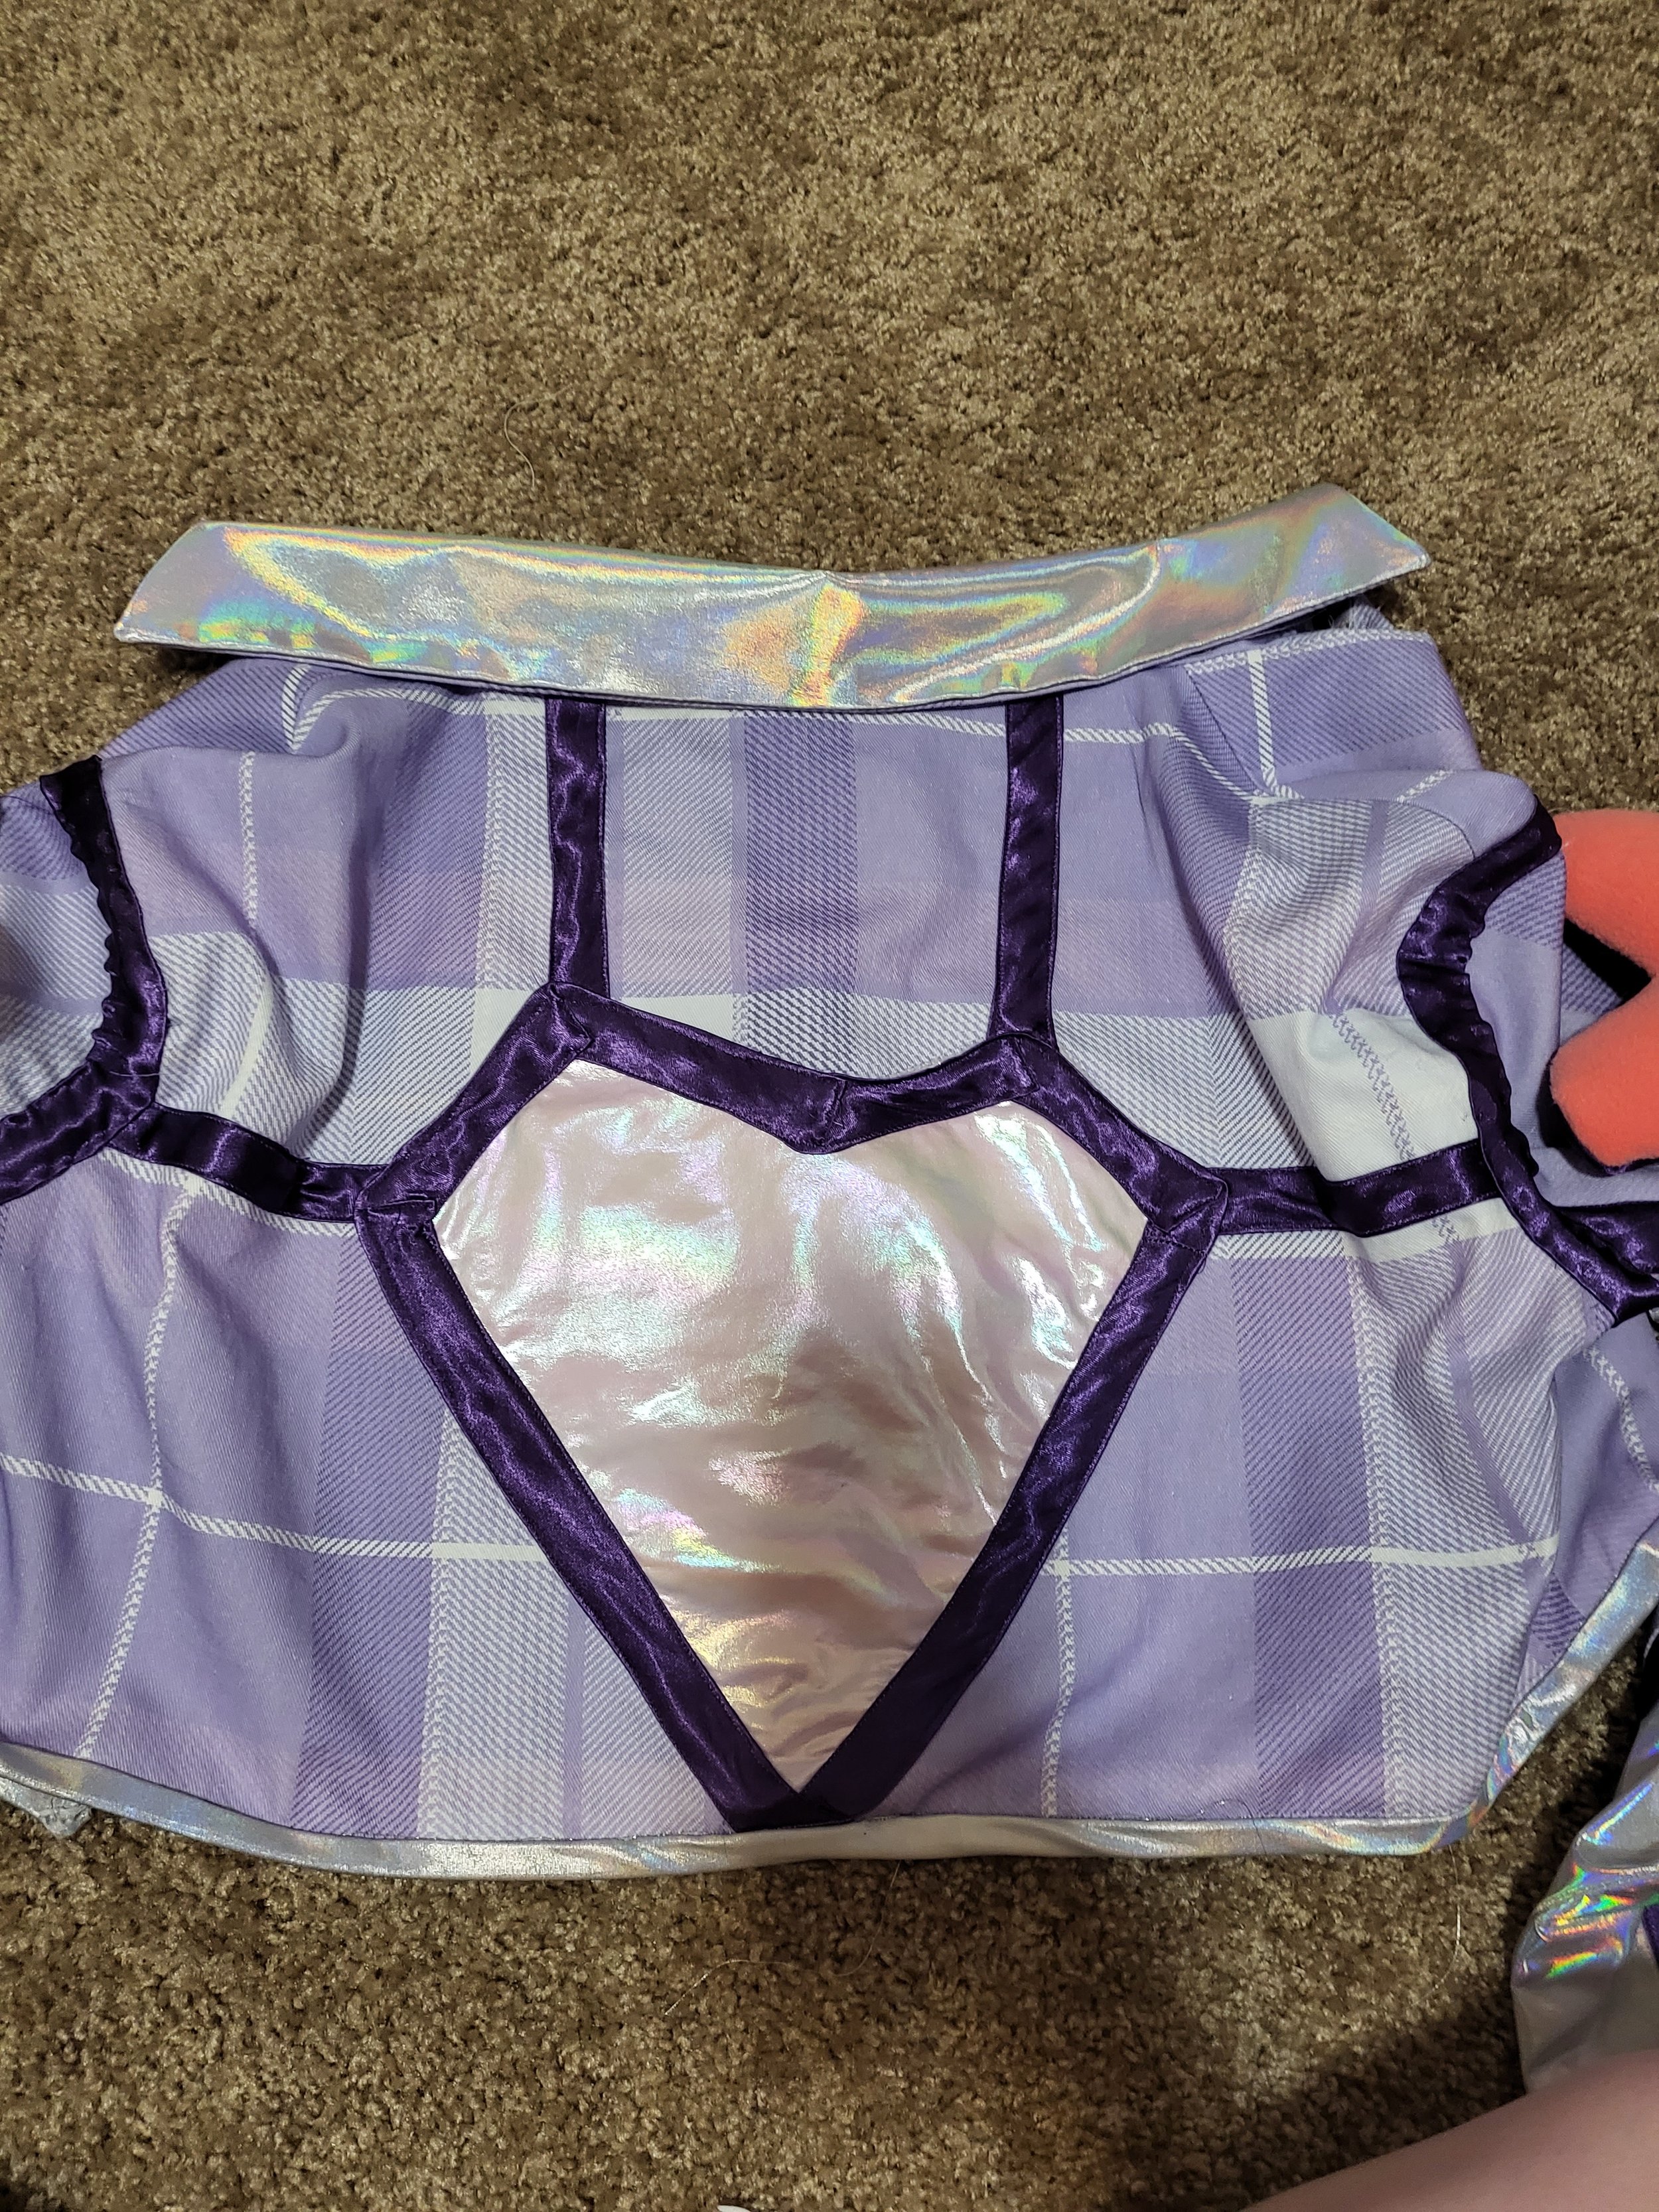
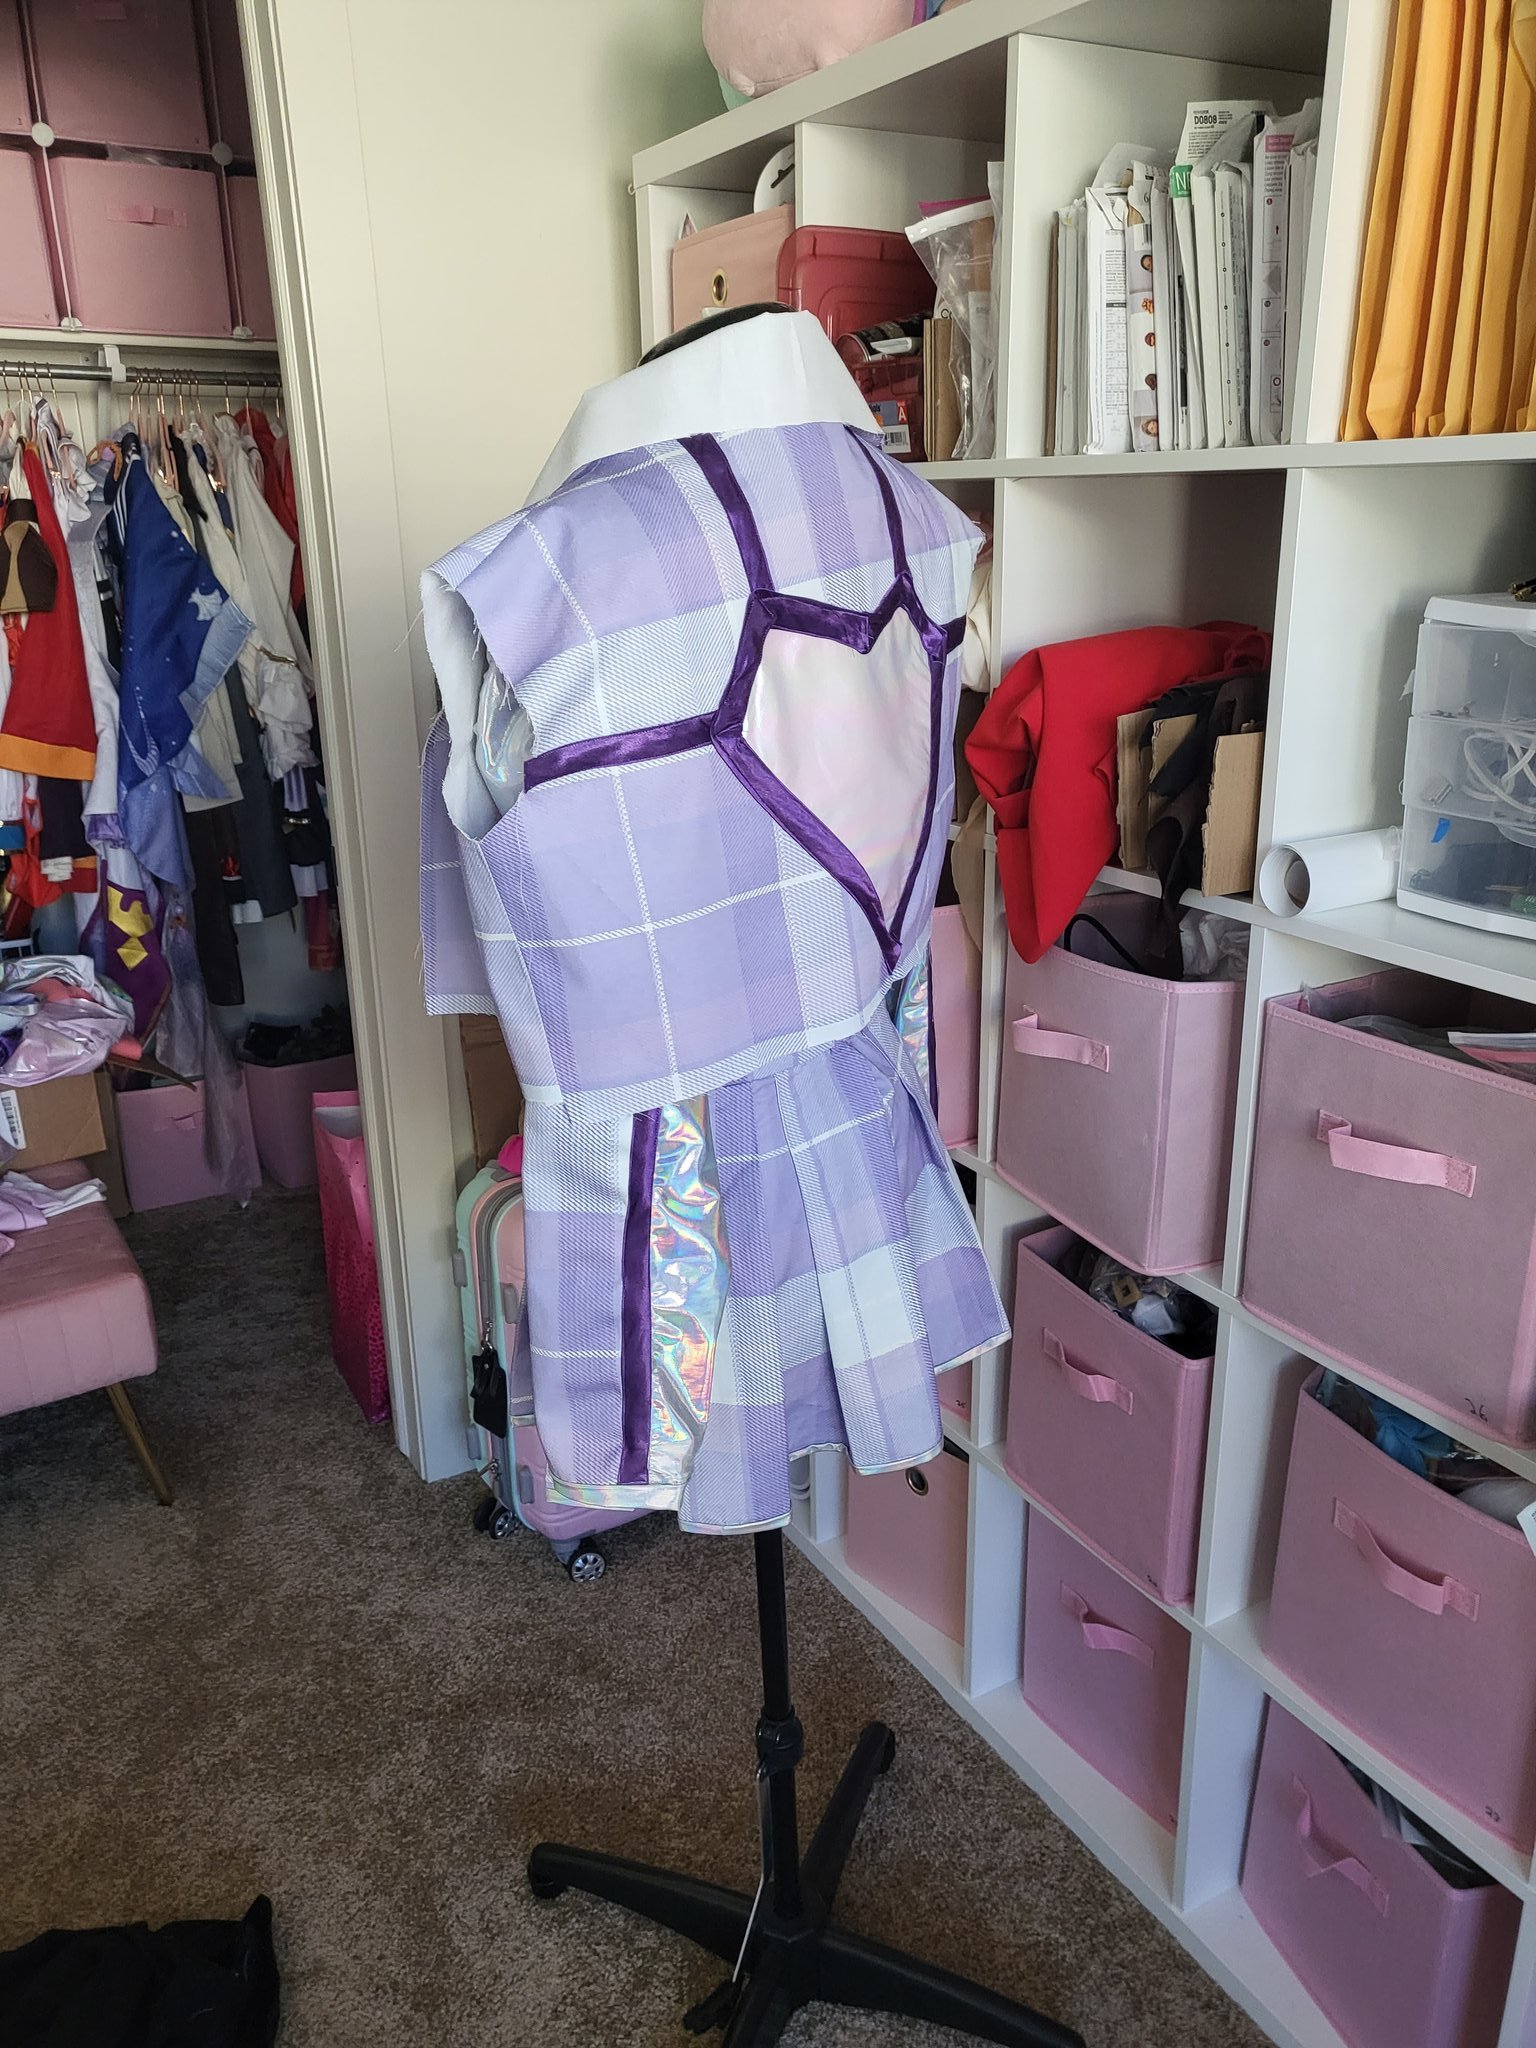
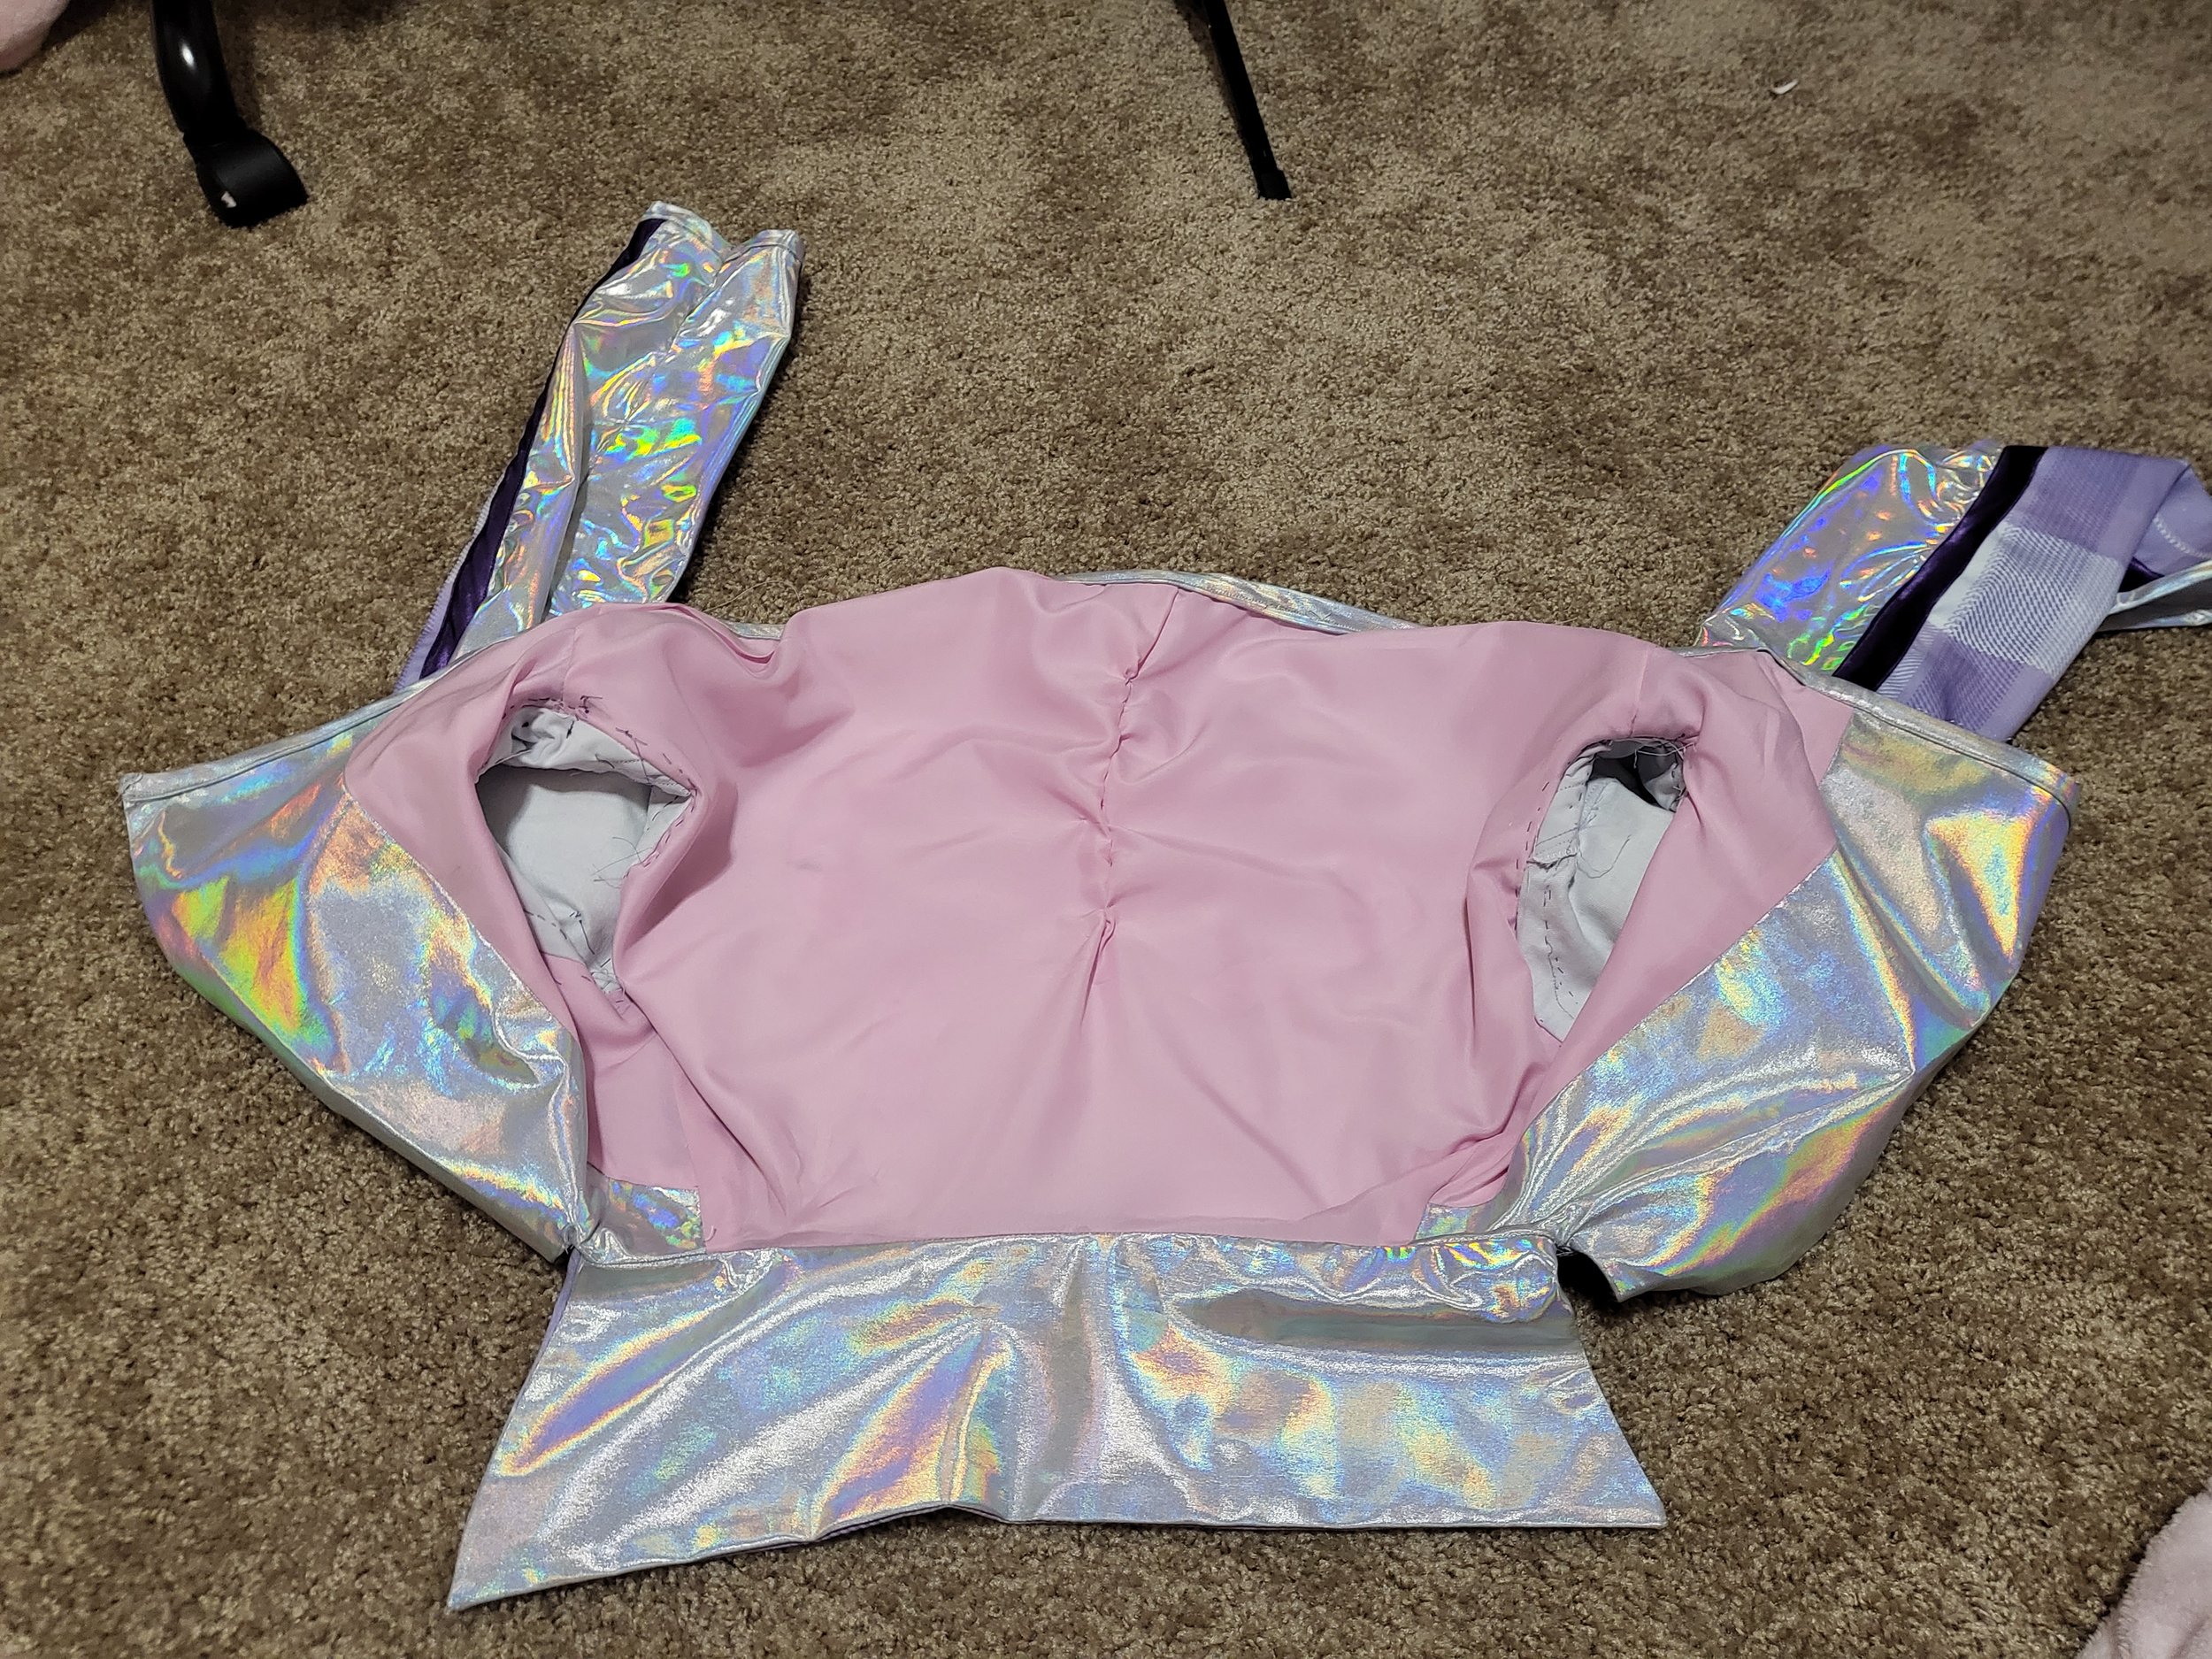
The back of Caitlyn’s blazer has a pixel-like angular heart on the back. I had zero clue how to put the heart on the back of the blazer.
I ended up deciding I would make bias tape to finish the “back top” edges off, and then the heart’s edges would be finished off and stitched on through the top layer.
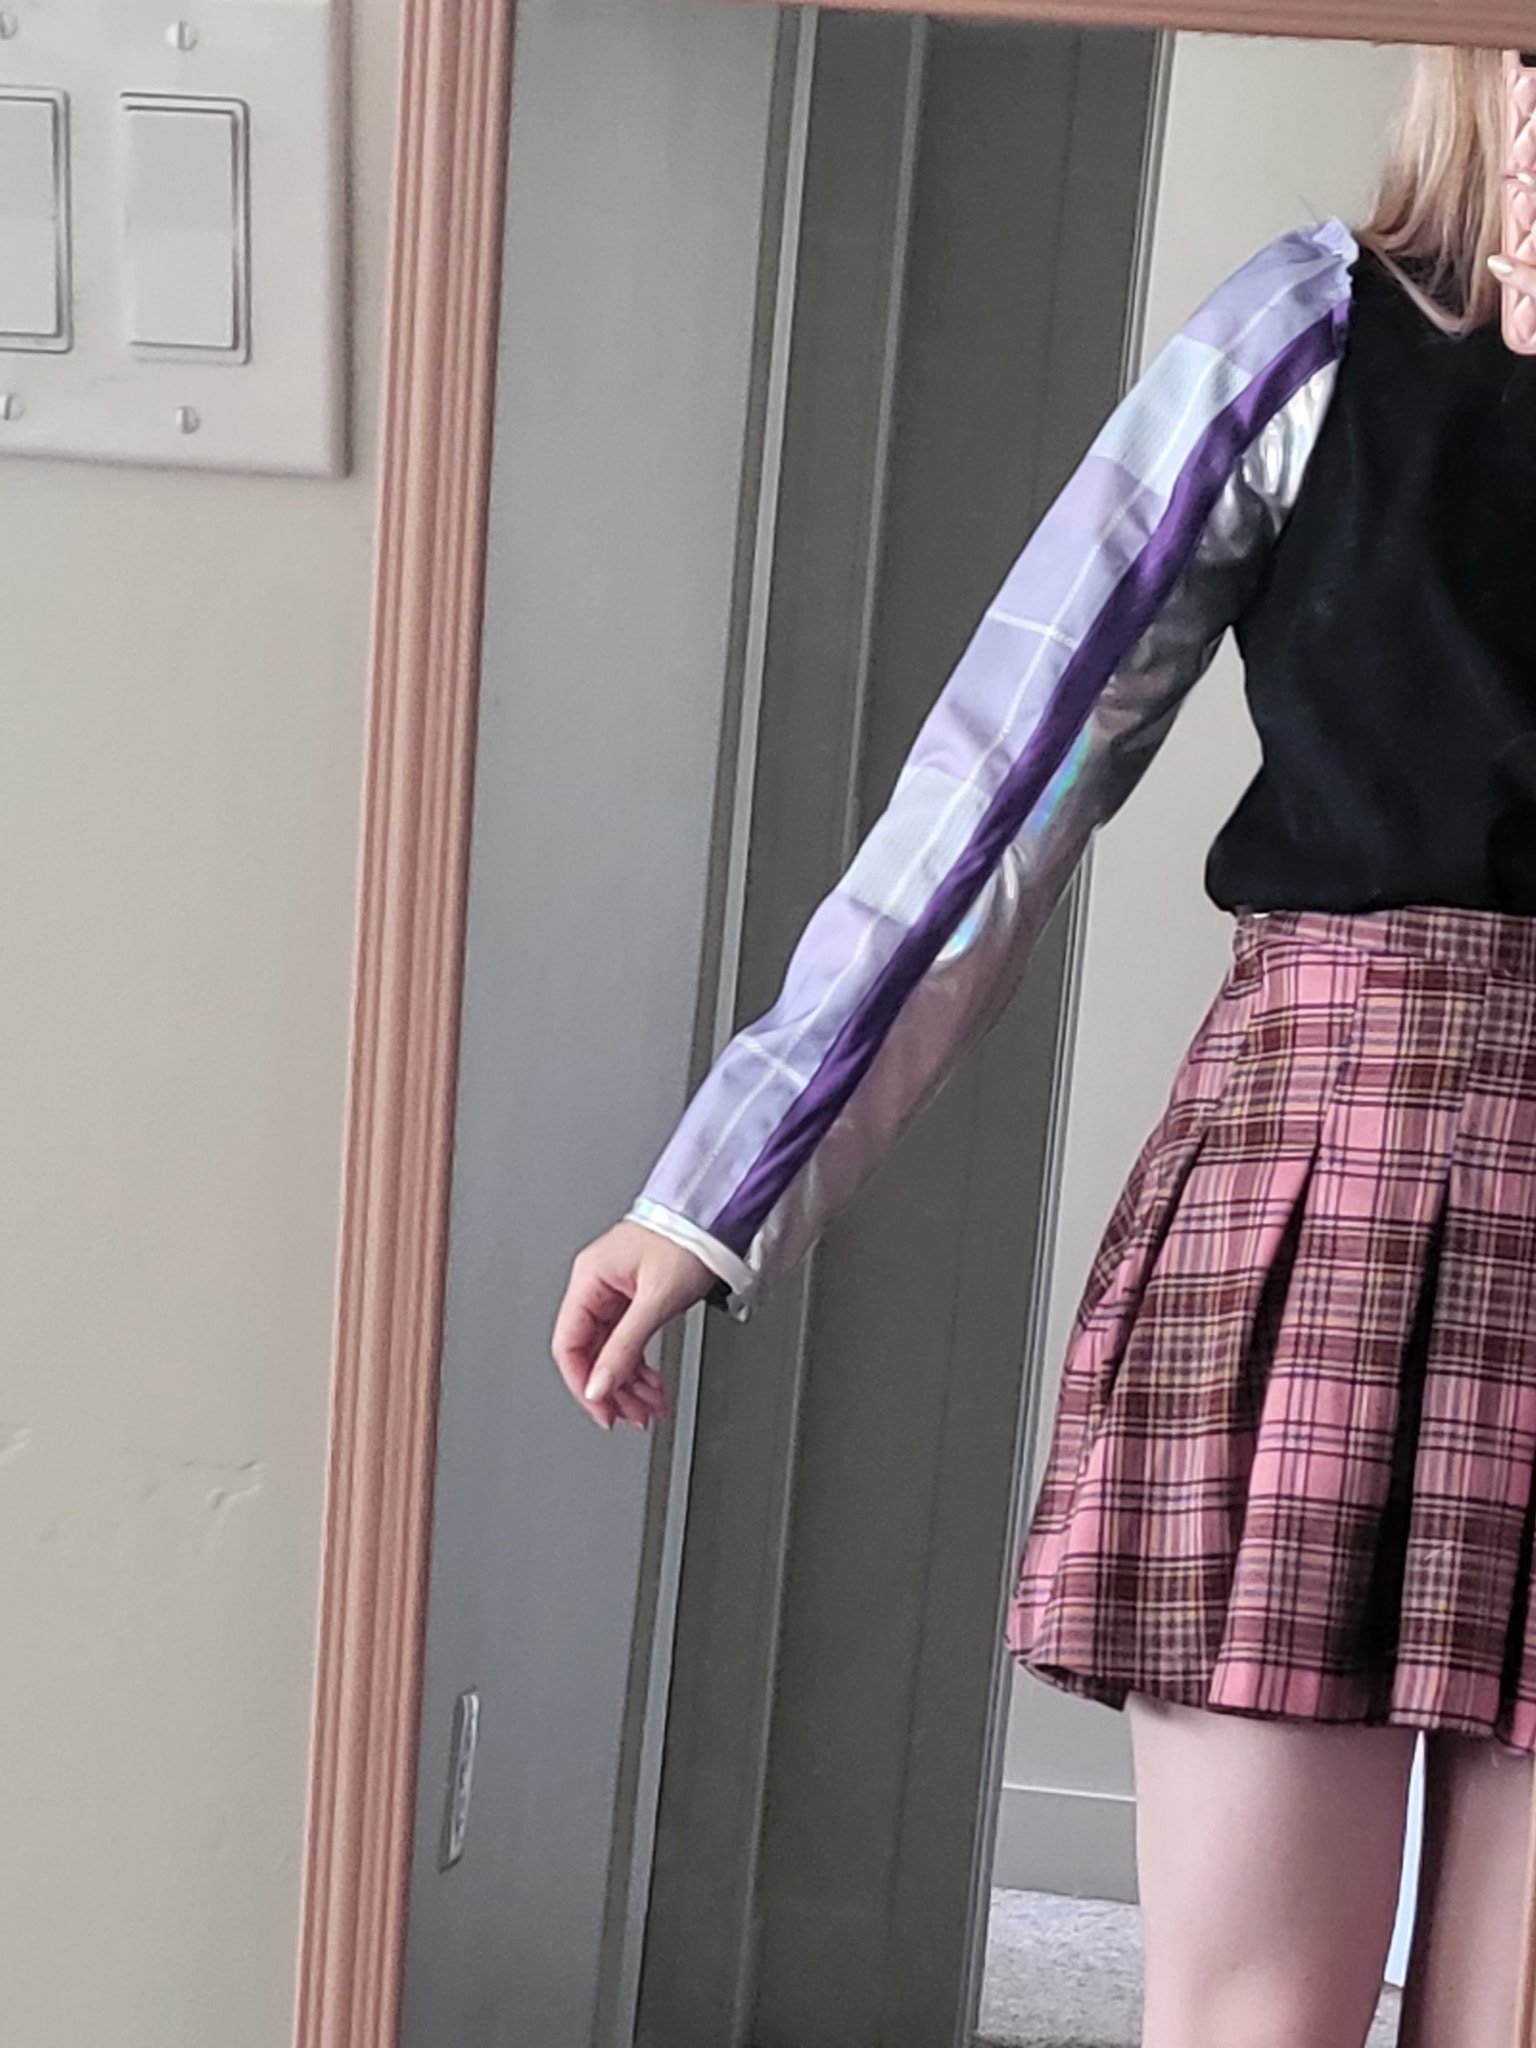
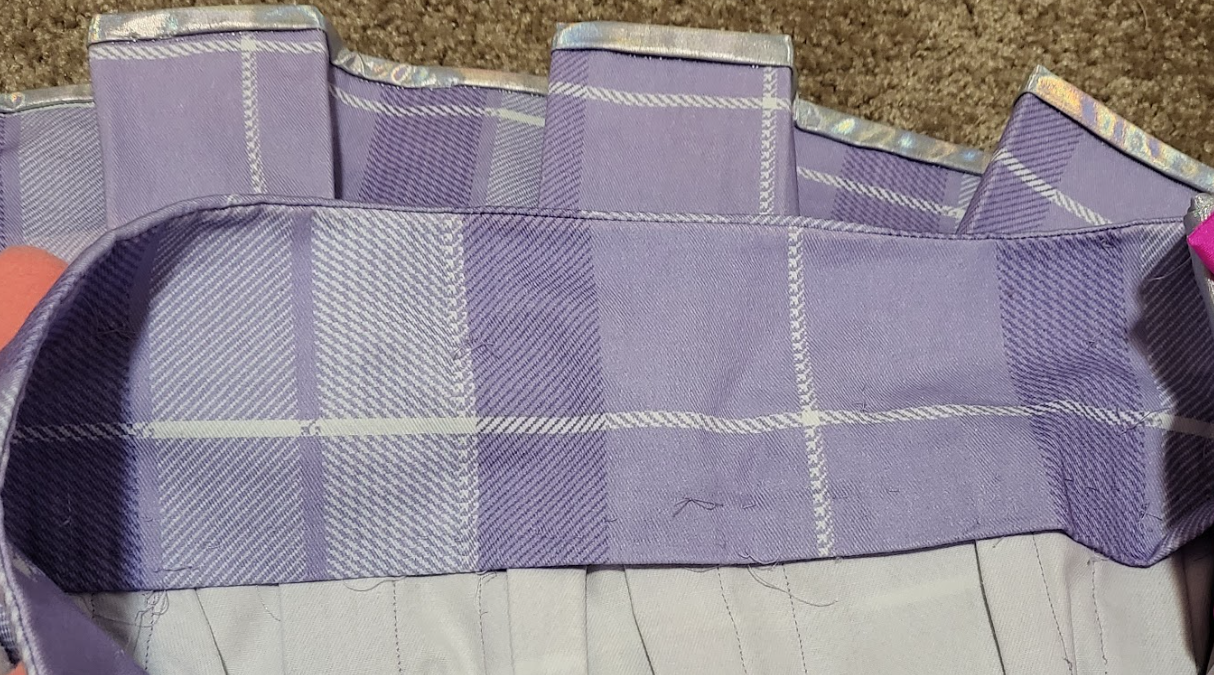
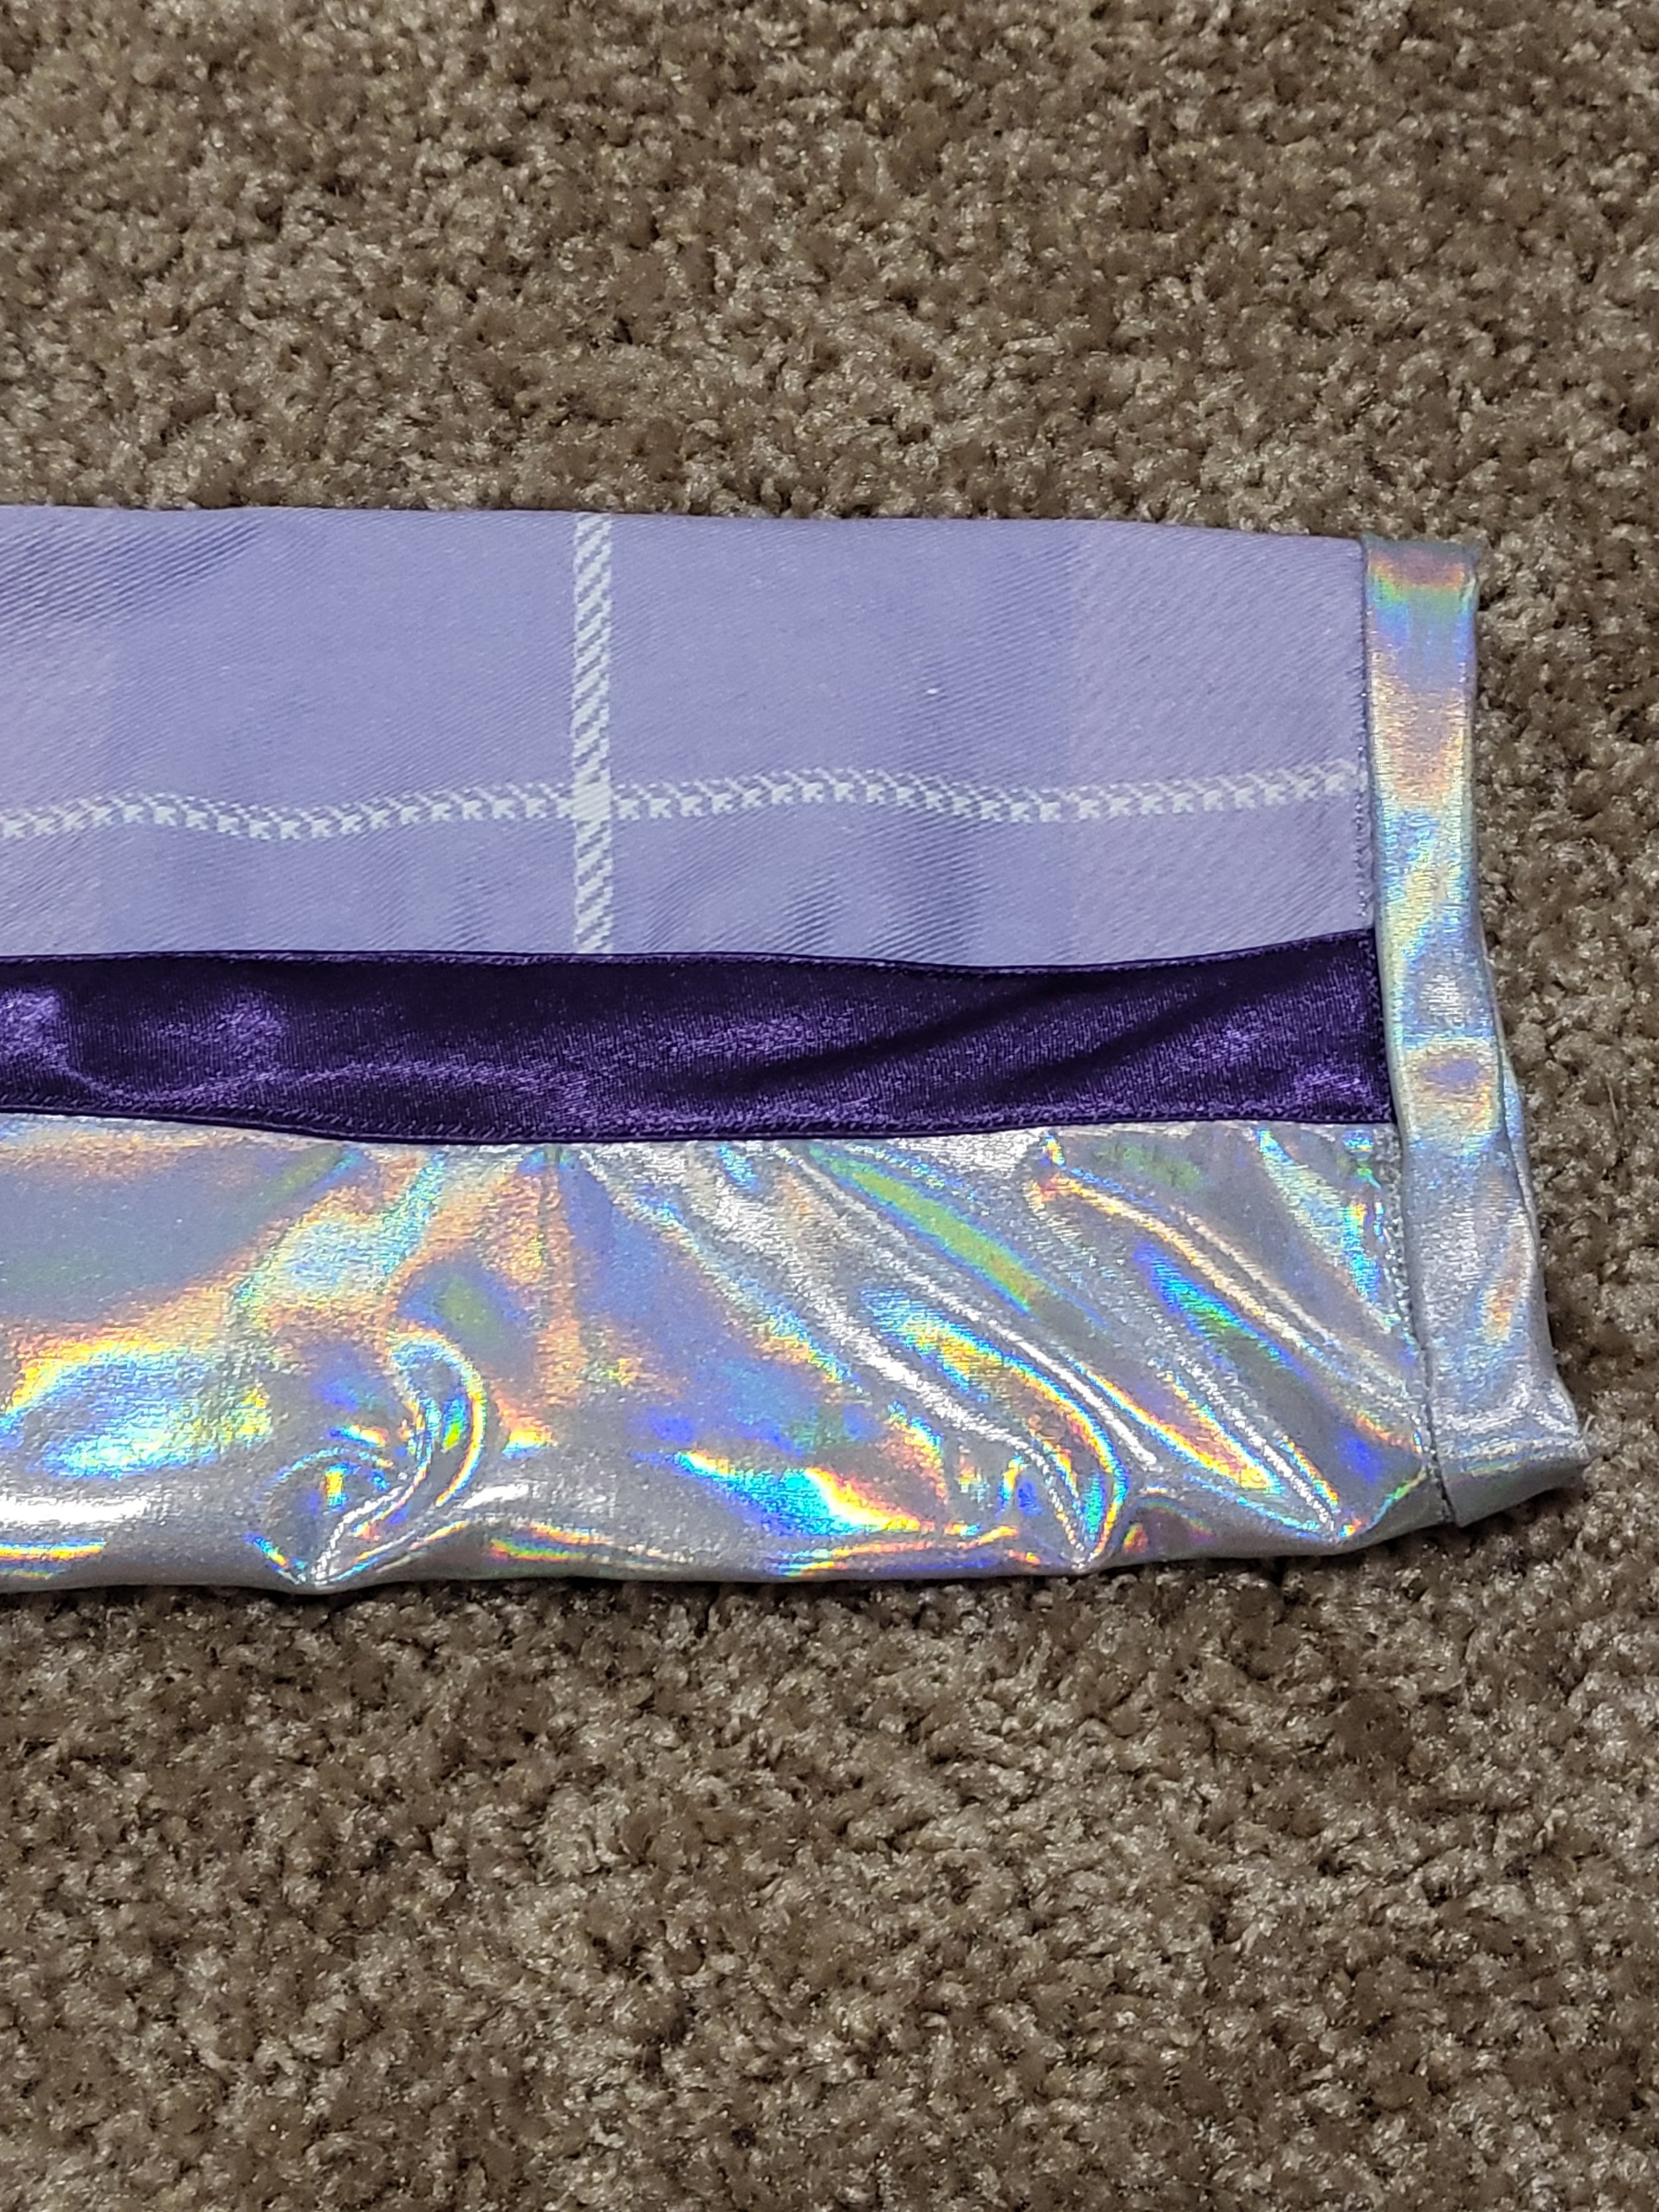
The sleeve has 3 materials; silver fabric, plaid, and a purple stripe. Initially I wanted to sew in the purple stripe with color-blocking techniques.
I ended up deciding the purple material would be bias tape and then using color blocking for the silver and plaid.
Then I sewed all of my muslin and scrap fabric together for a mockup. After this mockup I was able to decide on my last revisions. A longer top of neck collar and the sleeve needed to be tapered more and taken in.

Patterning + Planning Video
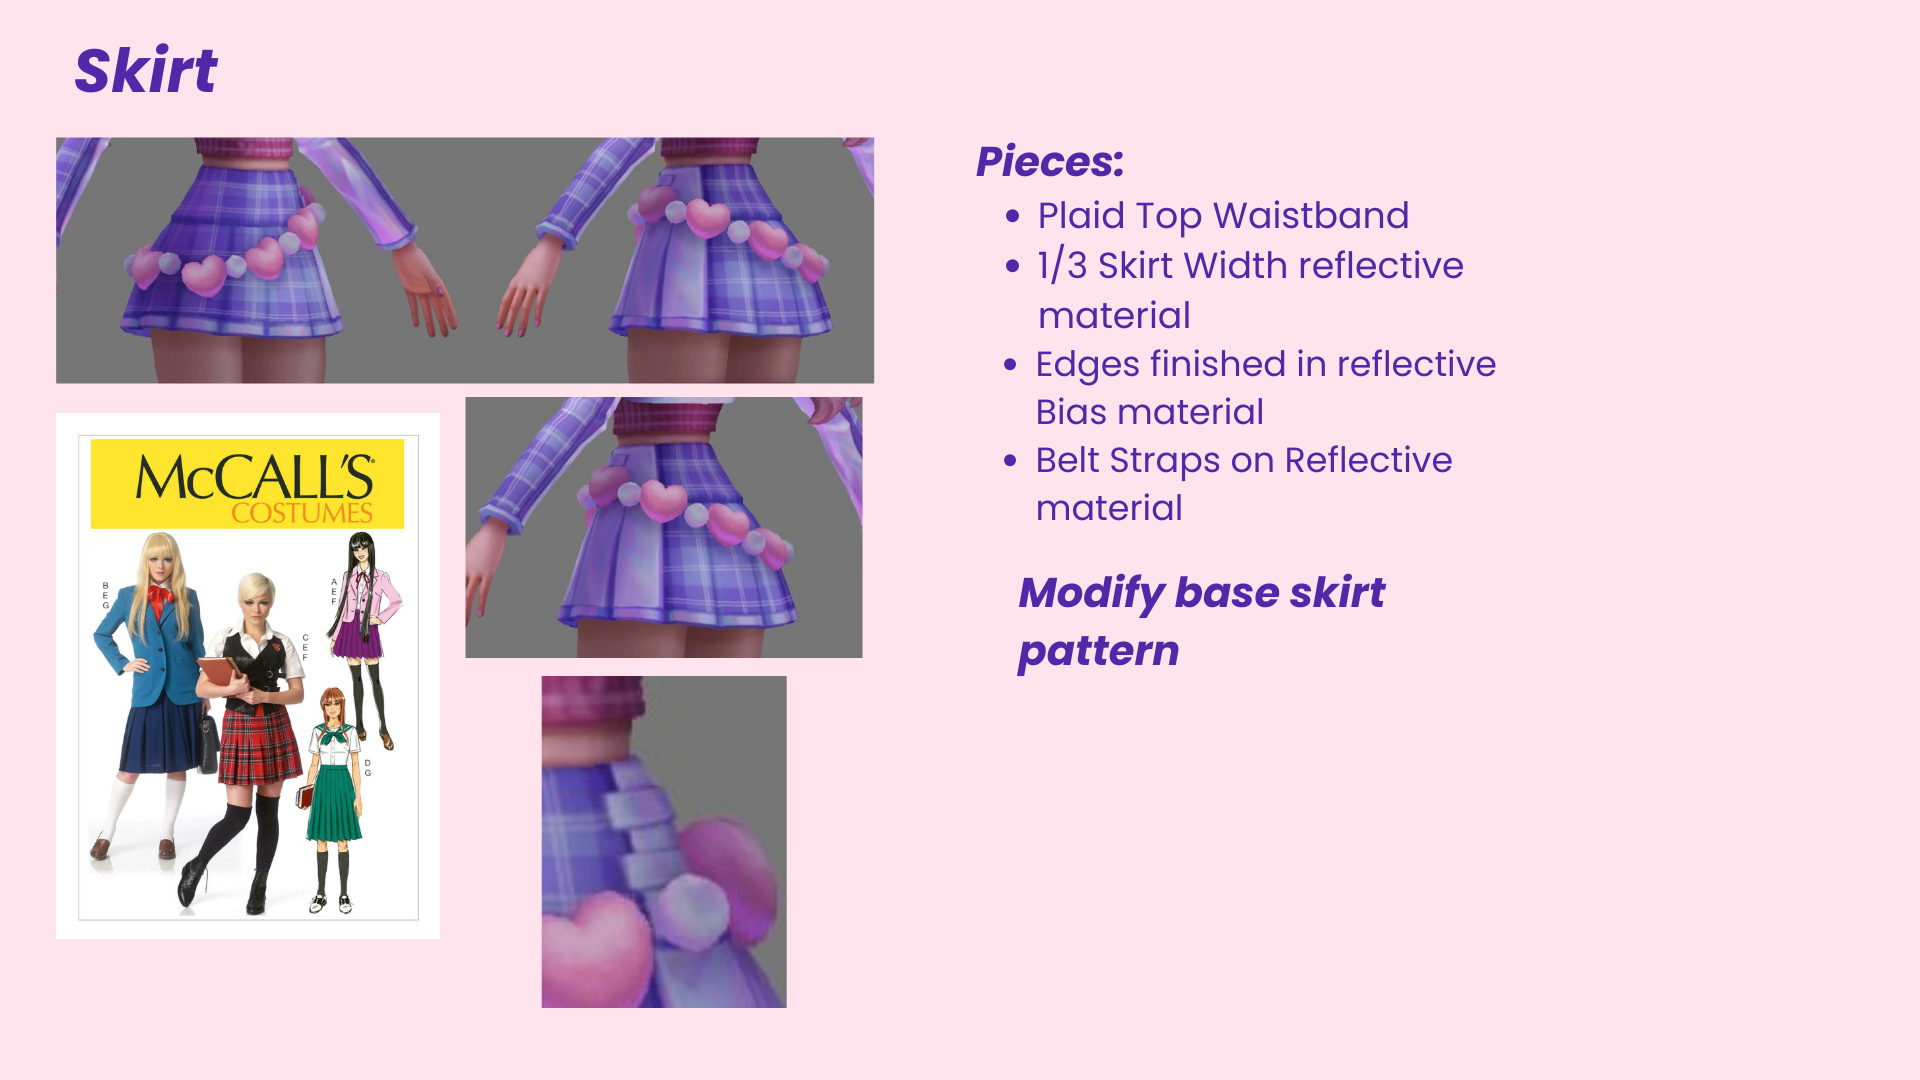
The SKIRT
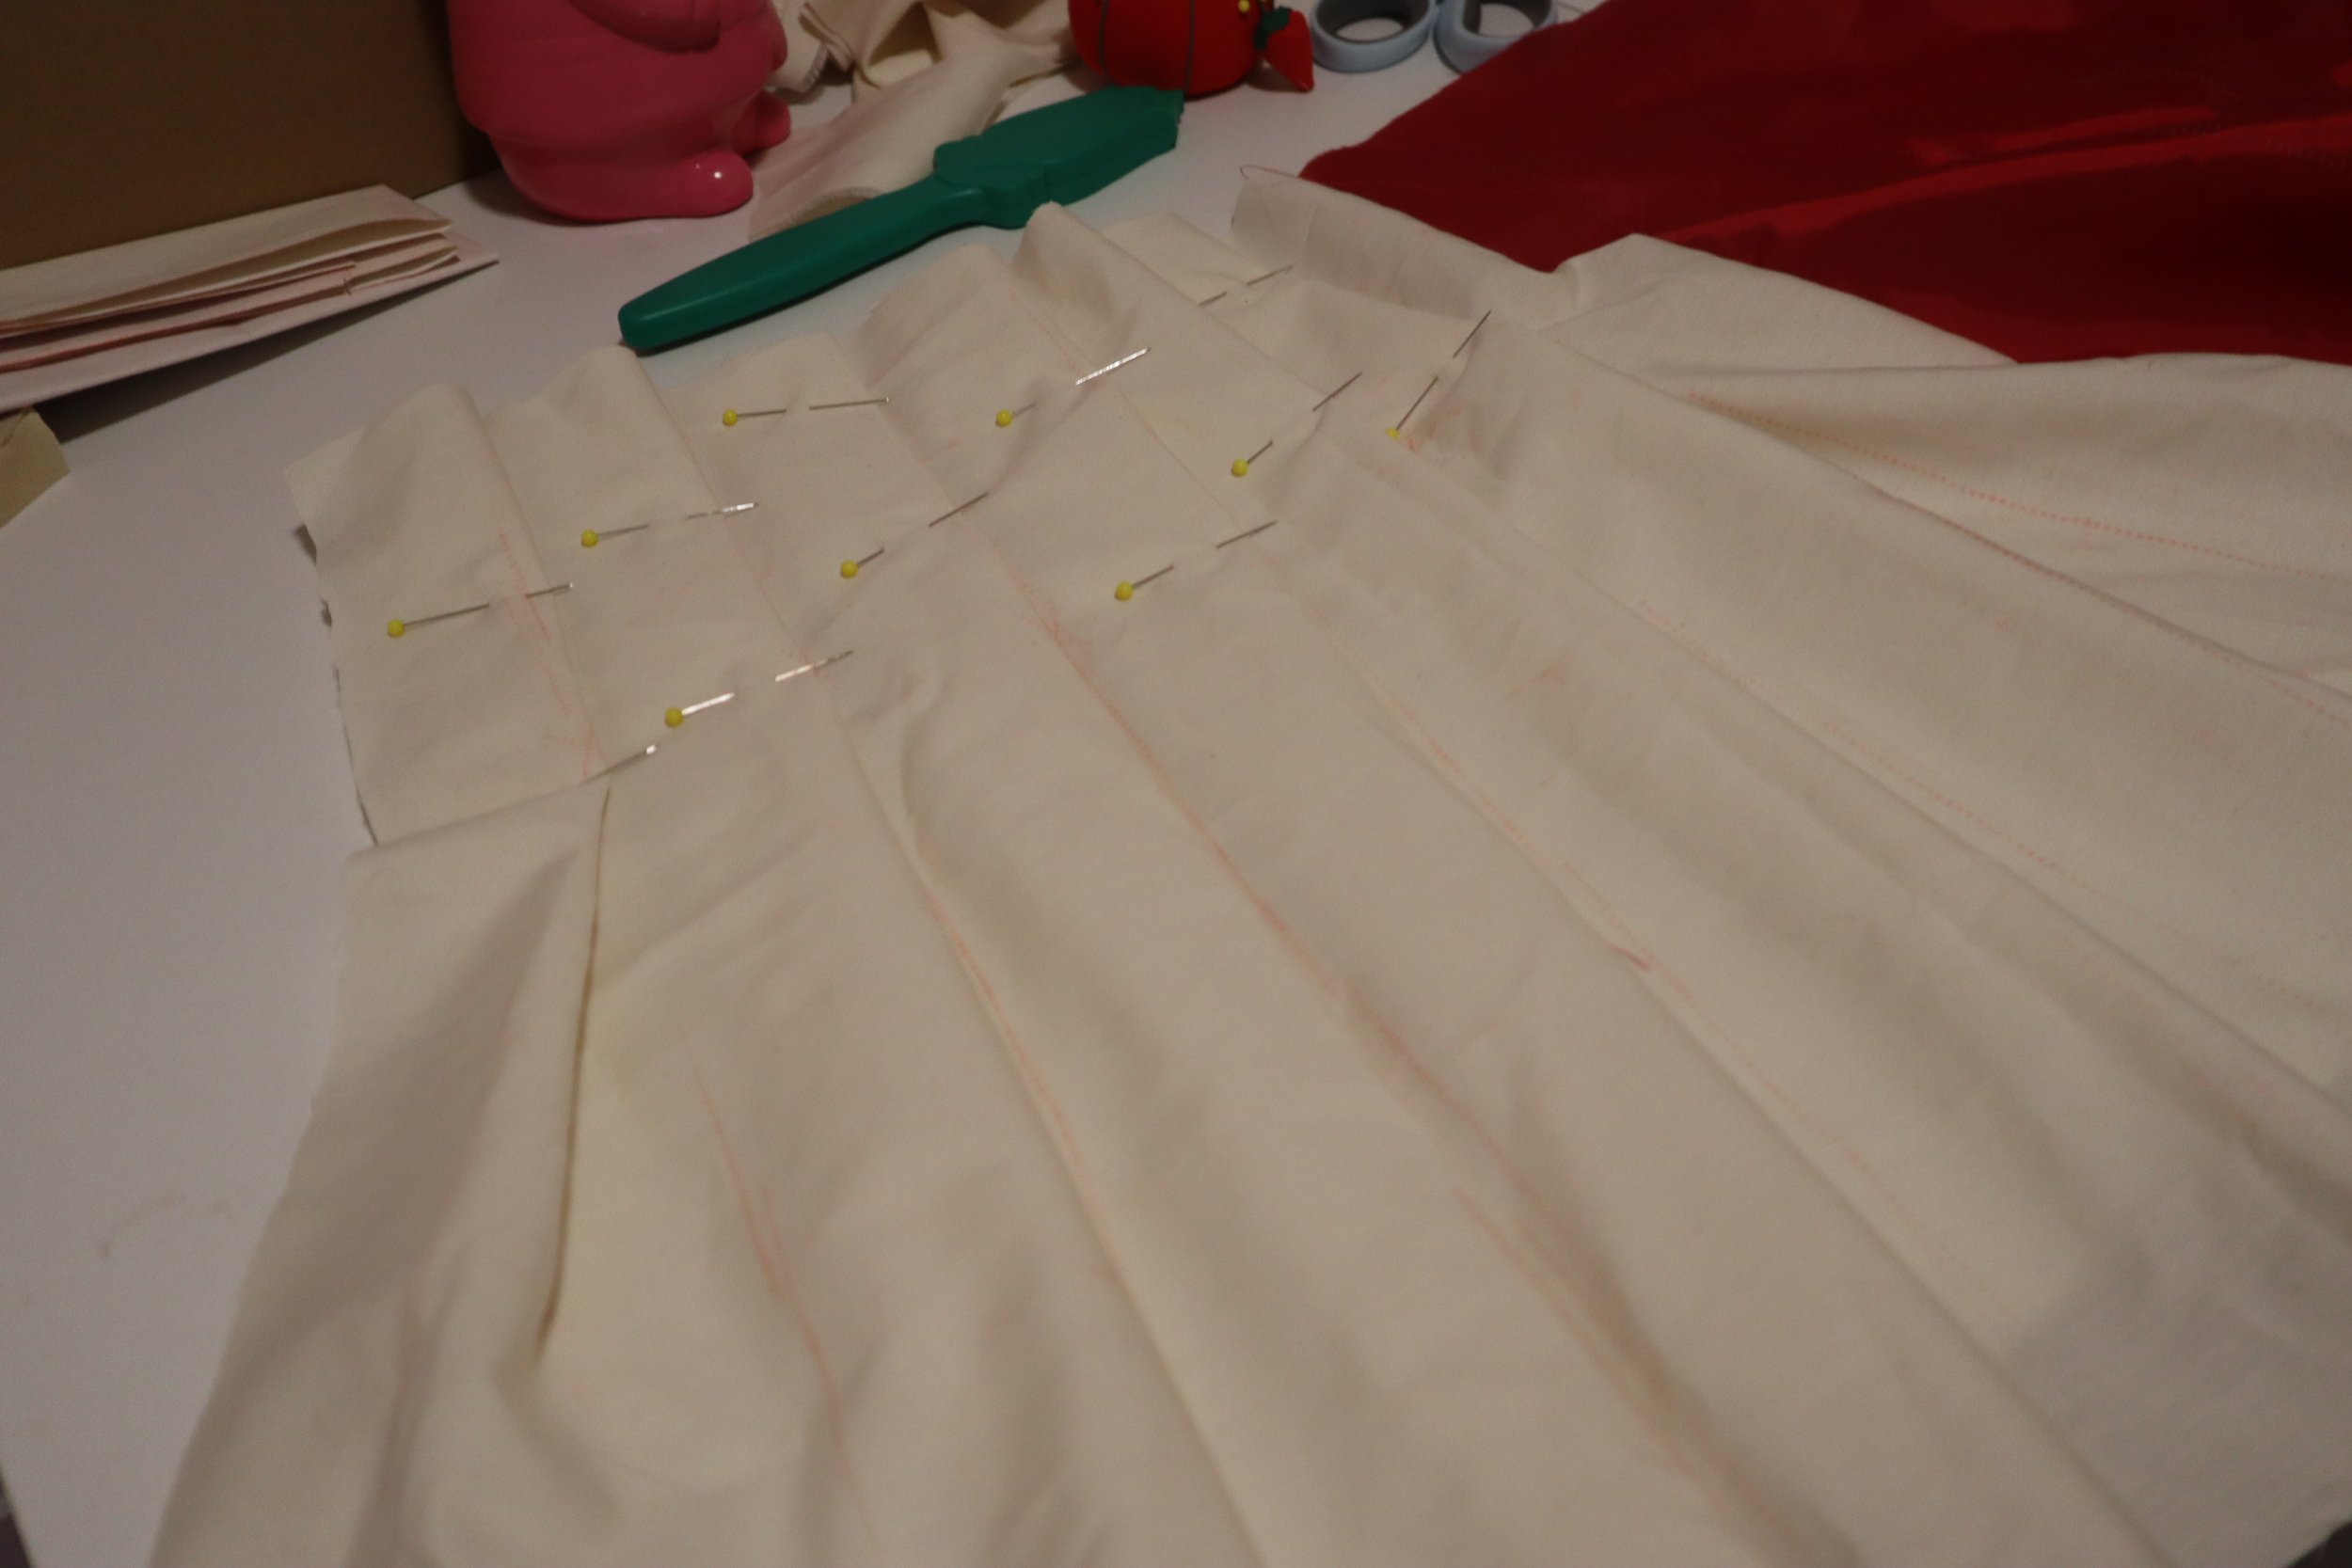
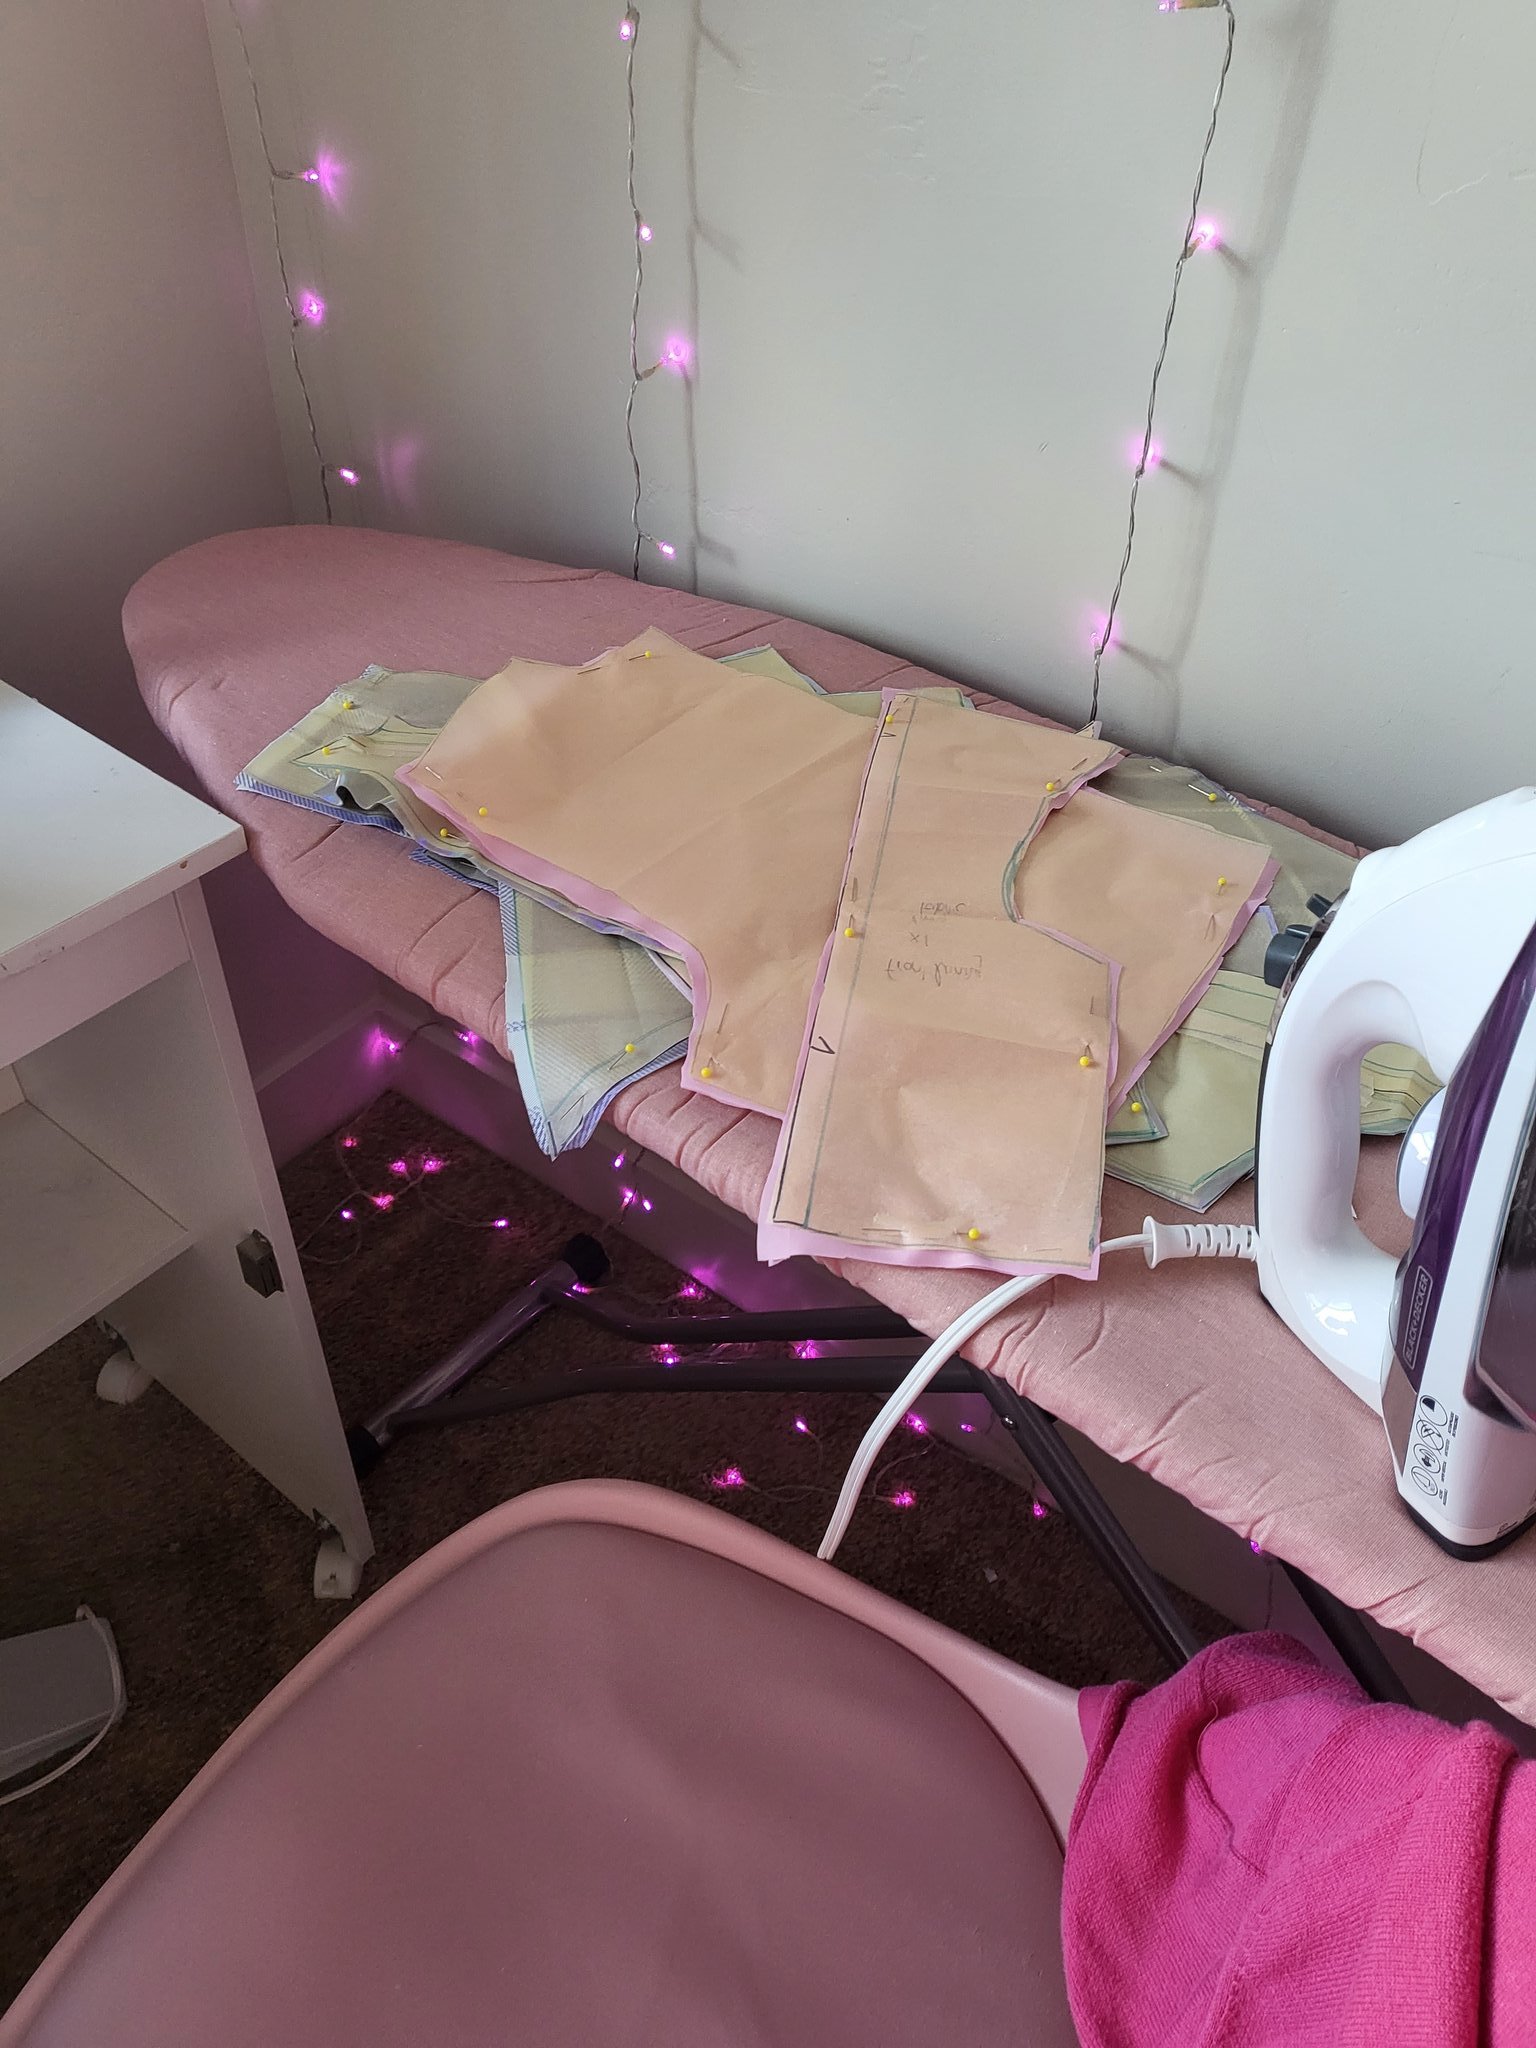
To make the skirt pattern I started off using the skirt pattern from the blazer pattern previously mentioned. I traced it on to pattern paper before dividing it up. Caitlyn’s skirt has 3-4 silver pleats then the rest of her skirt is the purple plaid fabric. Therefore, I cut the pattern that had been traced out, adding a seam allowance. I used red fabric to represent the silver, and muslin to represent the plaid. I had to decide between the waistband being a waist band at the top or stitched pleats too. I went with no stitched pleats, closer to the actual design.
Making the COsplay
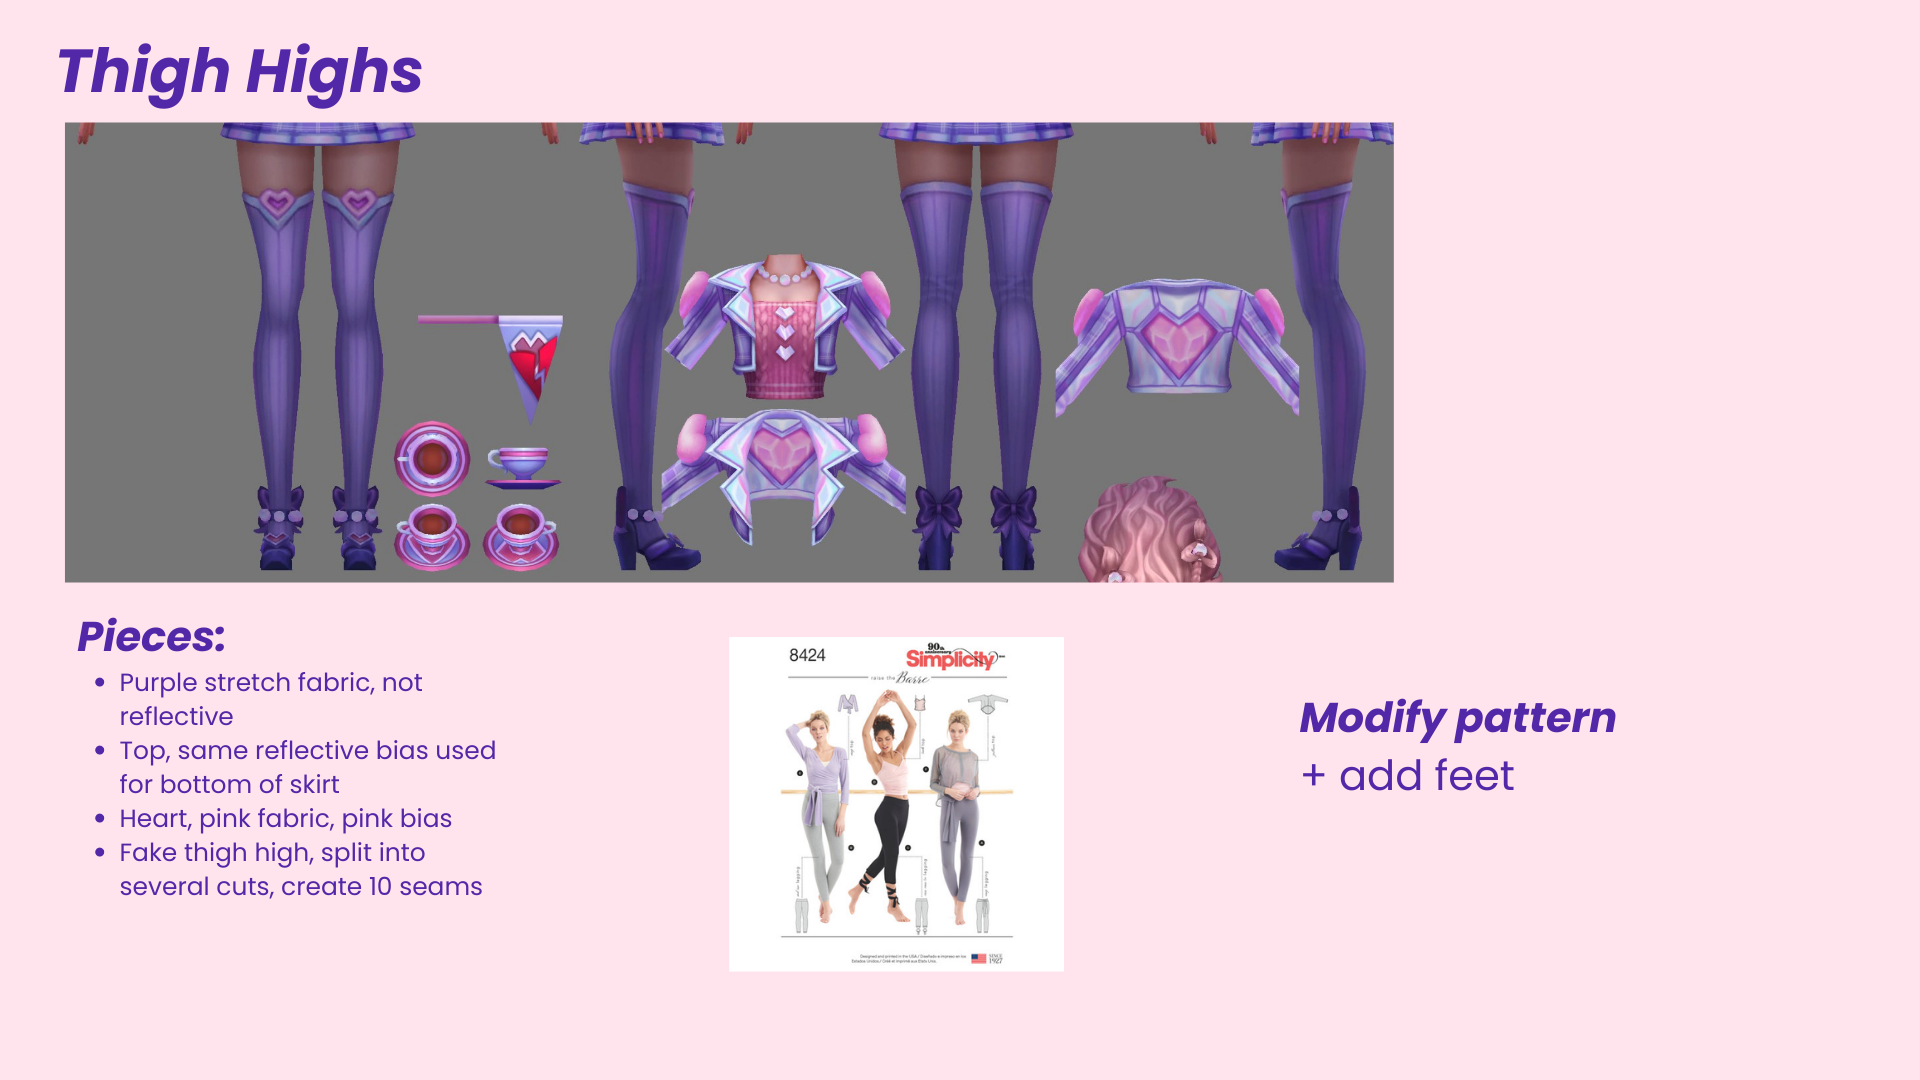
Thigh Highs
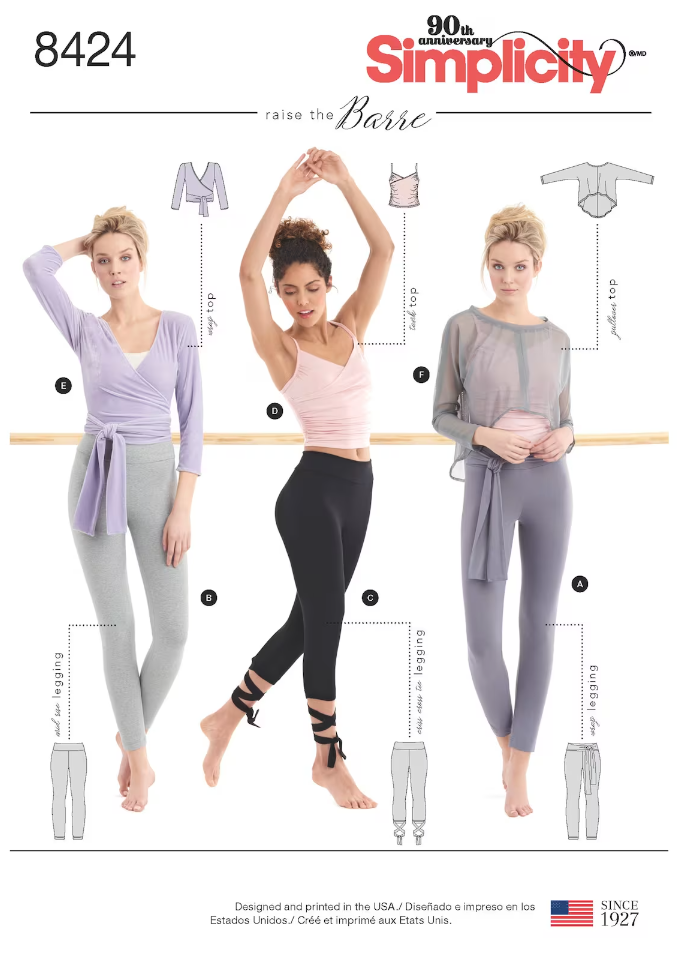
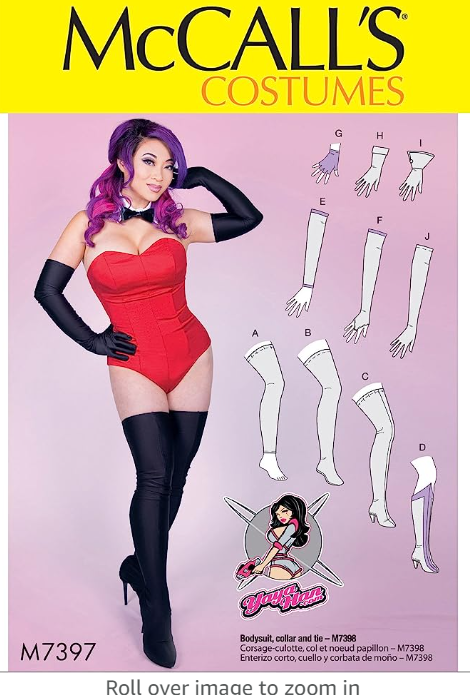
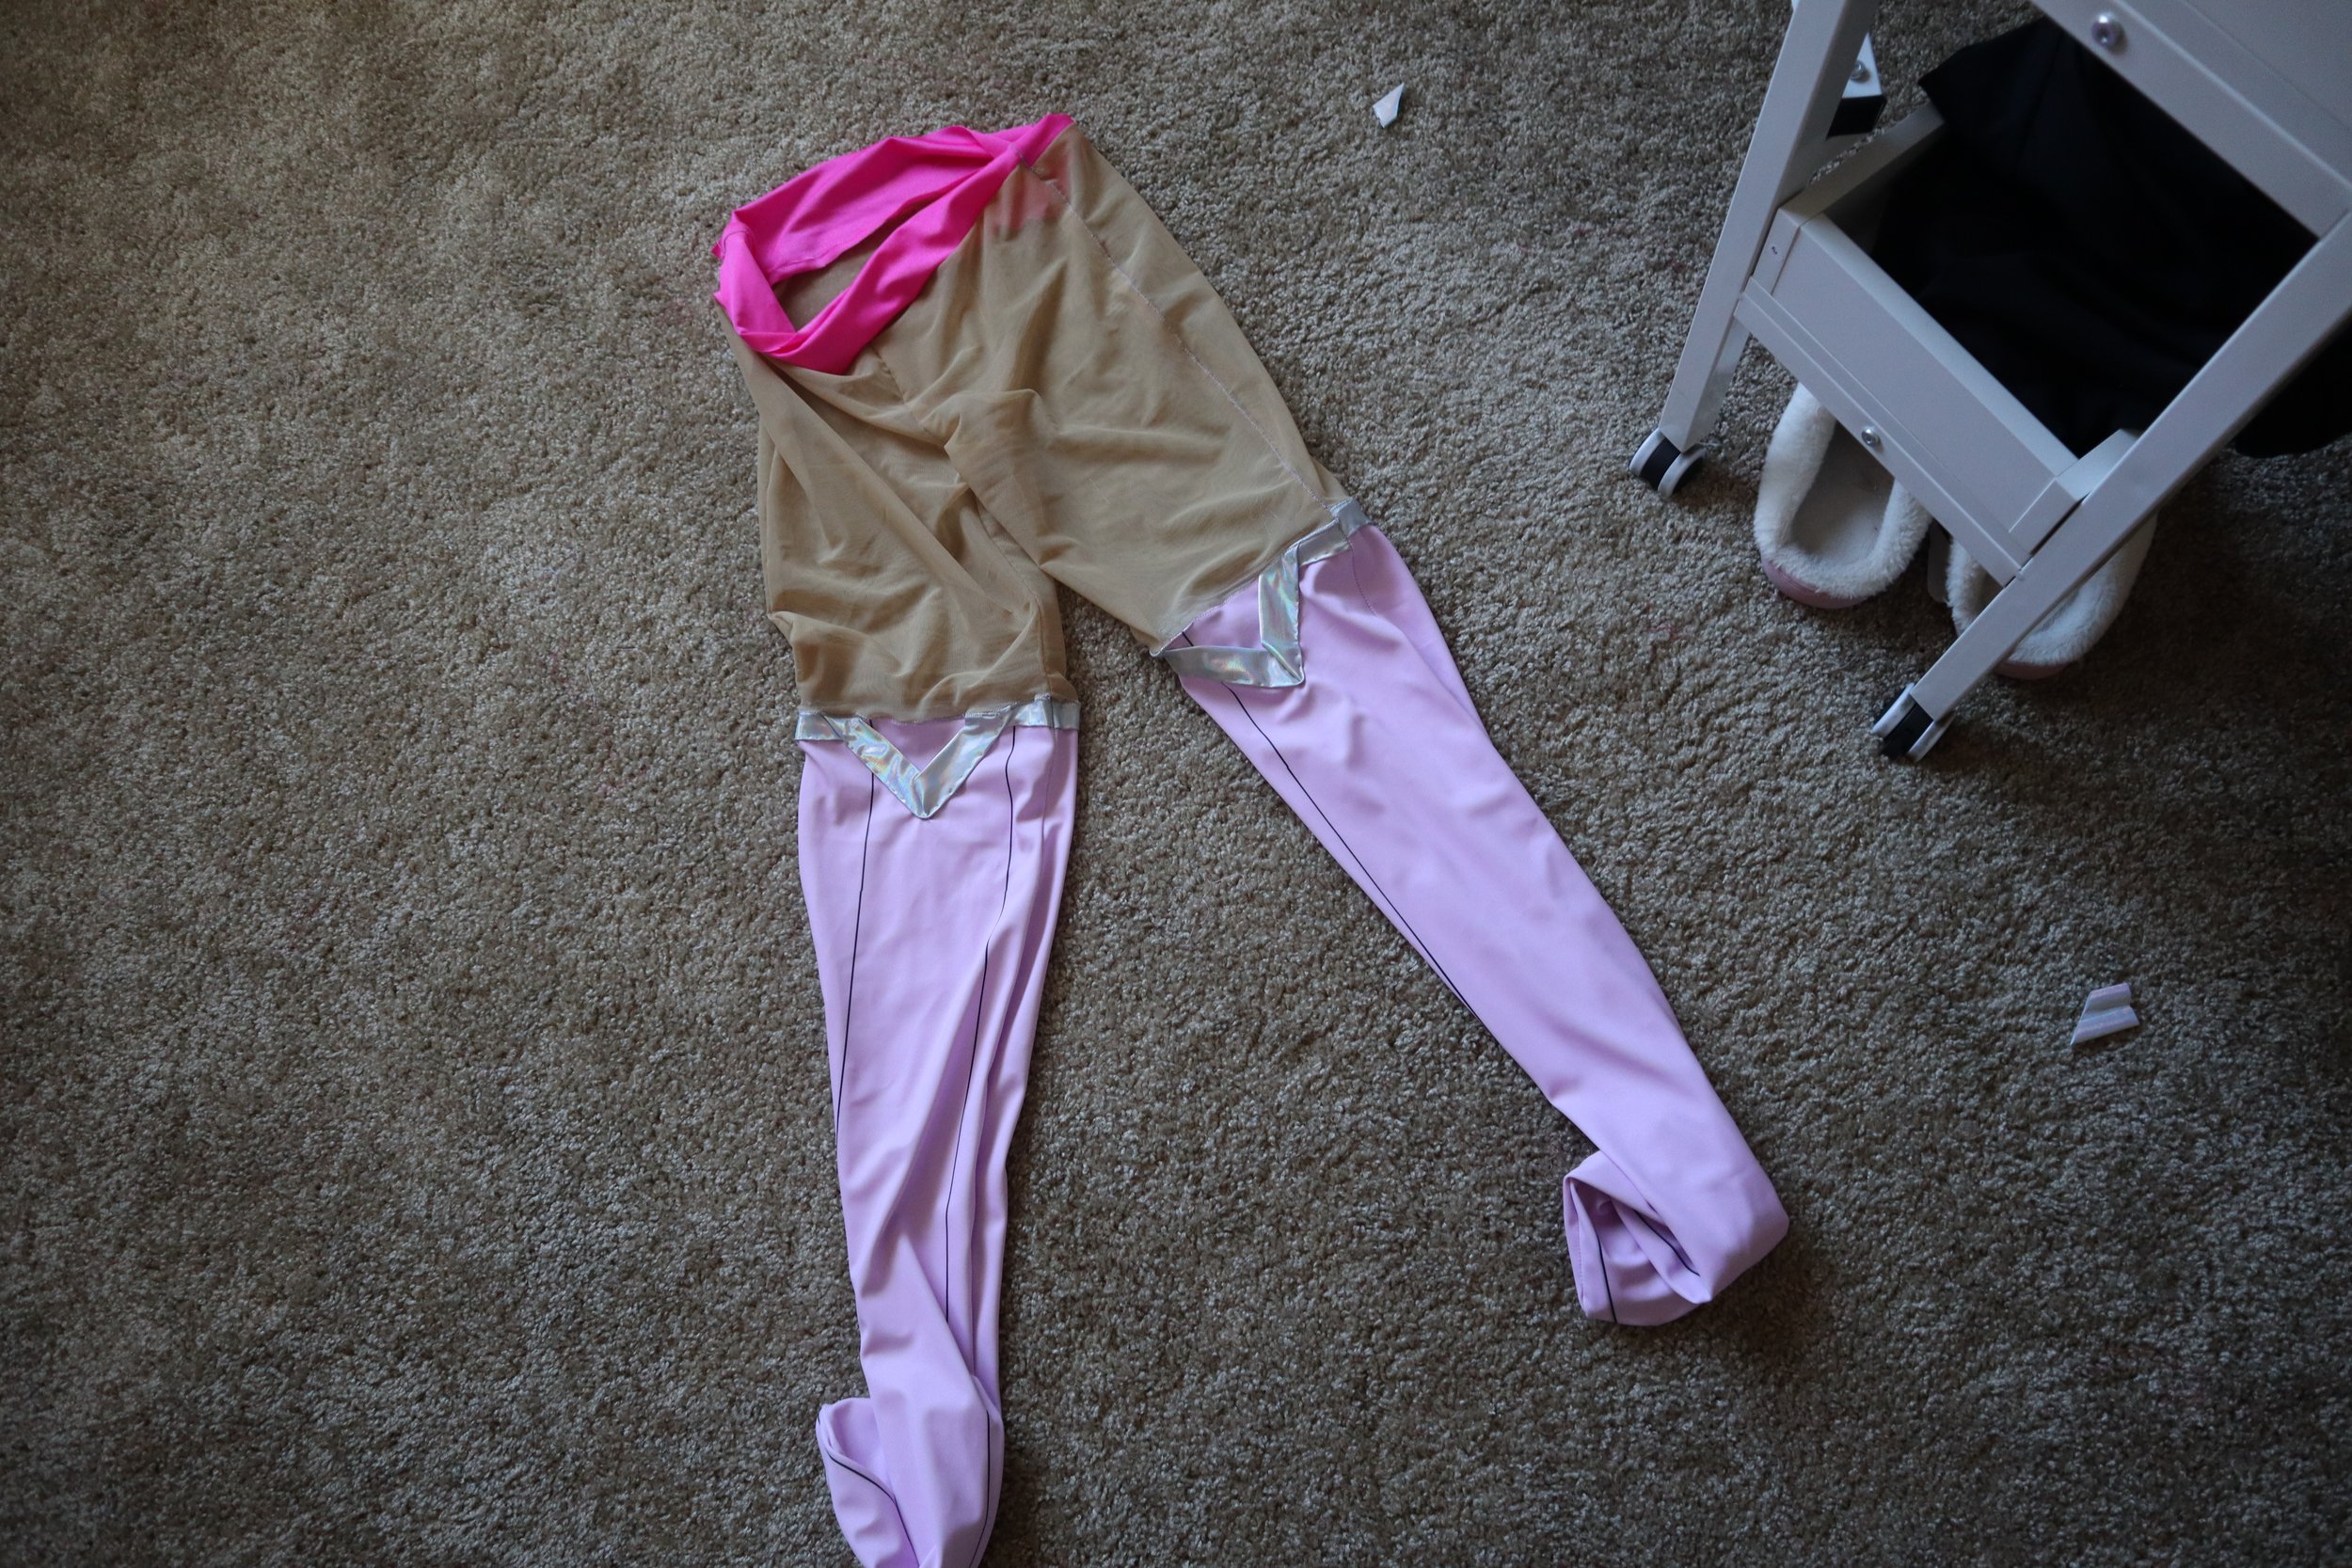
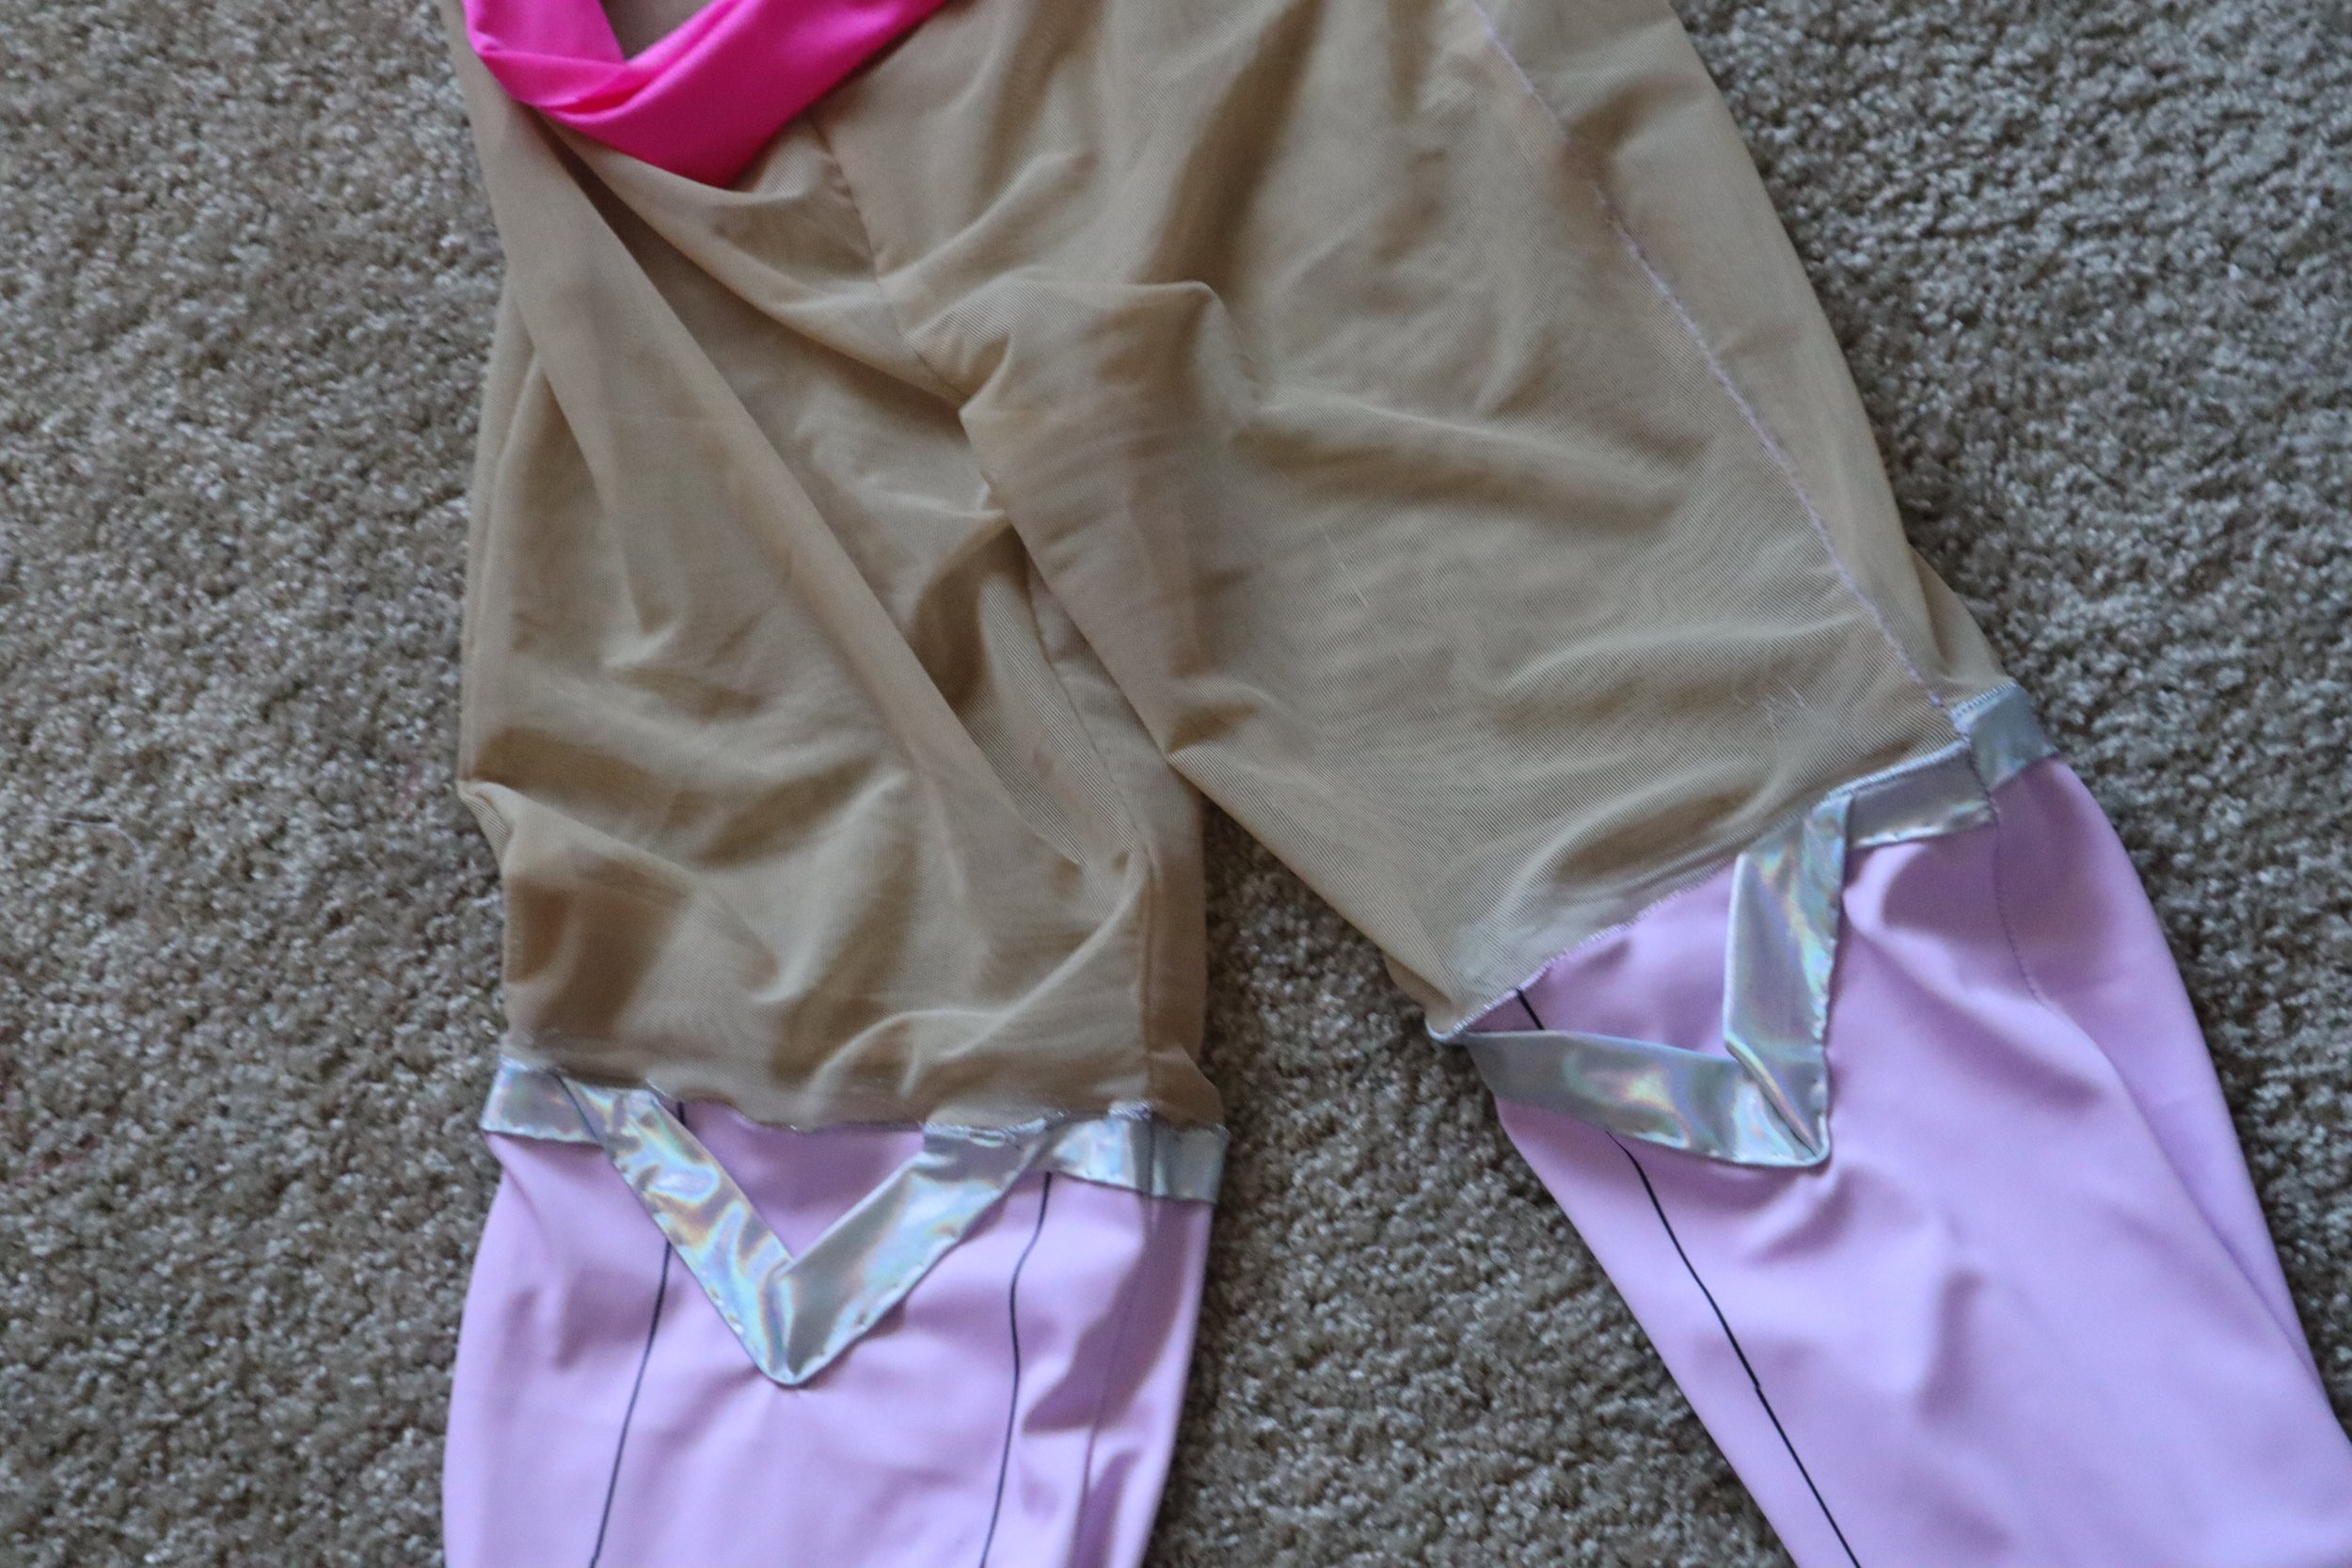
Just like most cosplayers, I hate wearing thigh highs. Therefore, my first thought was to make sure these were “fake” thigh highs. Which means I make nylon shorts and attach the thigh highs to them. For the pattern for the shorts I modified the leggings from simplicity 8424 and for the thigh highs I used the boot cover pattern from Yaya Han, Mcalls’s 7397. Besides length reduction, the shorts didn’t need much work drafting. I did take in the thigh highs a ton though. They were far too large on me at first. I had to try to keep the black lines straight too.
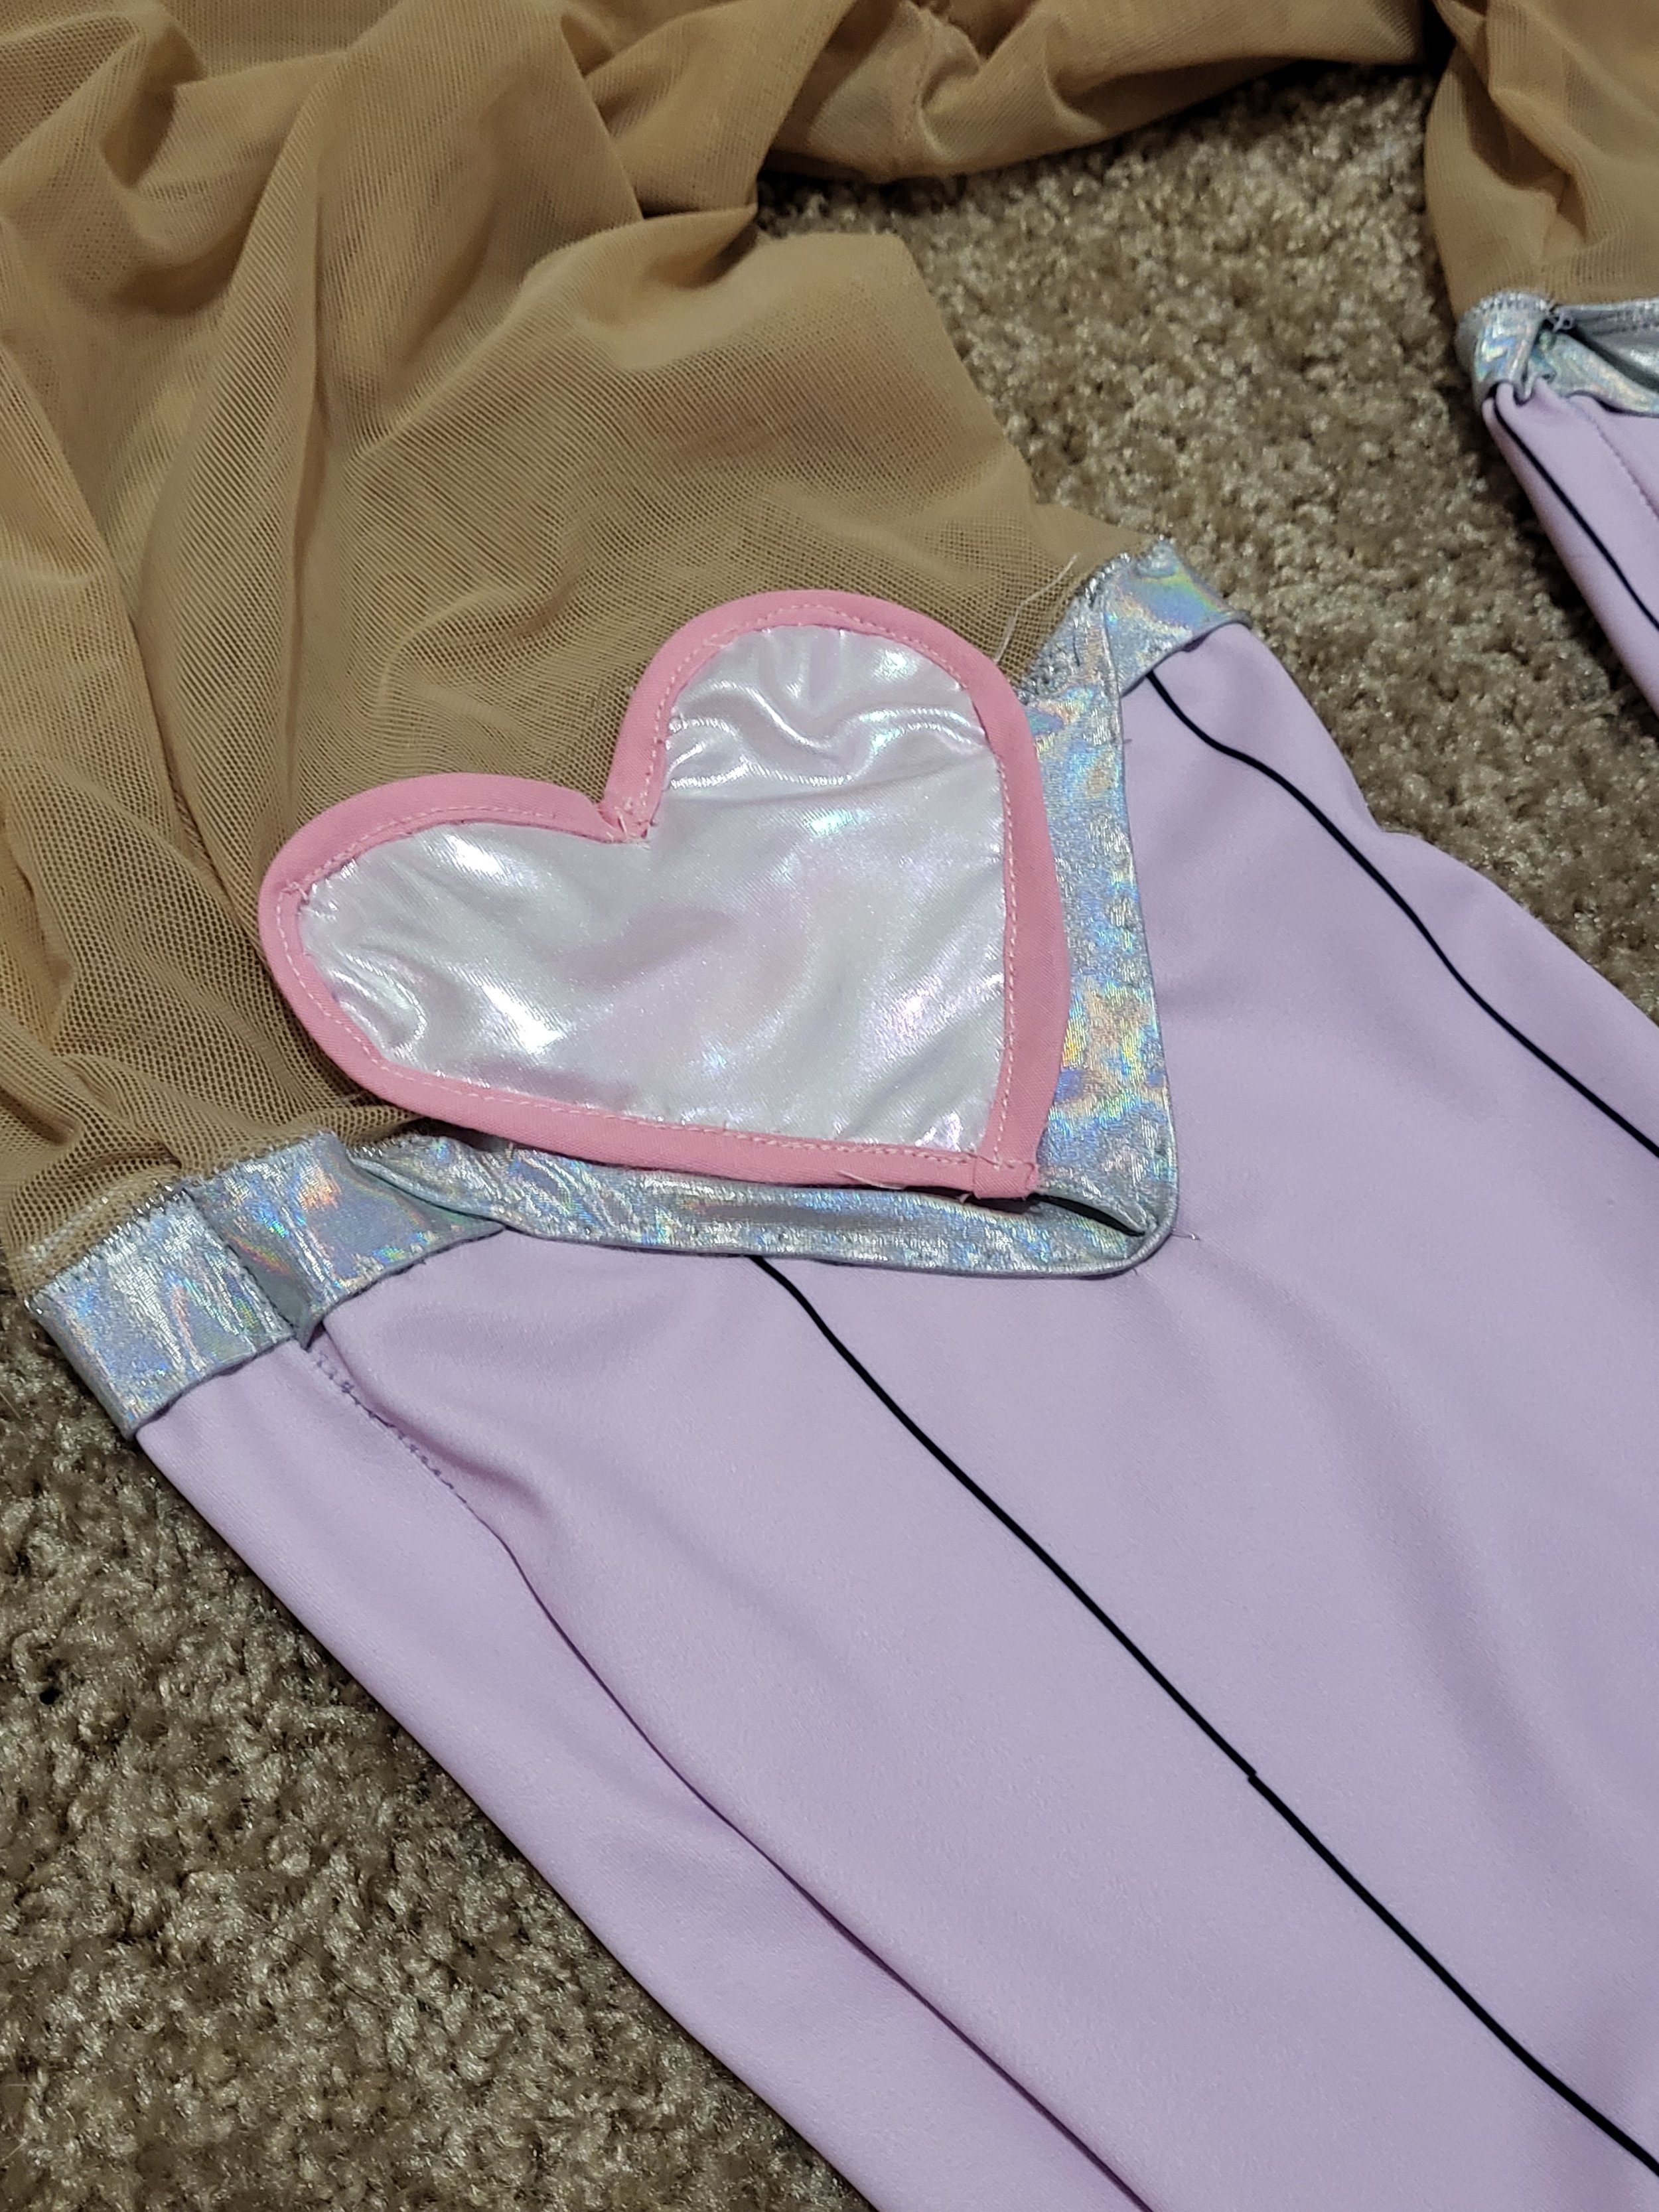
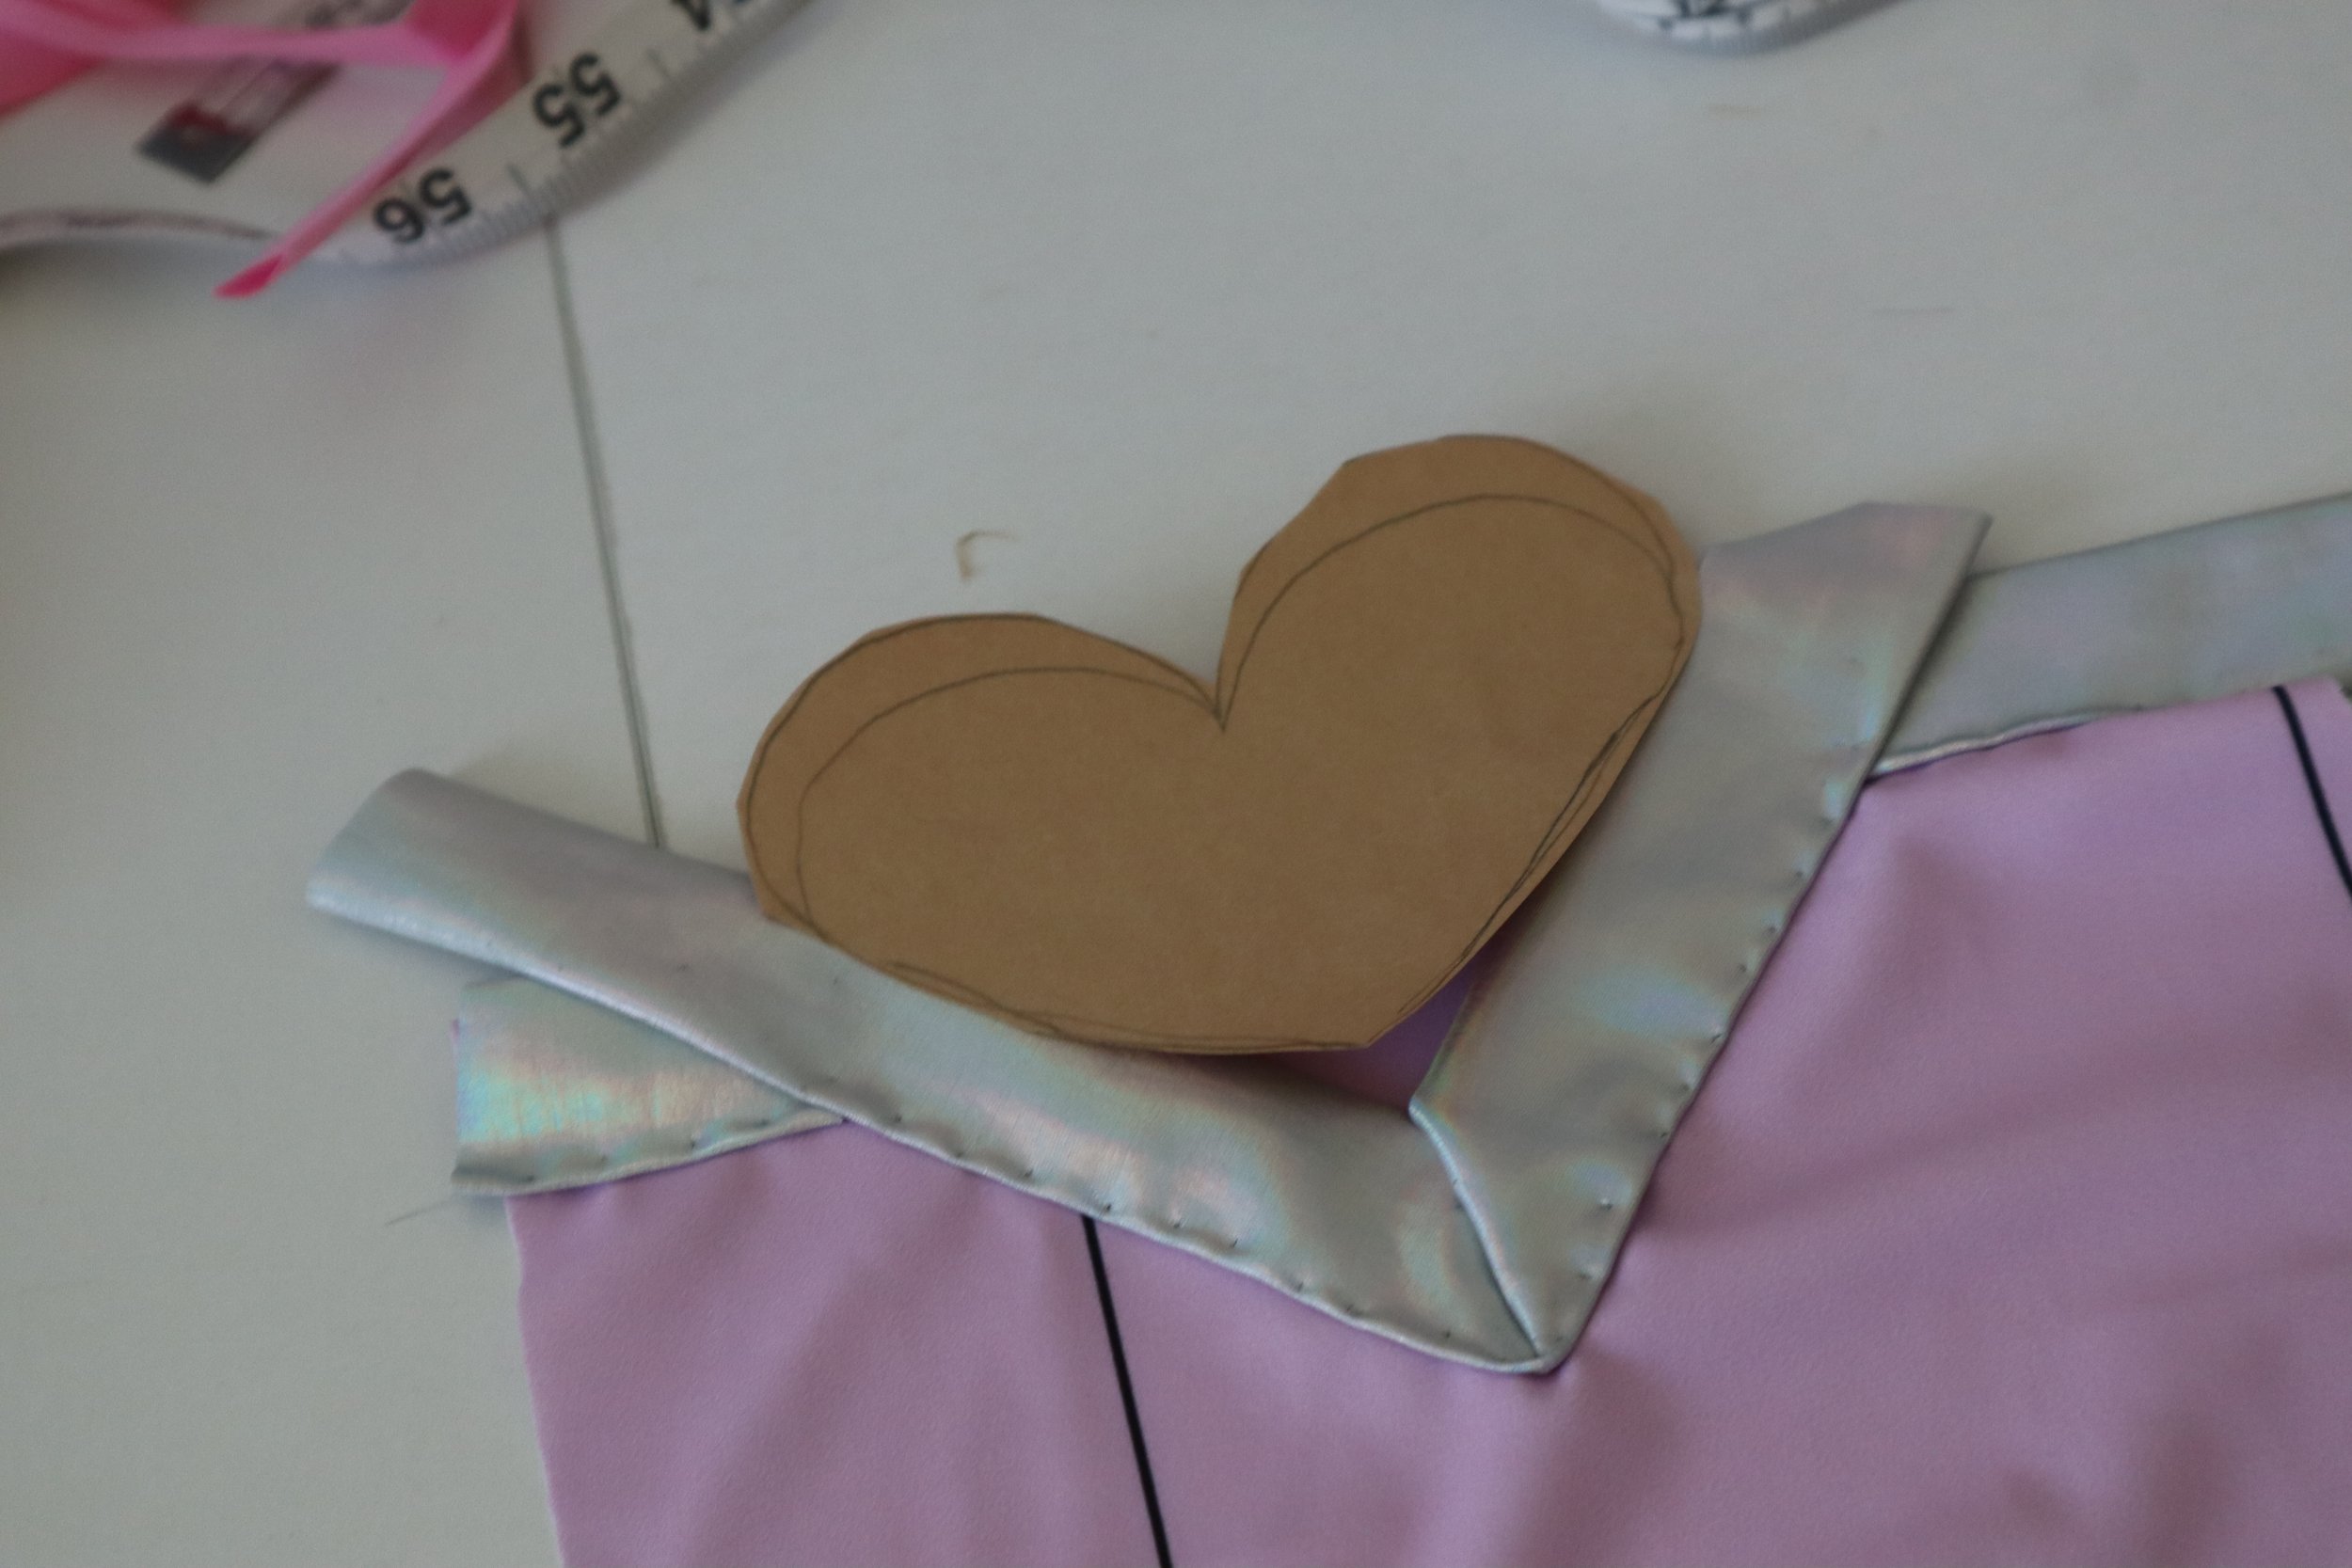
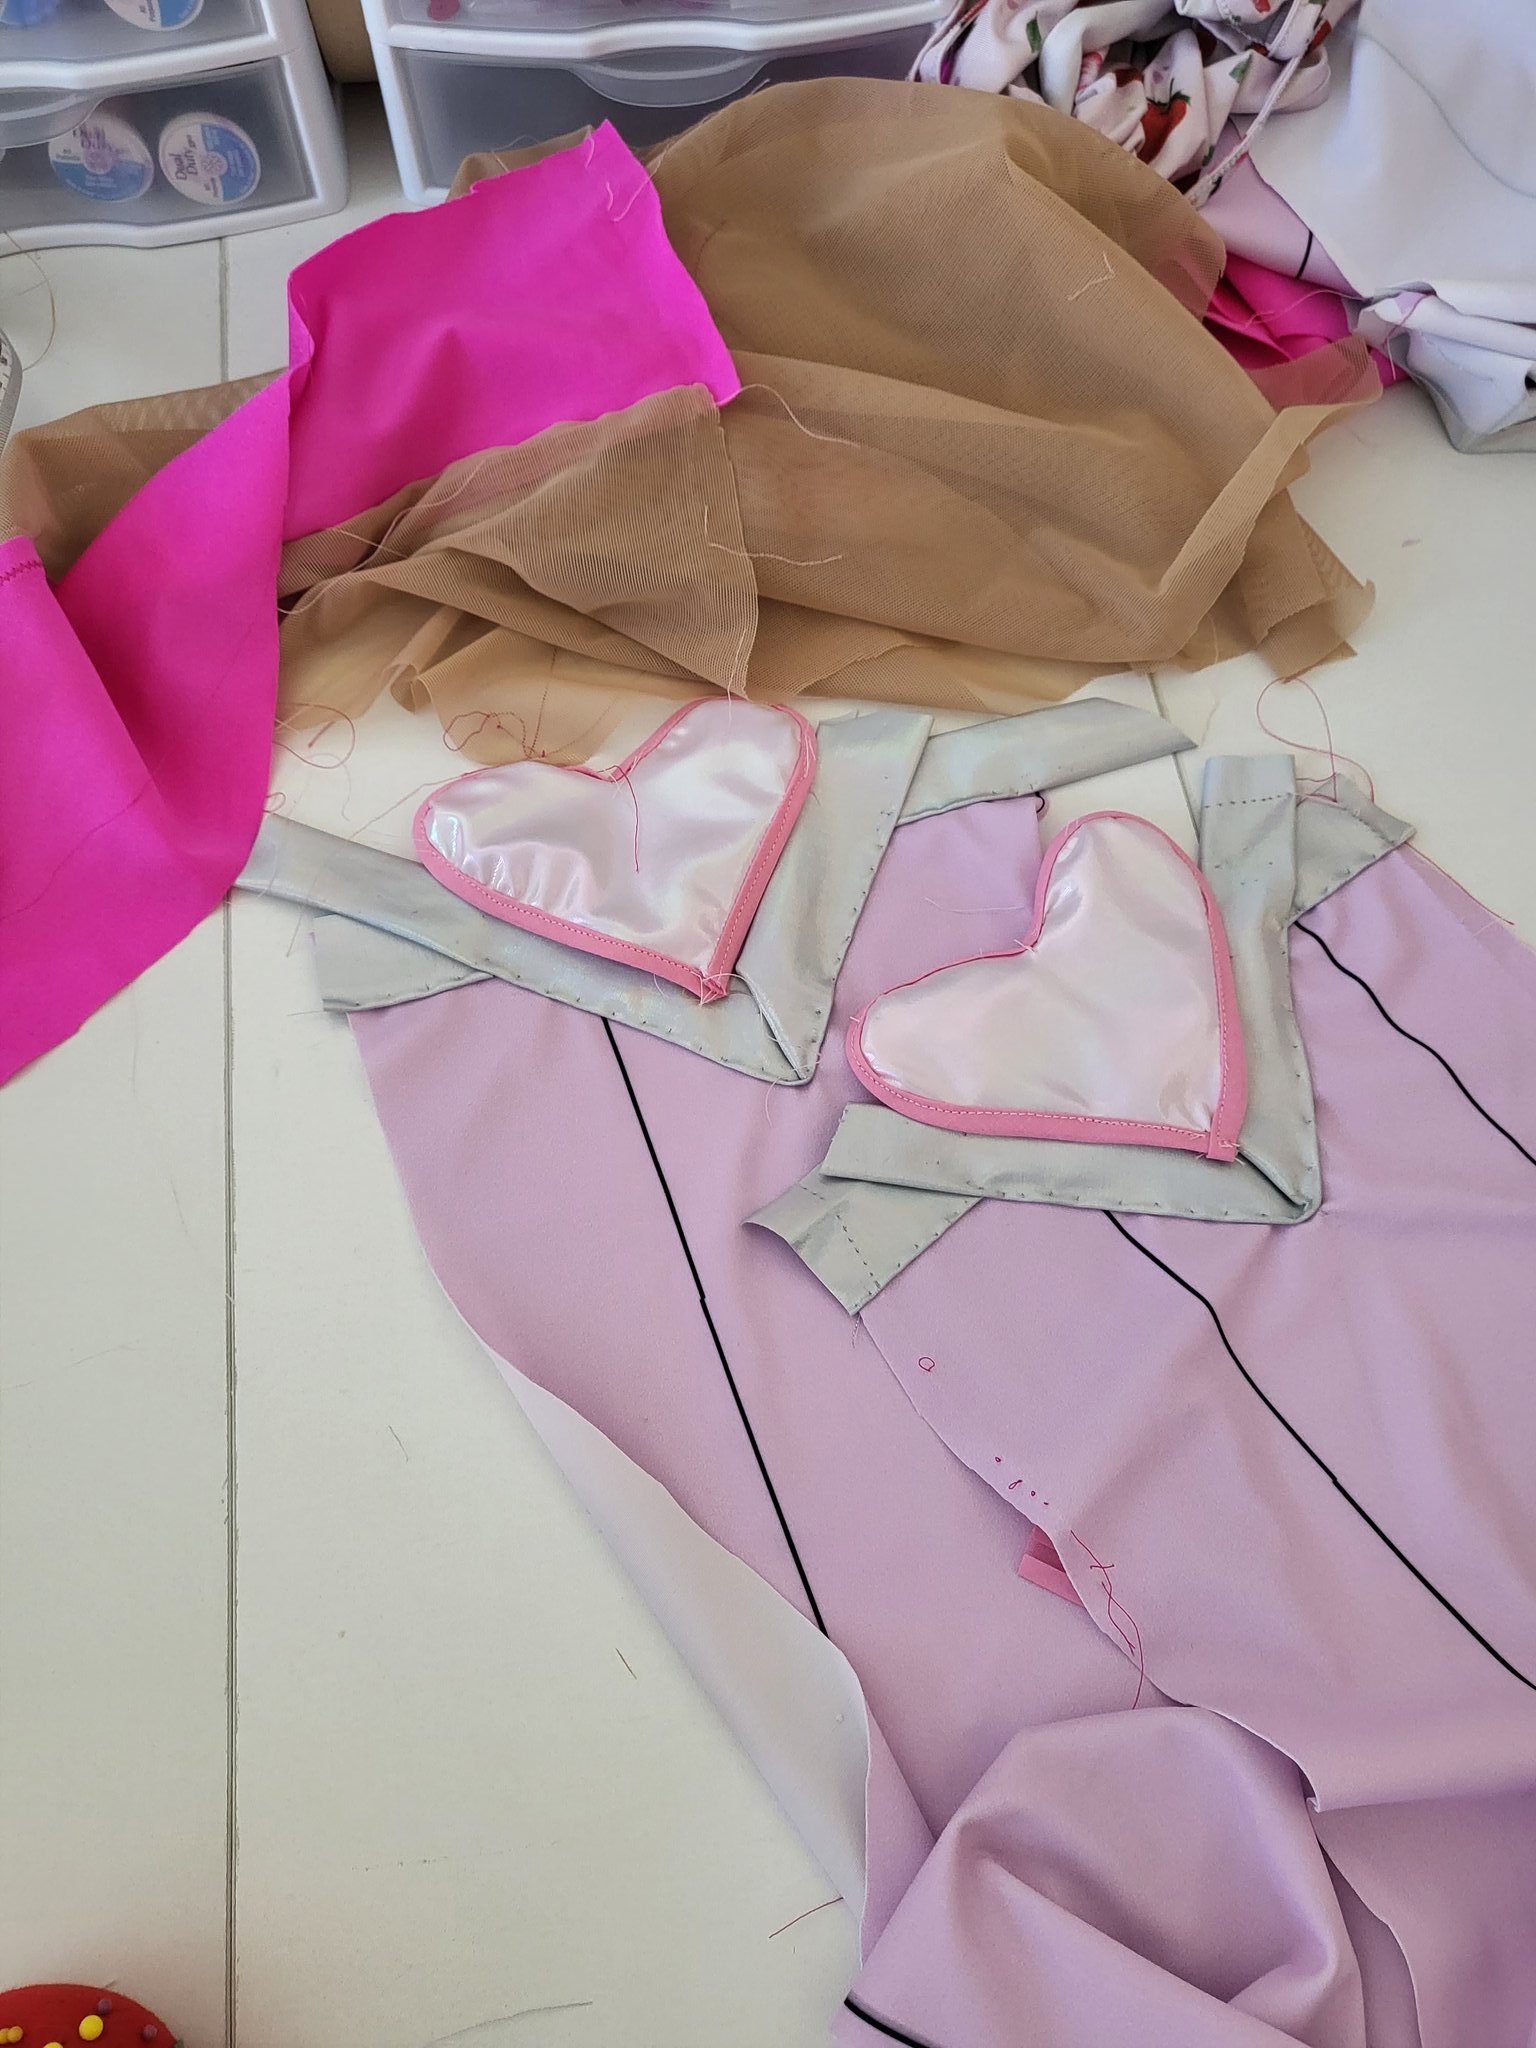
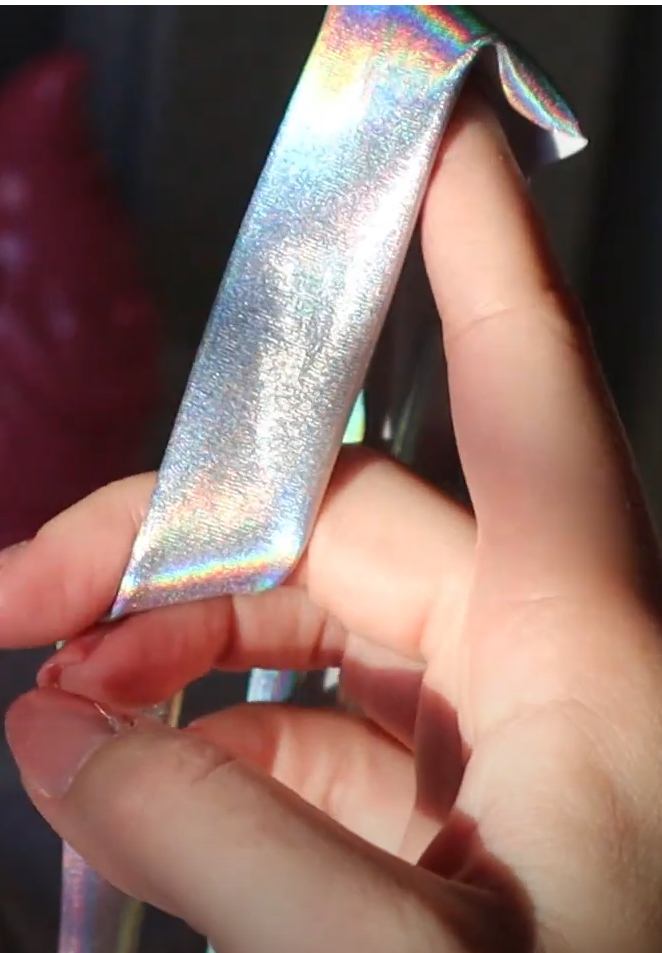
I made bias tape out of the silver material being used through the rest of the cosplay, which is Joann’s mystique fabric. Before sewing the thigh high pieces together and attaching to the nylon shorts, I sewed on the silver bias tape around the top of the thigh high in the same way Caitlyn’s is. I sewed this on by hand so stitching could be less visible. The thigh highs then got sewn onto the shorts. Although since I sewed on the bias tape before, I lost some silver, maybe a centimeter or so. Then I made a pattern for the heart piece that goes on the front of each thigh high.
The design for the heart was cut onto some pattern paper then I used Joann’s pink mystique fabric for the heart itself. I used darker pink bias tape around the edges to create the contrast in the original design. These were then hand sewn onto the thigh highs. The pink mystique fabric was sewn on though, not the bias tape. Therefore it created a 3D effect around the edges of the hearts. Also, since I didn’t mention it previously, I used very sturdy scuba fabric to add a waist band onto the thigh high shorts. This is so they don’t slip!
making Thigh Highs Video
SKIRT
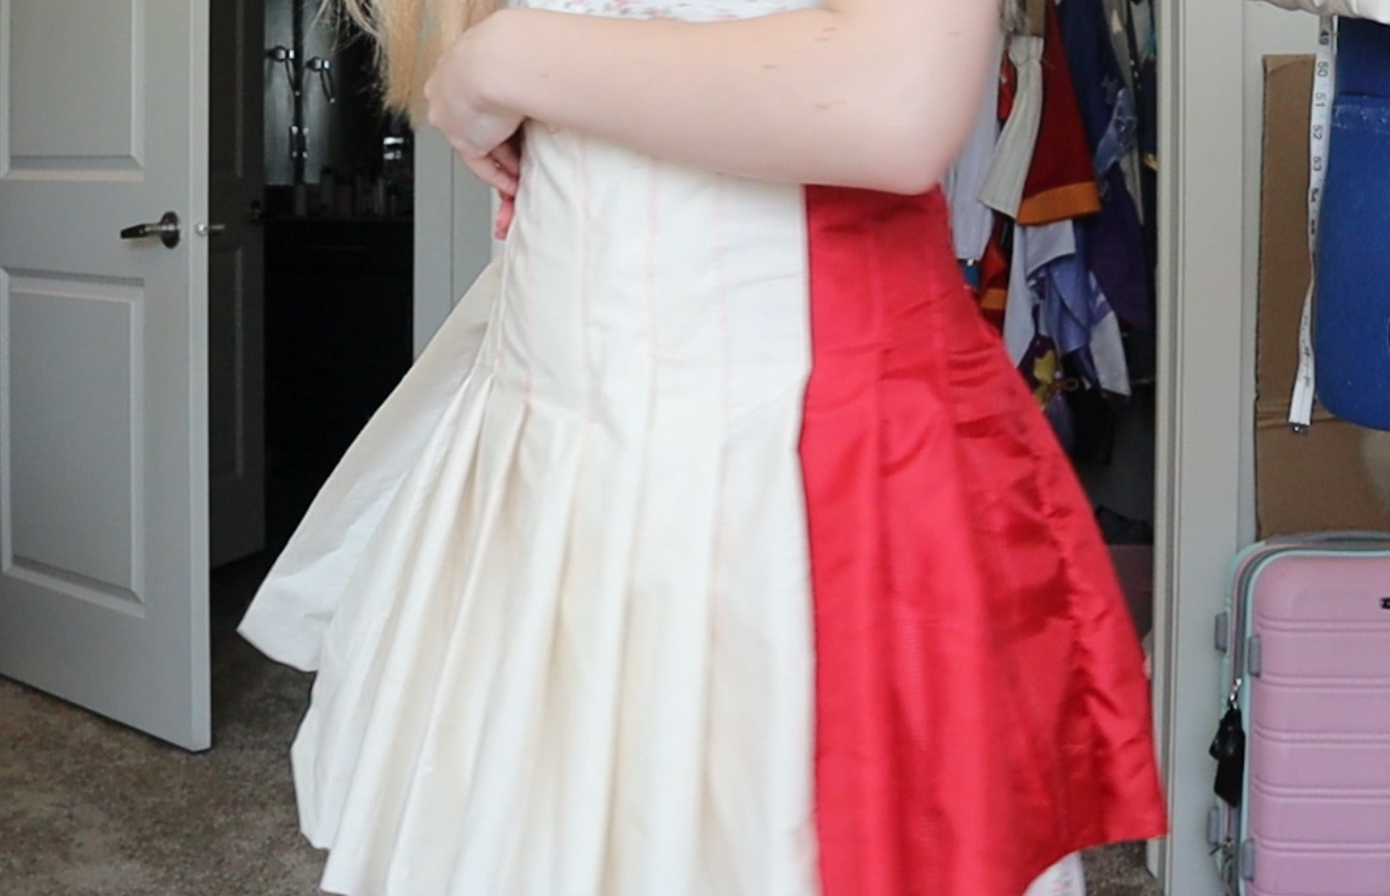
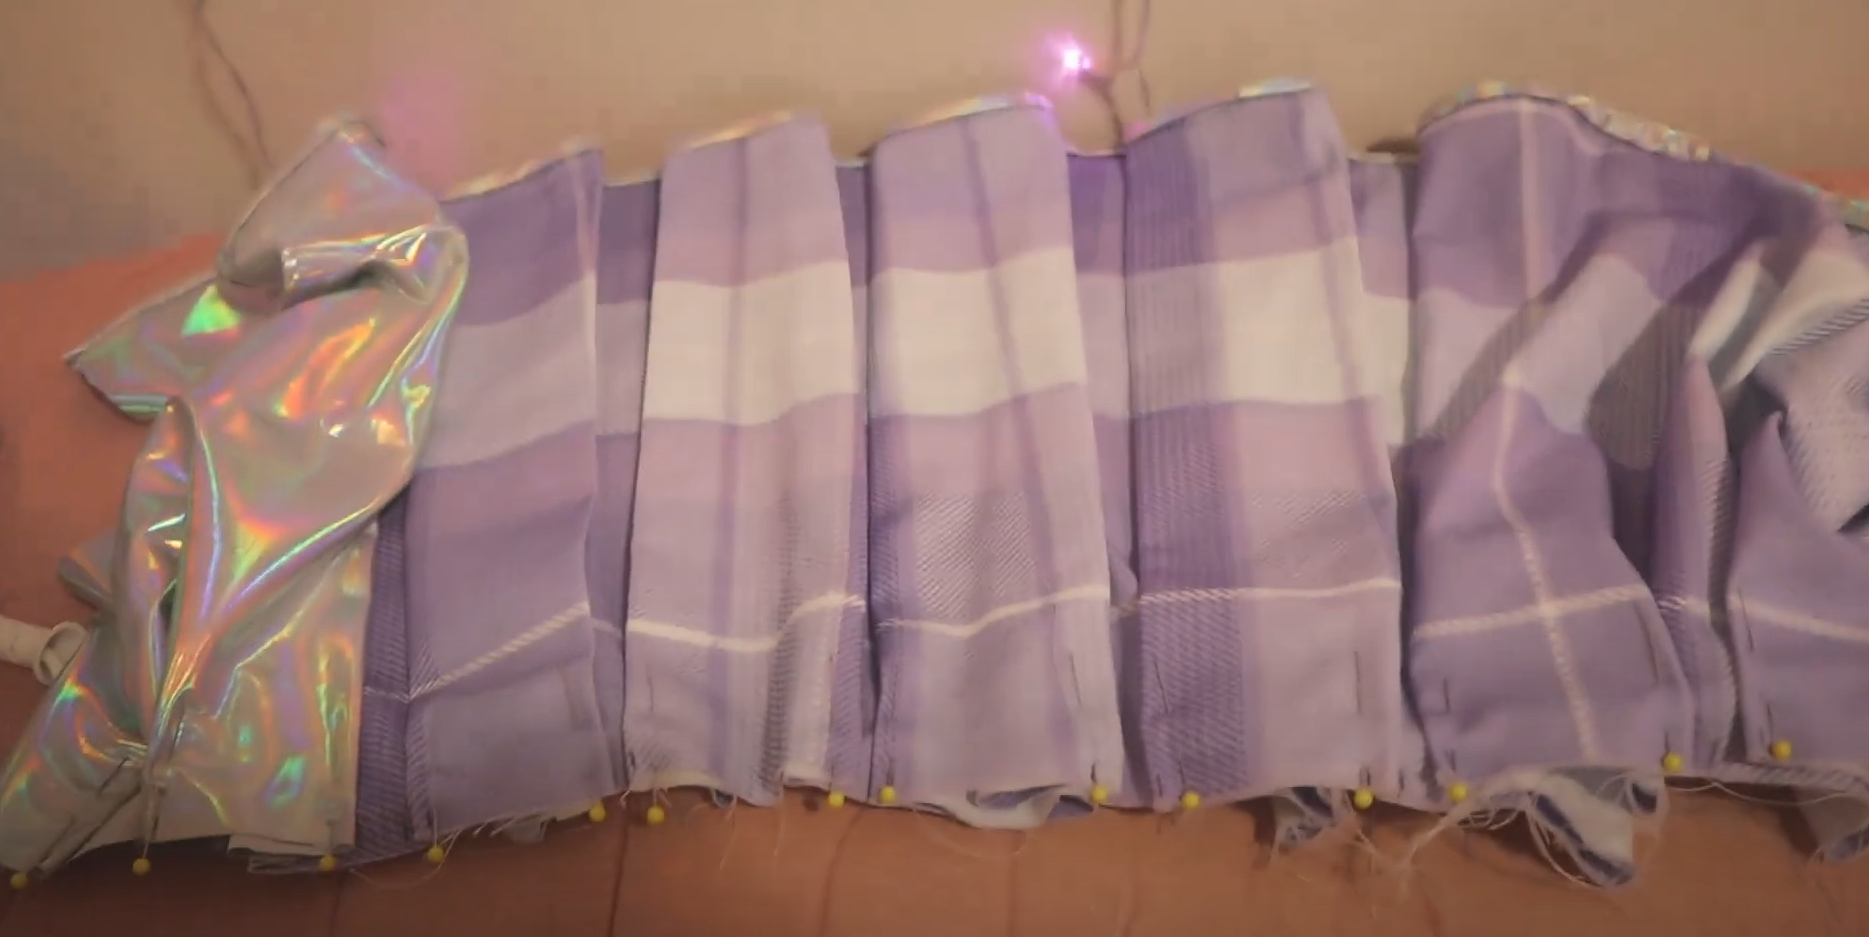
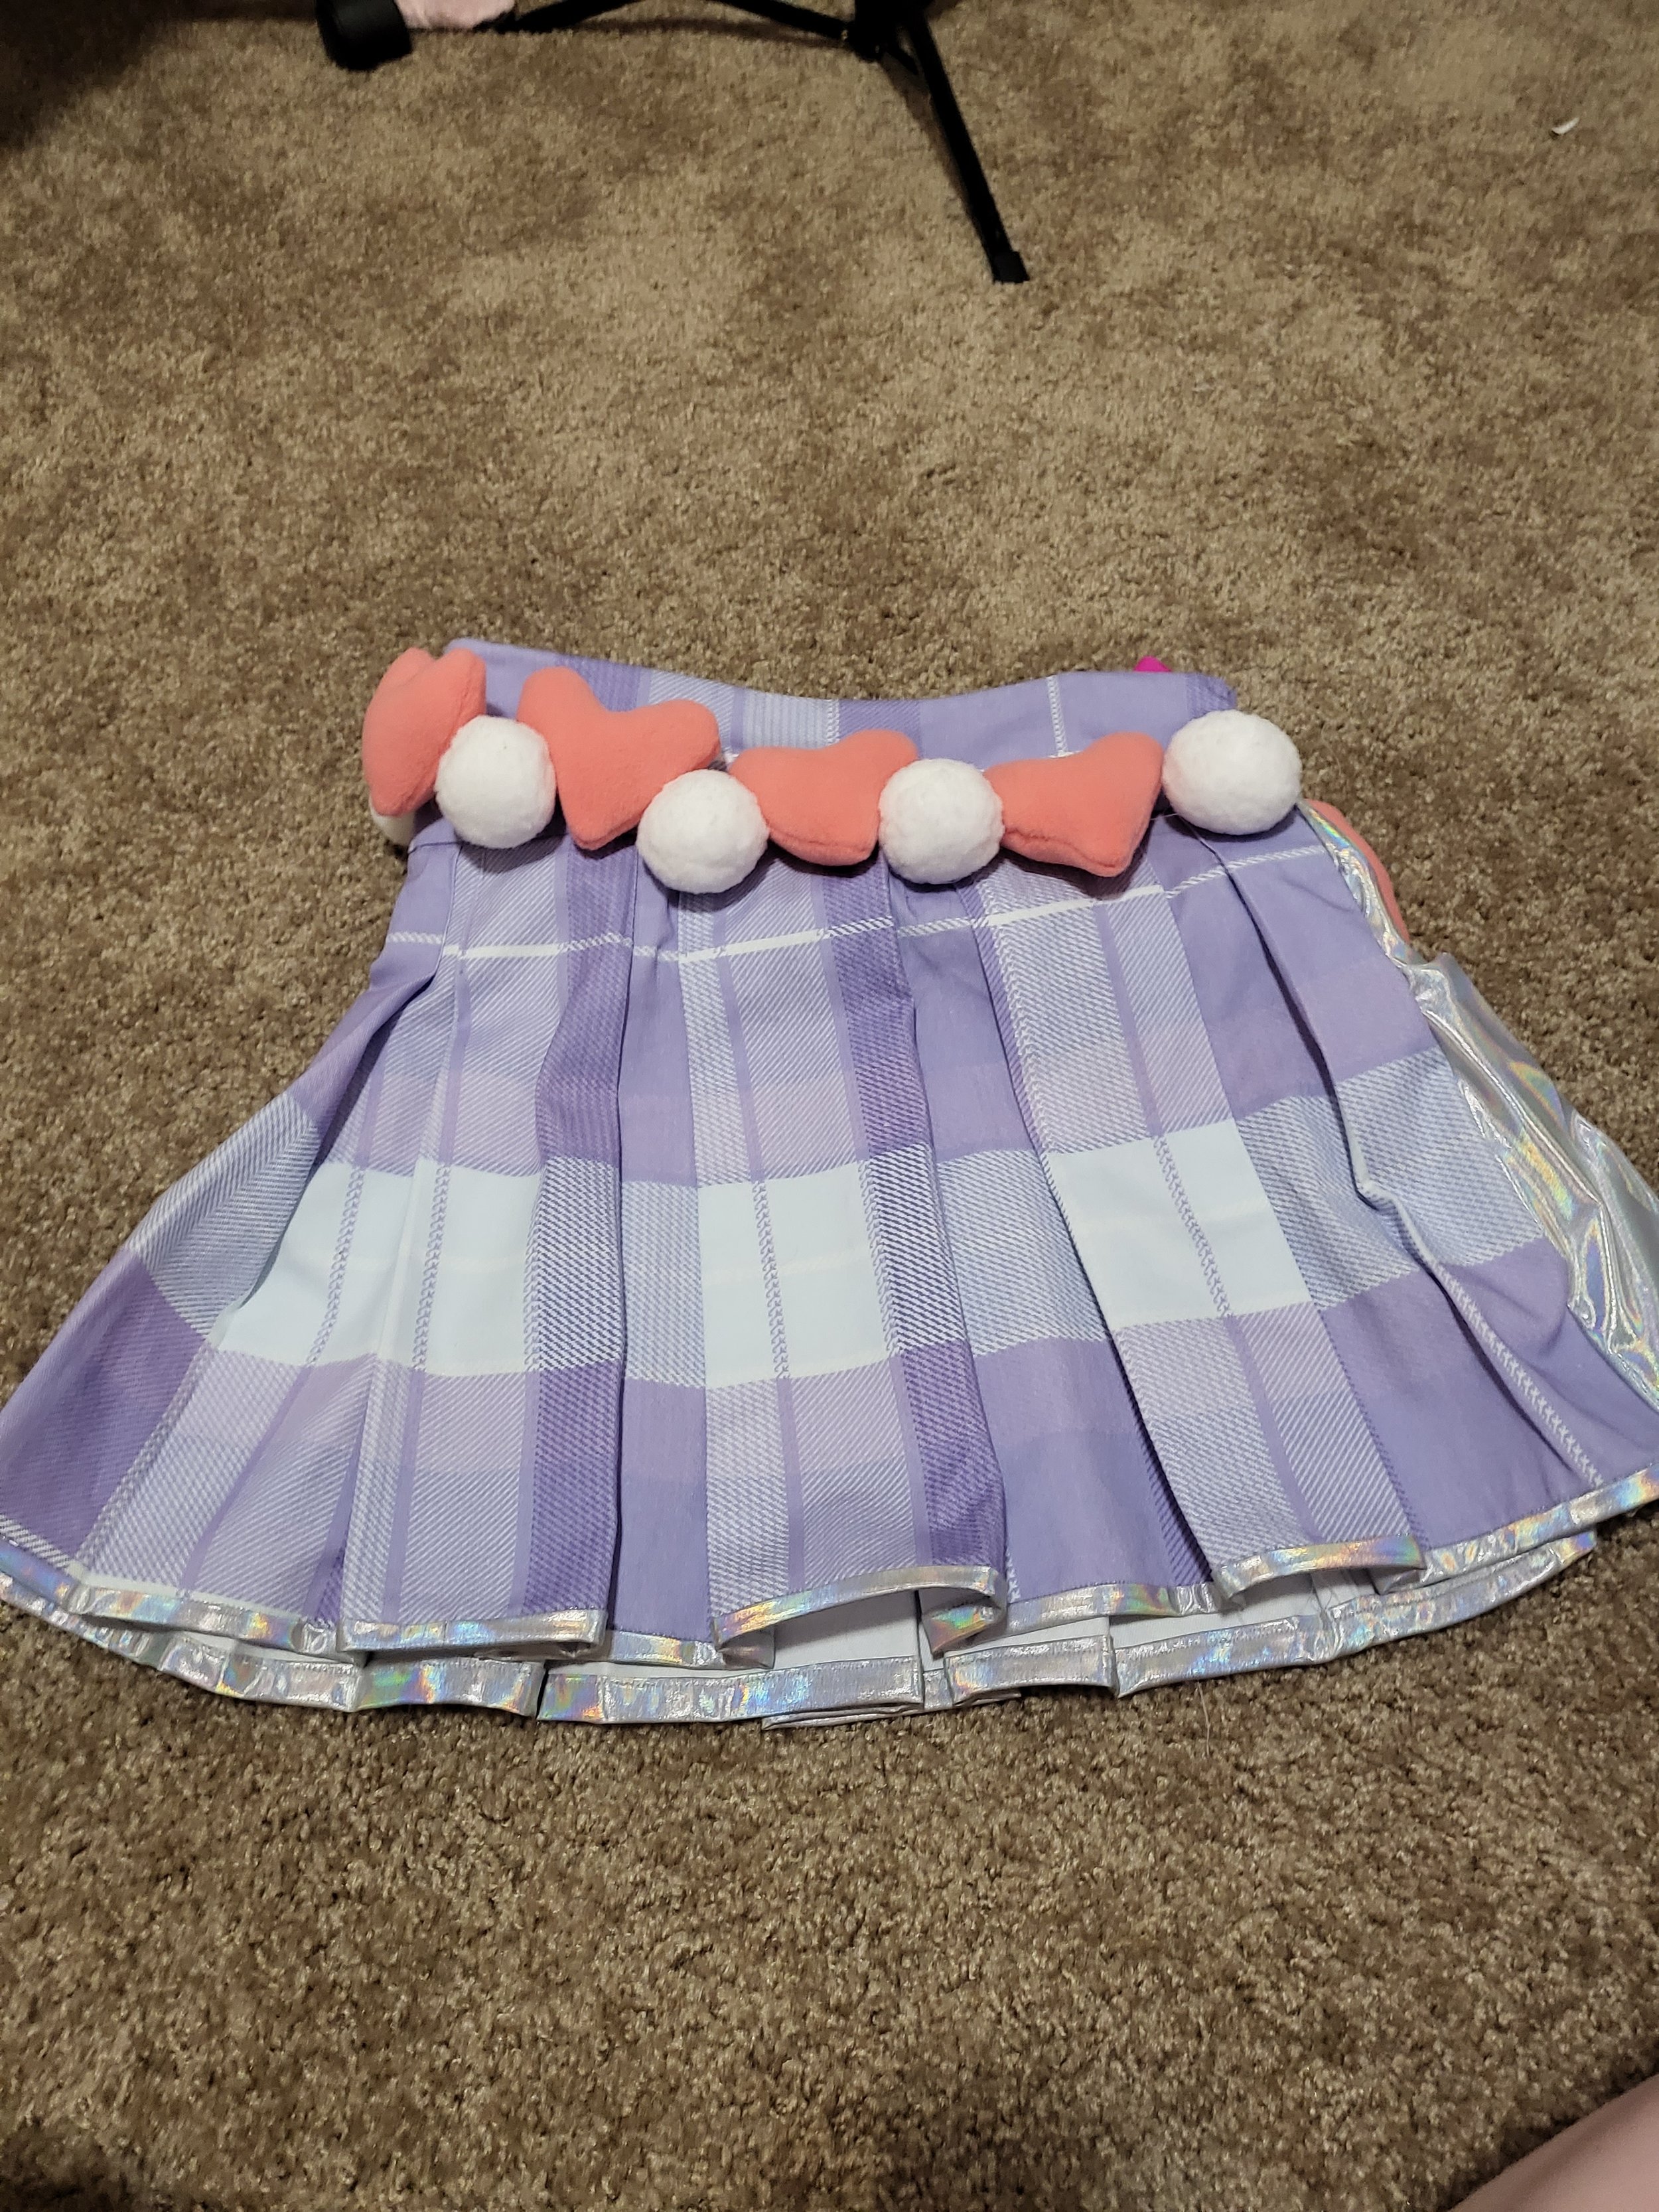
The skirt of this project was no ordinary pleated skirt. Based off of the design, it was a plaid skirt with about 1/5 of the material being the shiny, silver, reflective material. Firstly, I’ve never made a pleated skirt, let alone one where I had to concern myself with plaids. Second, I found the silver material portion to be pretty confusing.
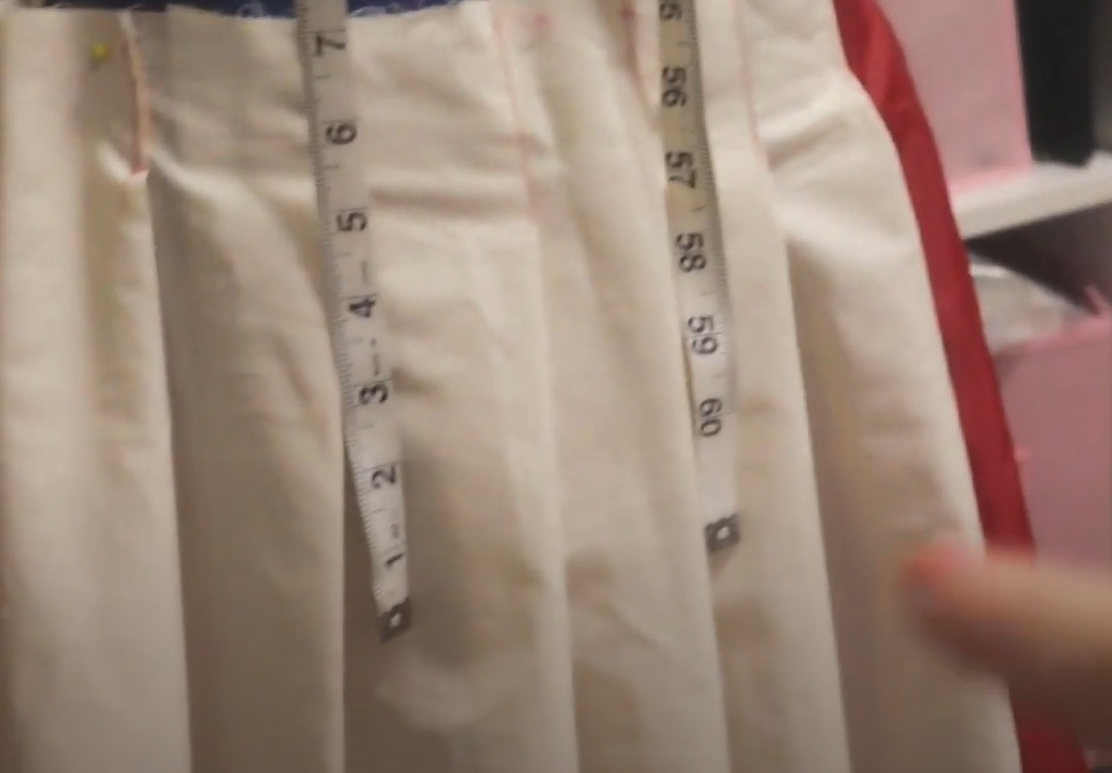
To start, I cut my fabric based off the pattern I previously created, with the red representing the silver and muslin representing the plaid. However, when I started to pin, I took a closer look. I realized that I had made the pattern with knife-pleats, when I should be using box-pleats. So, I went back and remade the pattern the accommodate box pleats. I sewed the silver to the regular plaid to create one very long piece of fabric for the skirt. Then I just cut and sewed it like a regular pleated skirt. I did end up having to take it apart and try a second time as well, the blue “stripe” of light blue plaid wasn’t sitting in the front like I had wanted, which was kind of the point of custom fabric. So I went back to make that work. The skirt was finished on the ends by silver bias tape which I made from the reflective silver material. It was my first time ever making bias tape! Bias making was a skill that made me anxious for so long but I actually really enjoyed making it.
The waistband was also very challenging for me. In Caitlyn’s actual outfit, it seems to move outwards with her hips and then go into being an actual pleated skirt. I had to compromise with this part a bit to make it actually fit my real, non video game character body. My waist measurement is about 26 inches, and hip is about 37 inches. This difference in measurement would’ve been extremely difficult to for me at my skill level to pull off. So, I just decided to make the waistband very tall, like high waist jeans. Similar to changing some colors slightly, this was another decision I made due to either resource availability or fitting me. It took me quite some time to get right but I pulled it off!
The Skirt Video
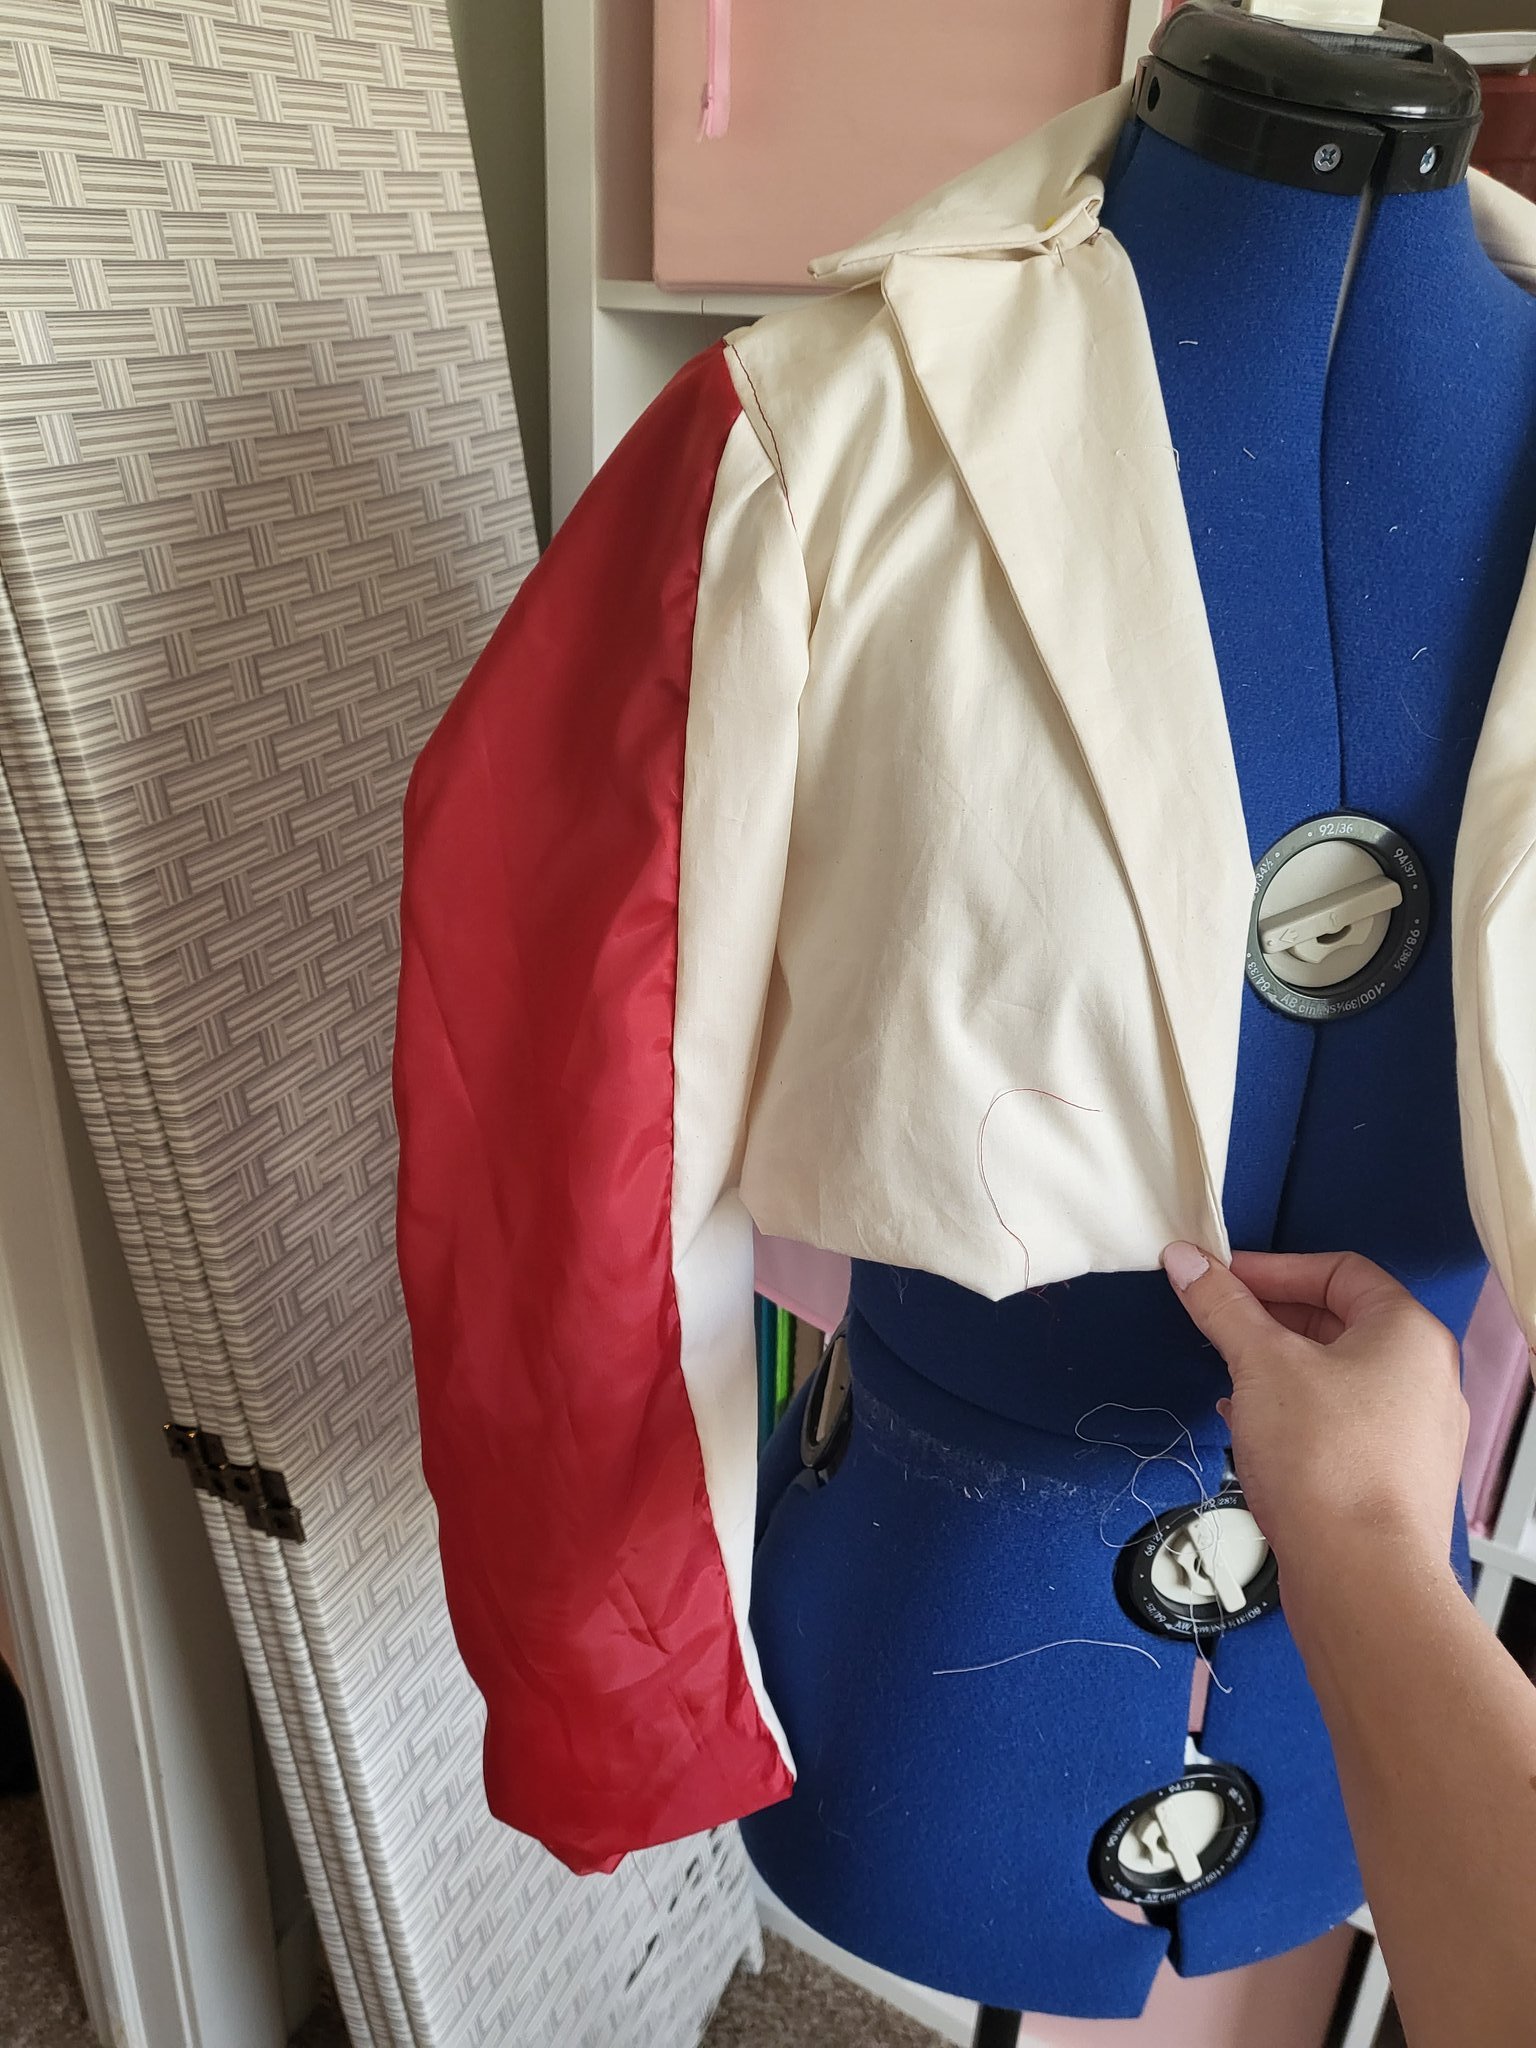
The Blazer
This was the most intimidating piece for me, it took me weeks and I think it did partially because of how intimidated I was. However, I’m pretty proud of what I did accomplish! Luckily, most of the work was done in the patterning stage. Unlike the skirt, the jacket entirely followed the pattern I previously had made. Some notes though that were different from the original planning and why:
I decided to not line the sleeves in particular for two reasons. First, they were comfy without lining and it’s not like the inside of the jacket where it would make a visual difference. Second, I intend to wear this all day at a convention in Utah in early September. Which means it could easily be 100 degrees out. I’ll take some fresh air where I can.
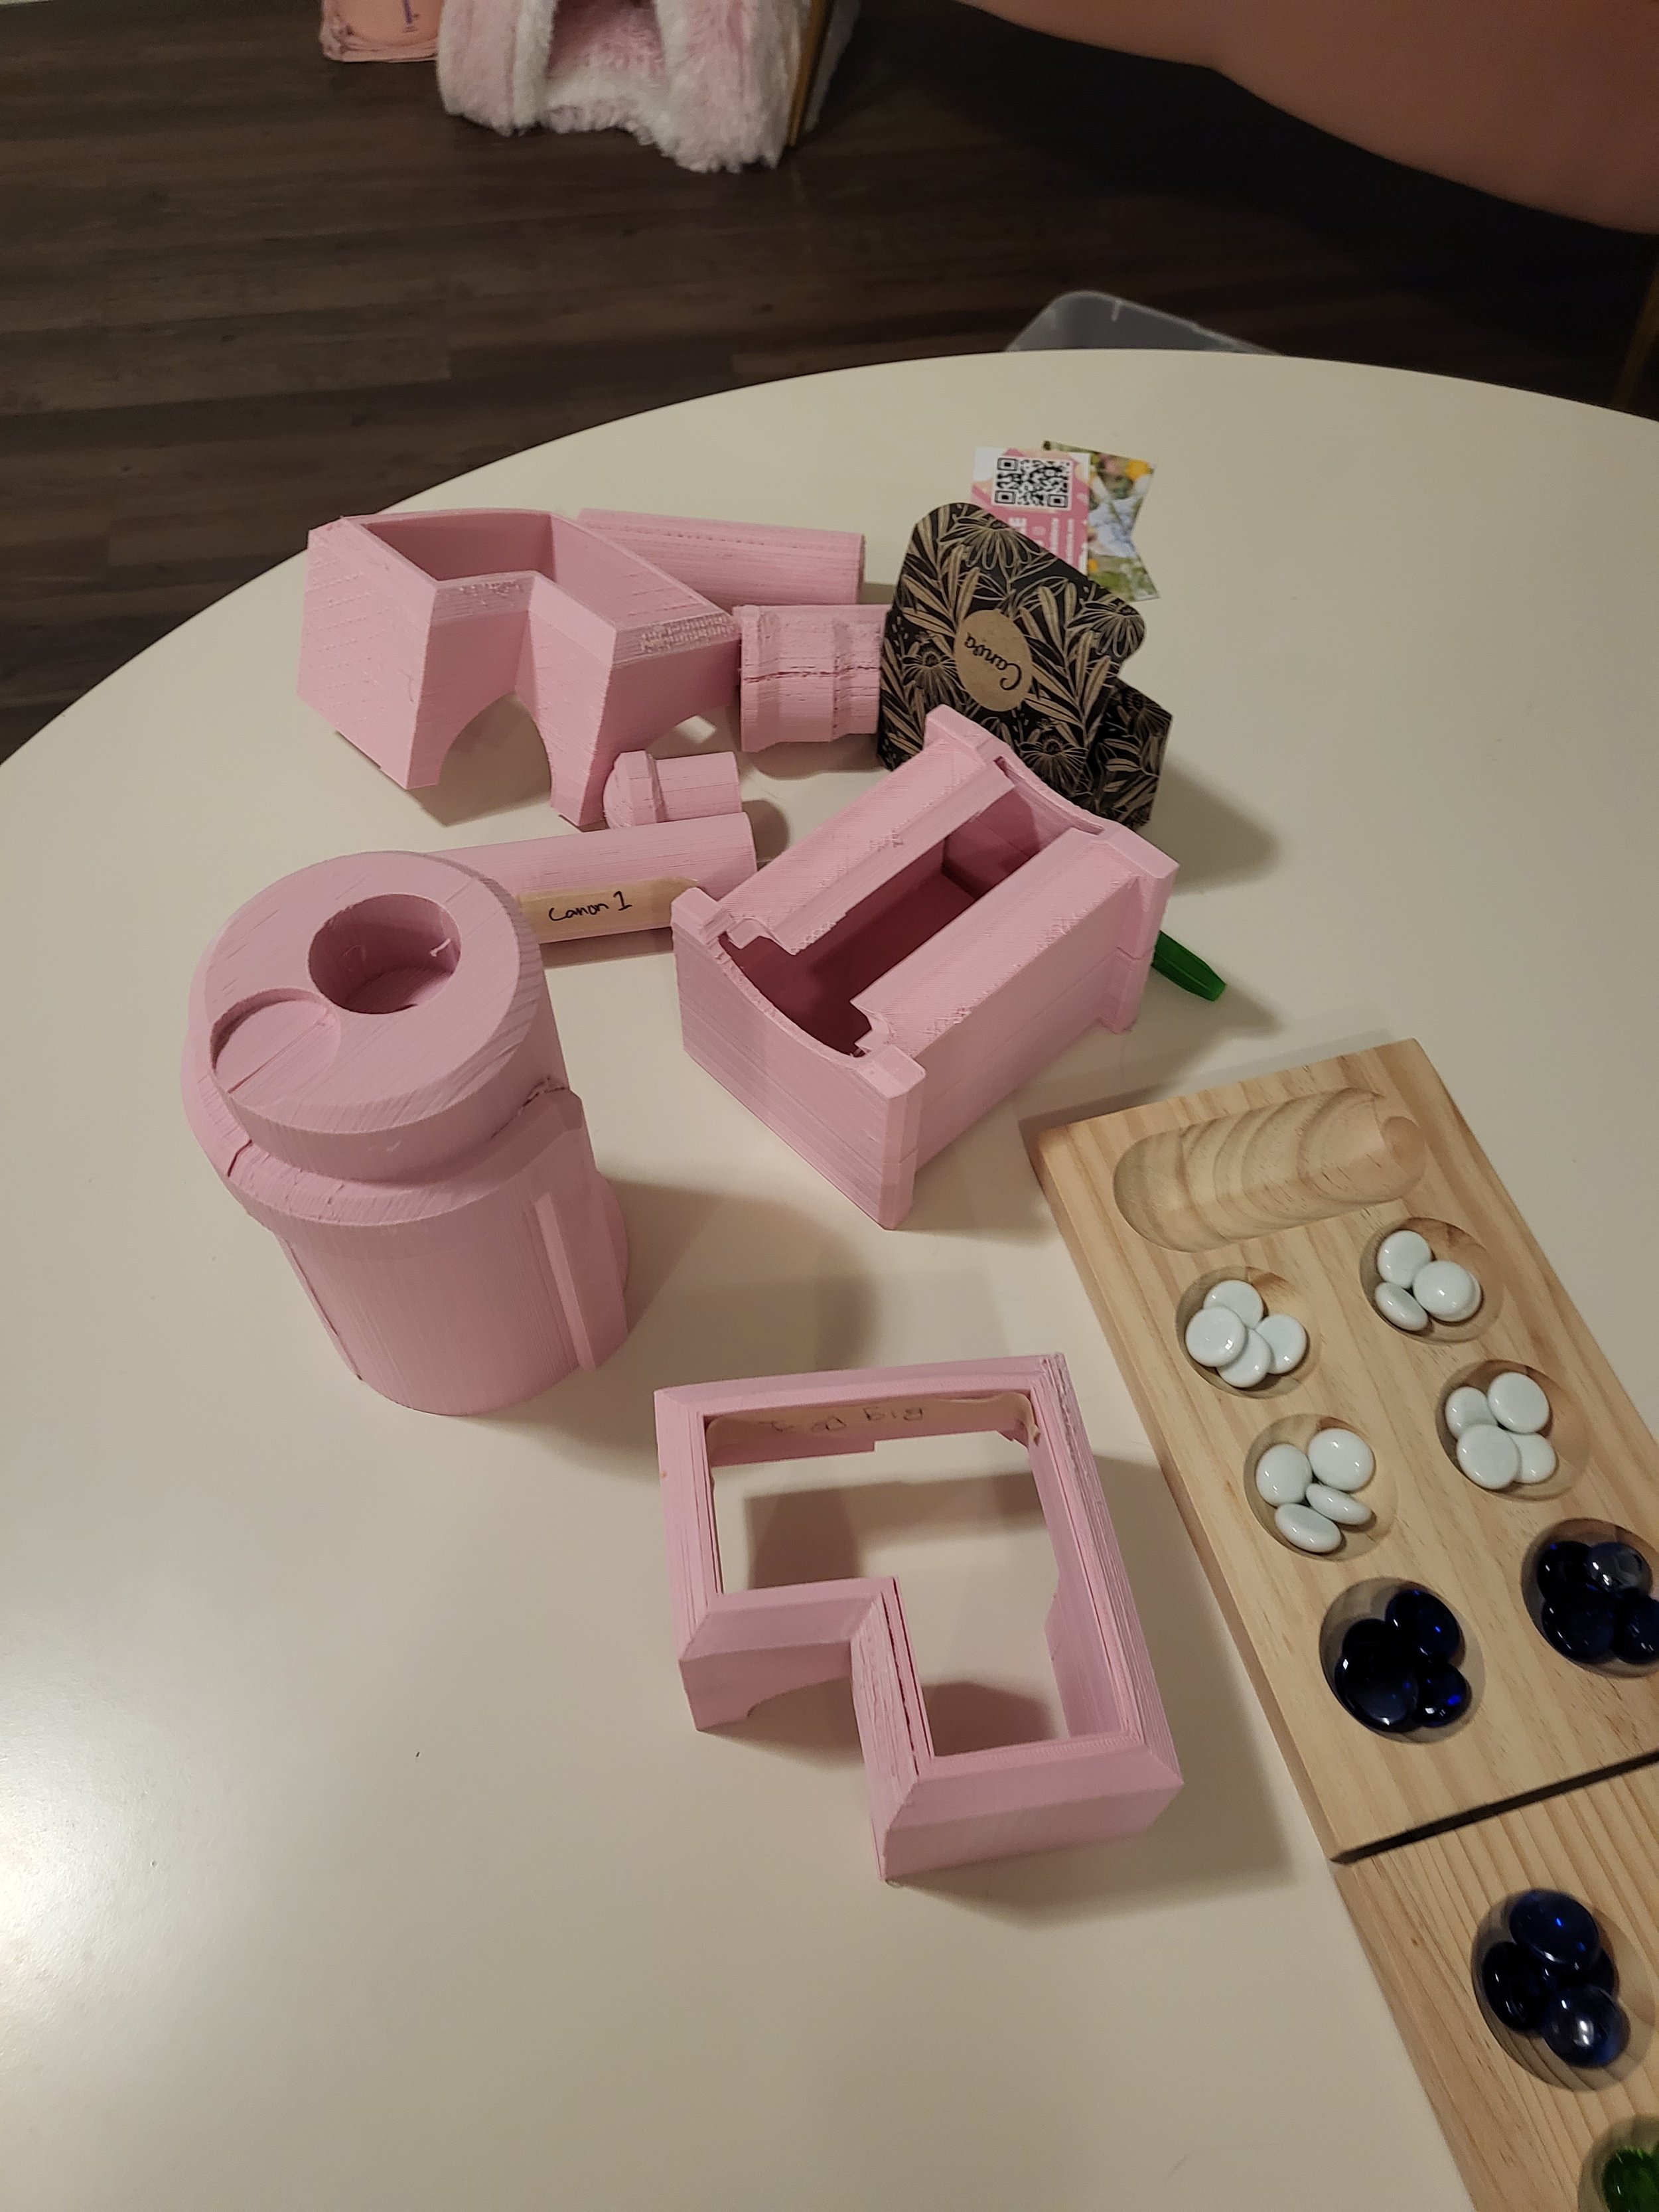
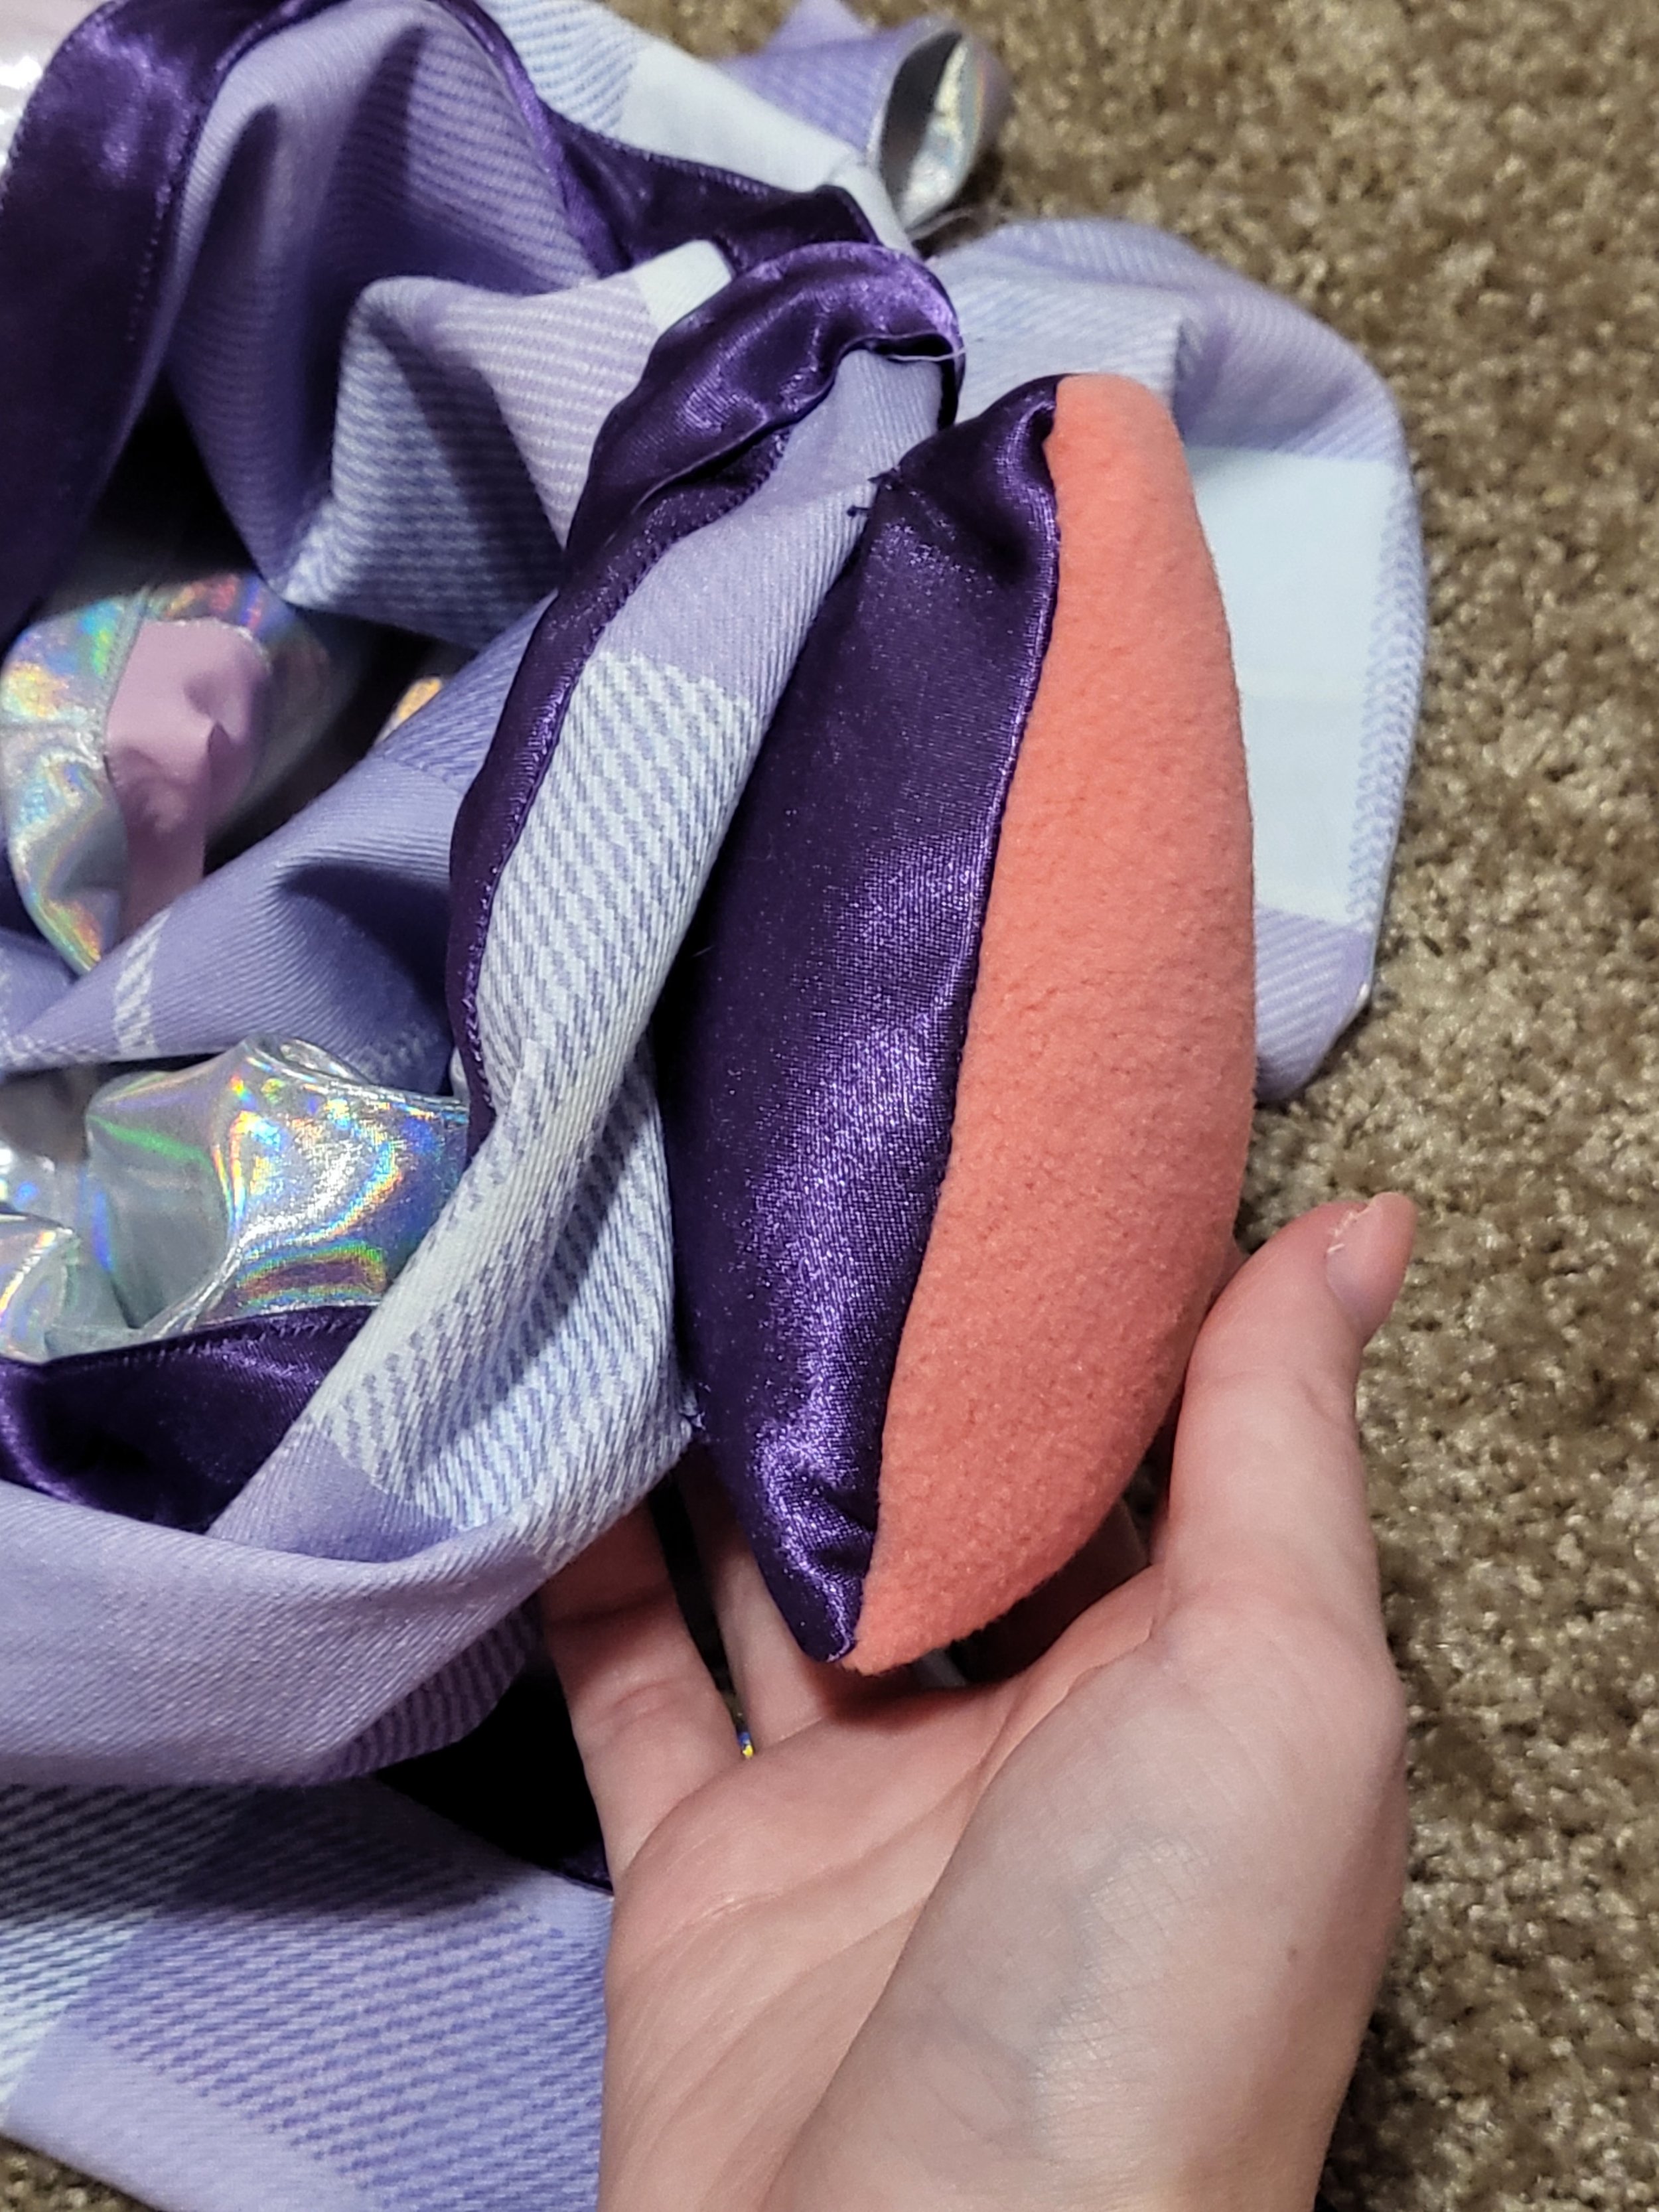
I made plush hearts for the sleeves instead of 3D printing them, just to match the color and aesthetic of the rest of the cosplay!
Instead of color blocking on the sleeves with silver, purple, and plaid, I custom made a purple bias tape to sew on top of the sleeves and back. I believe this allowed me more flexibility and on the inside of the cosplay is way more clean.
Most of the blazer was just focusing on cleanliness, and taking it layer by layer. For example, I sewed all the details onto the sleeves before actually attatching the sleeves, and followed that same process with other pieces.


The Blazer Video
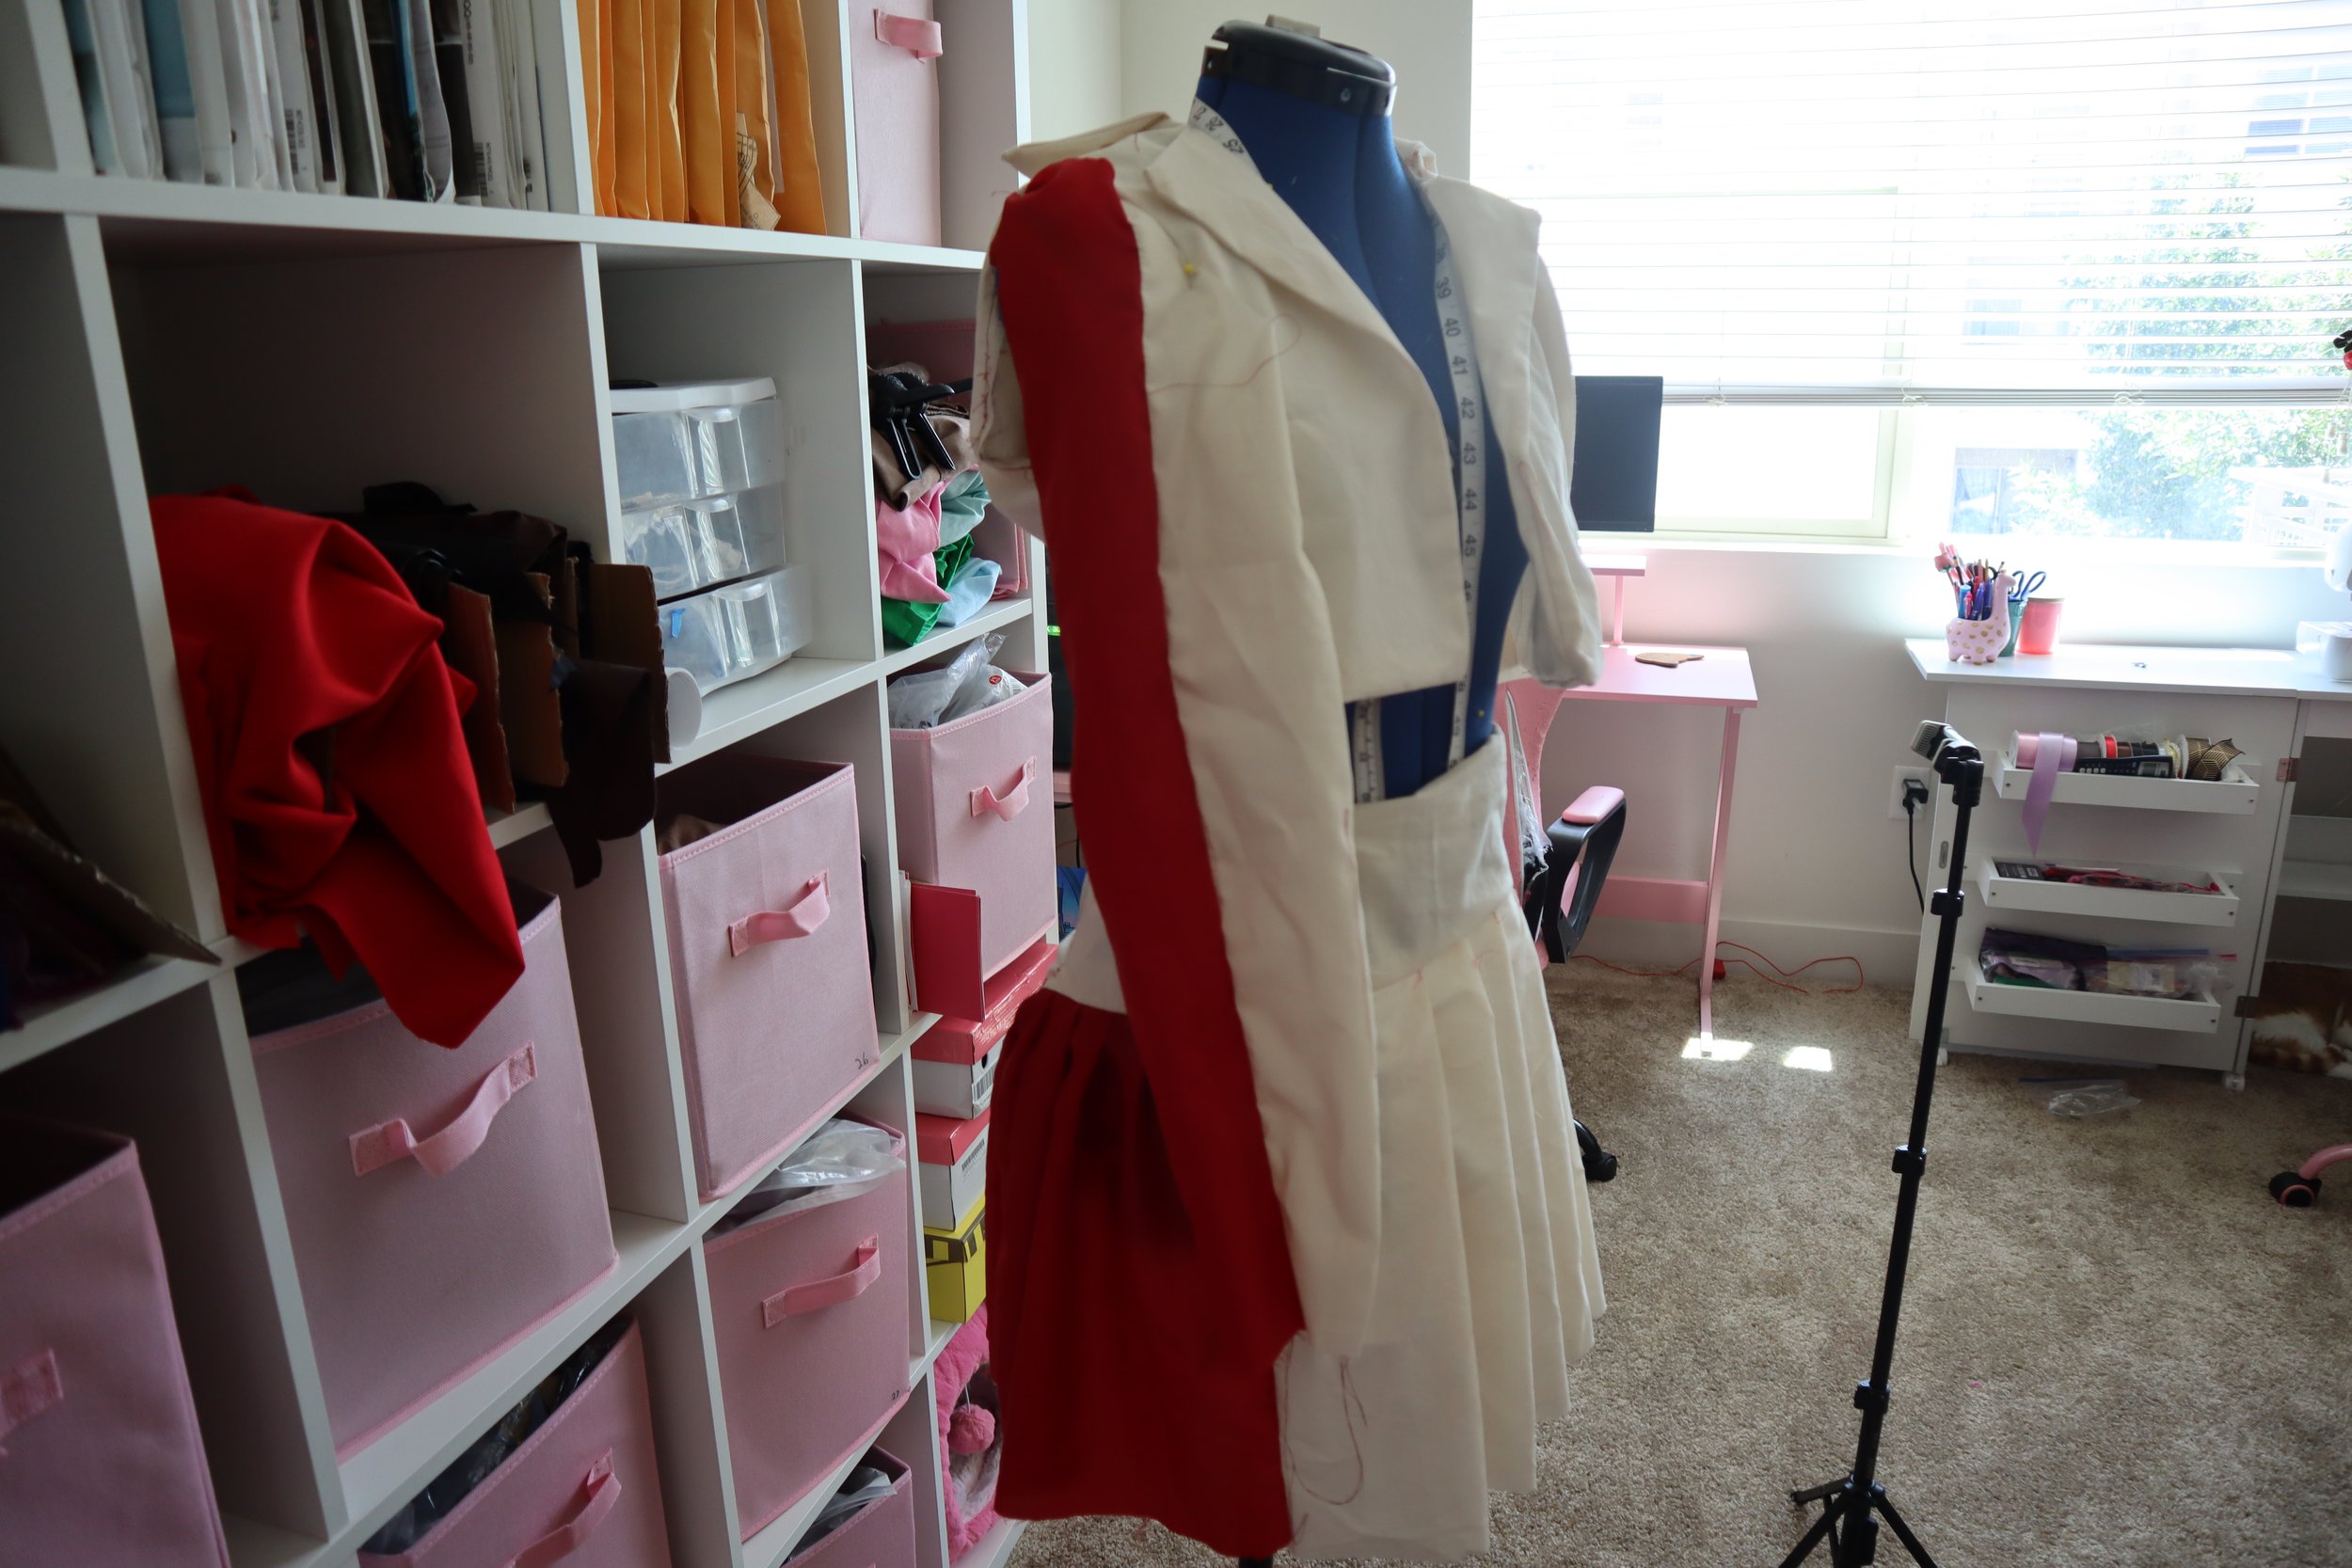
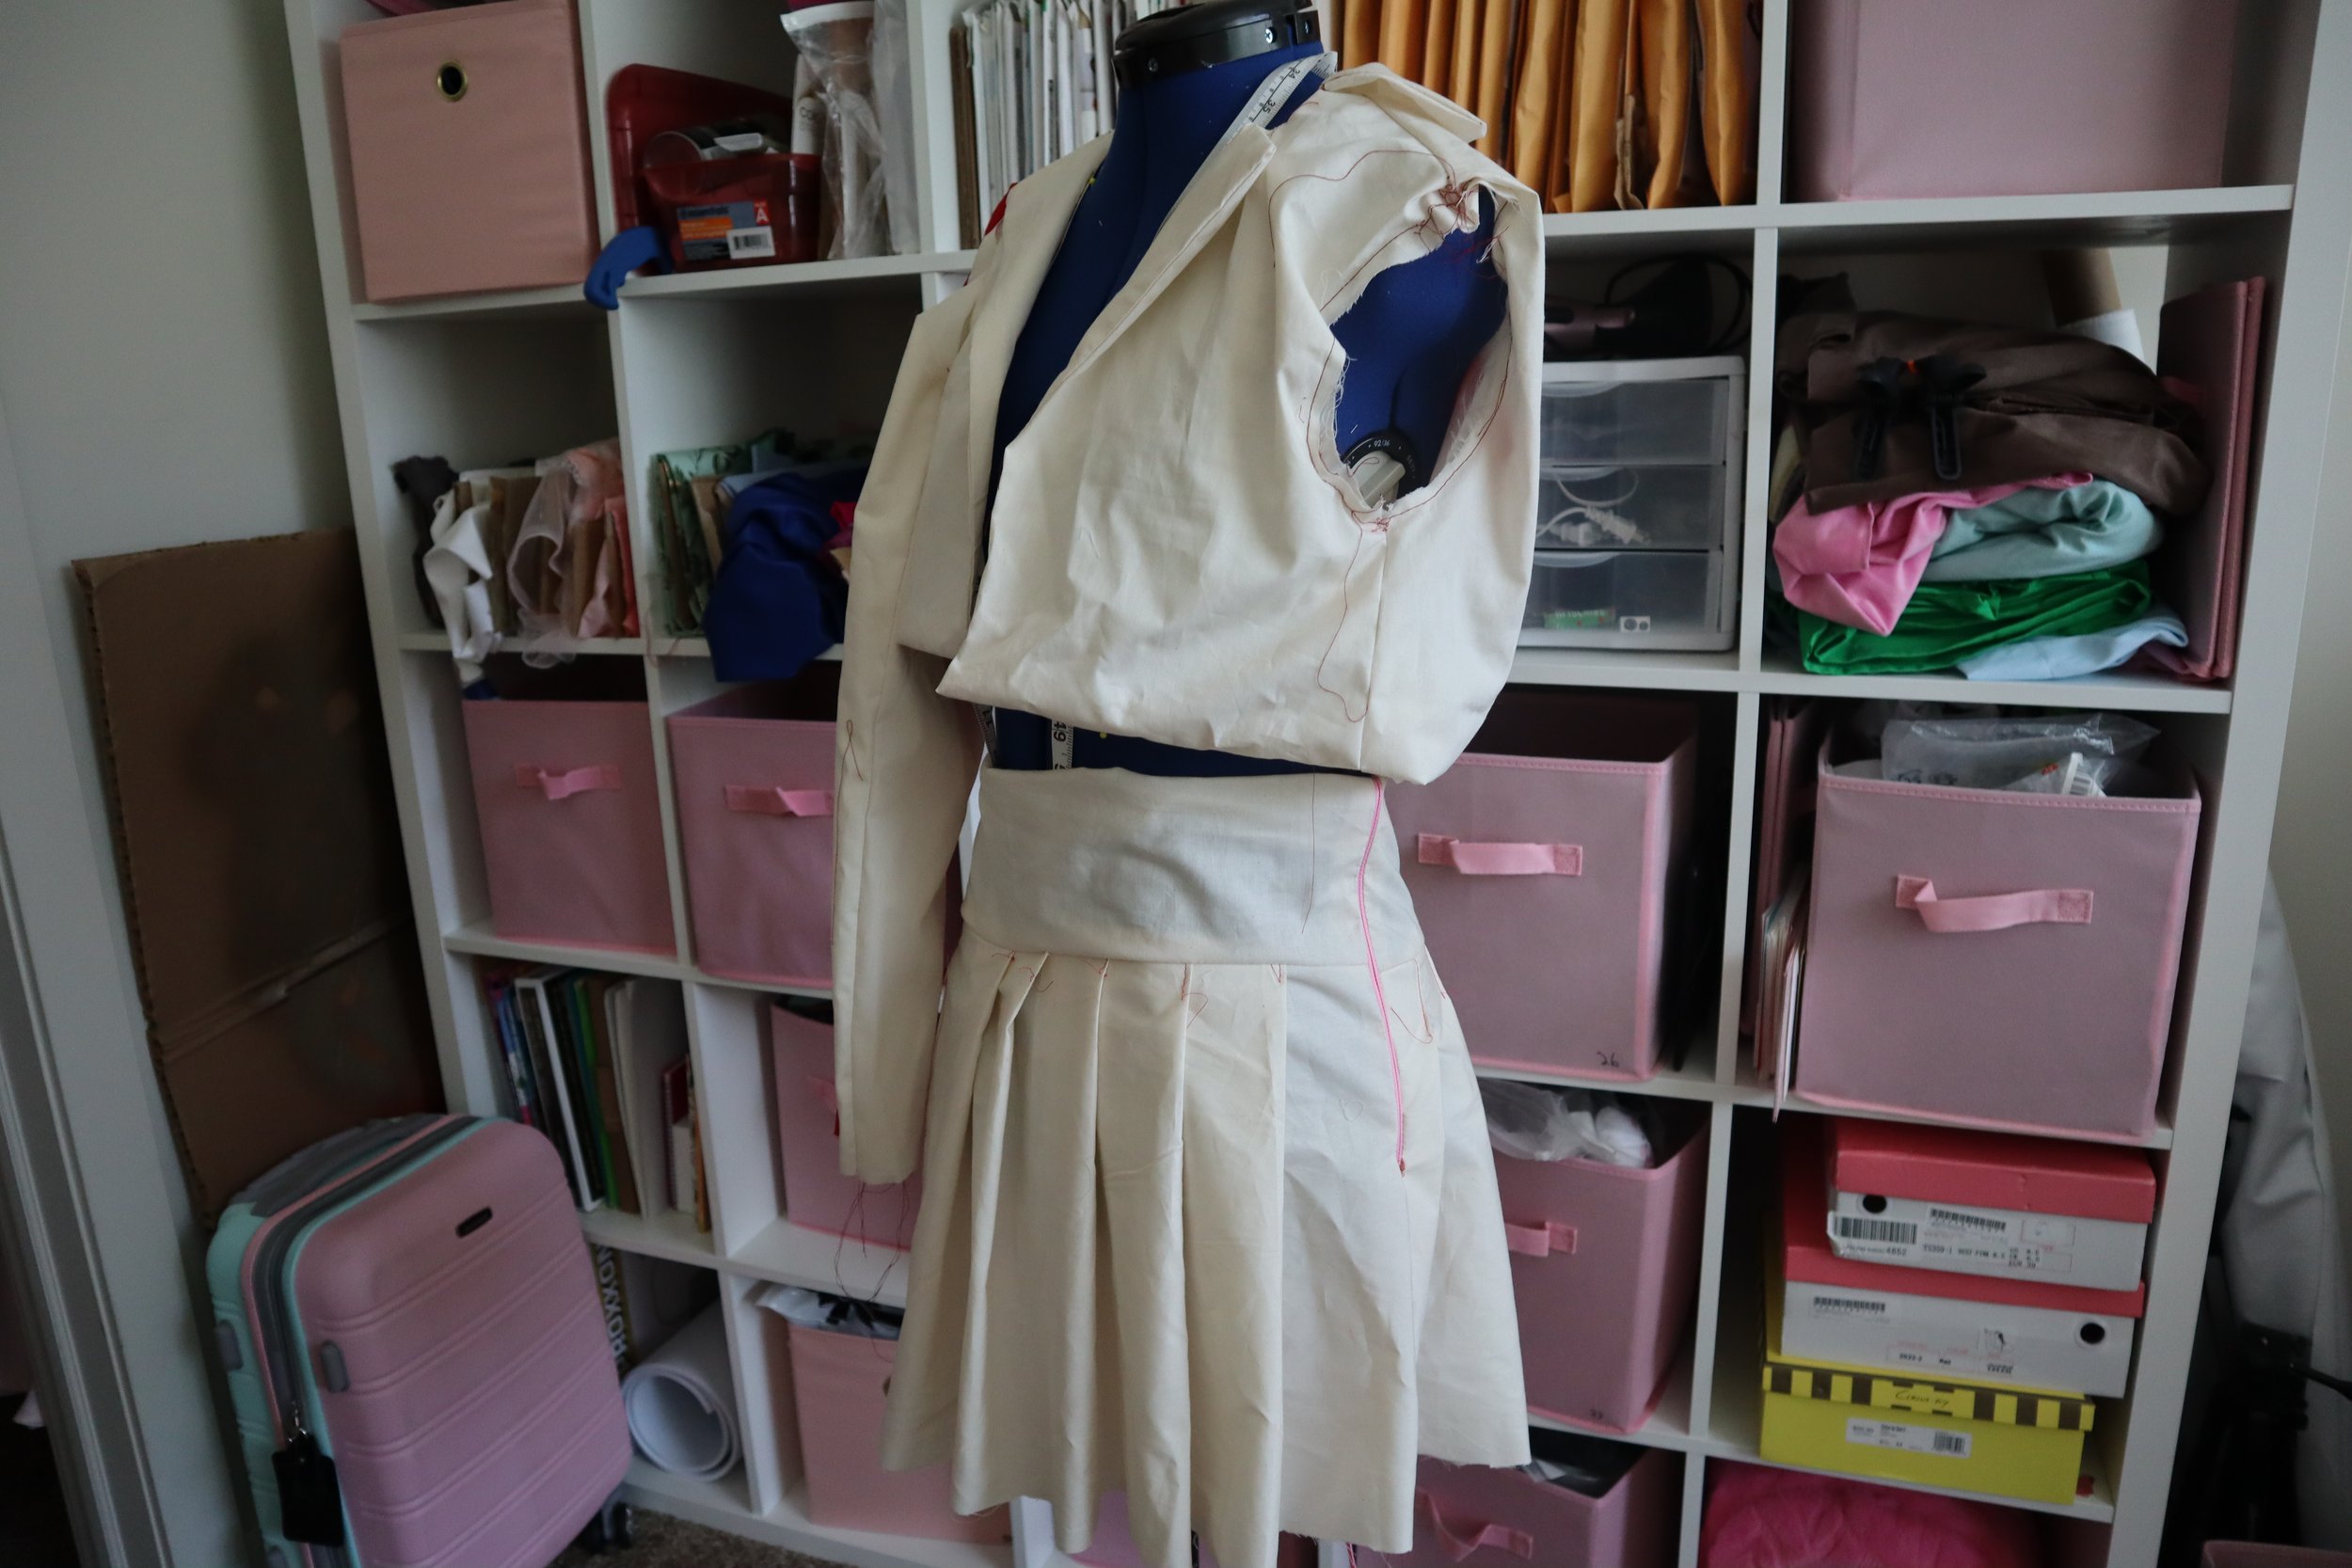
The First Full Fit Test - (08/30/23)
The submission deadline for pre-judging for this cosplay was August 31st 2023, fun fact, that’s also my birthday! So, I wanted to make sure I at least had the highlights of it and majority of it completed for pre-judging.


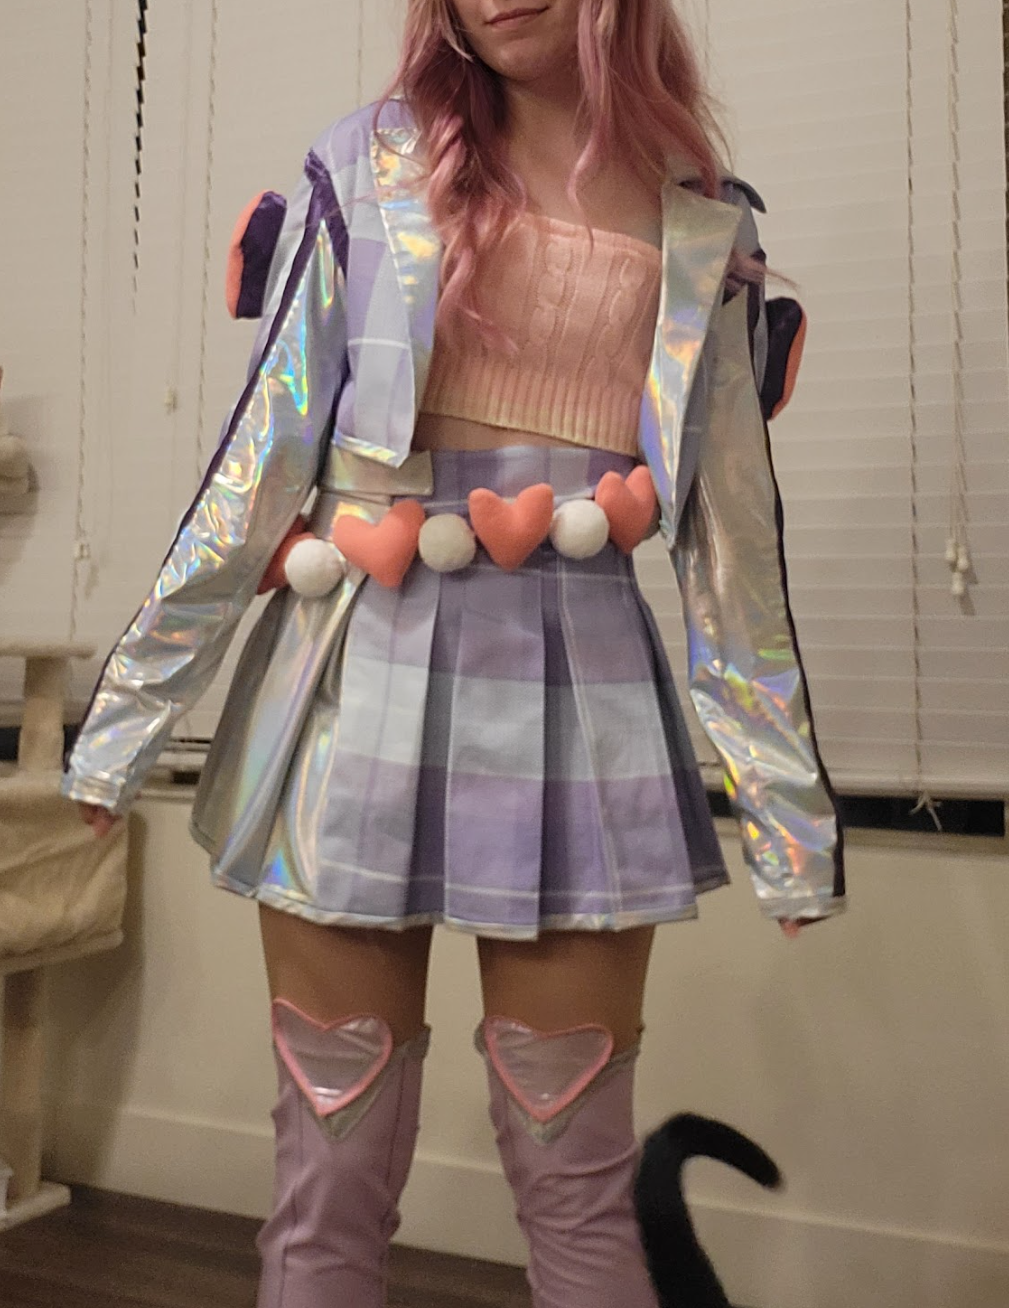
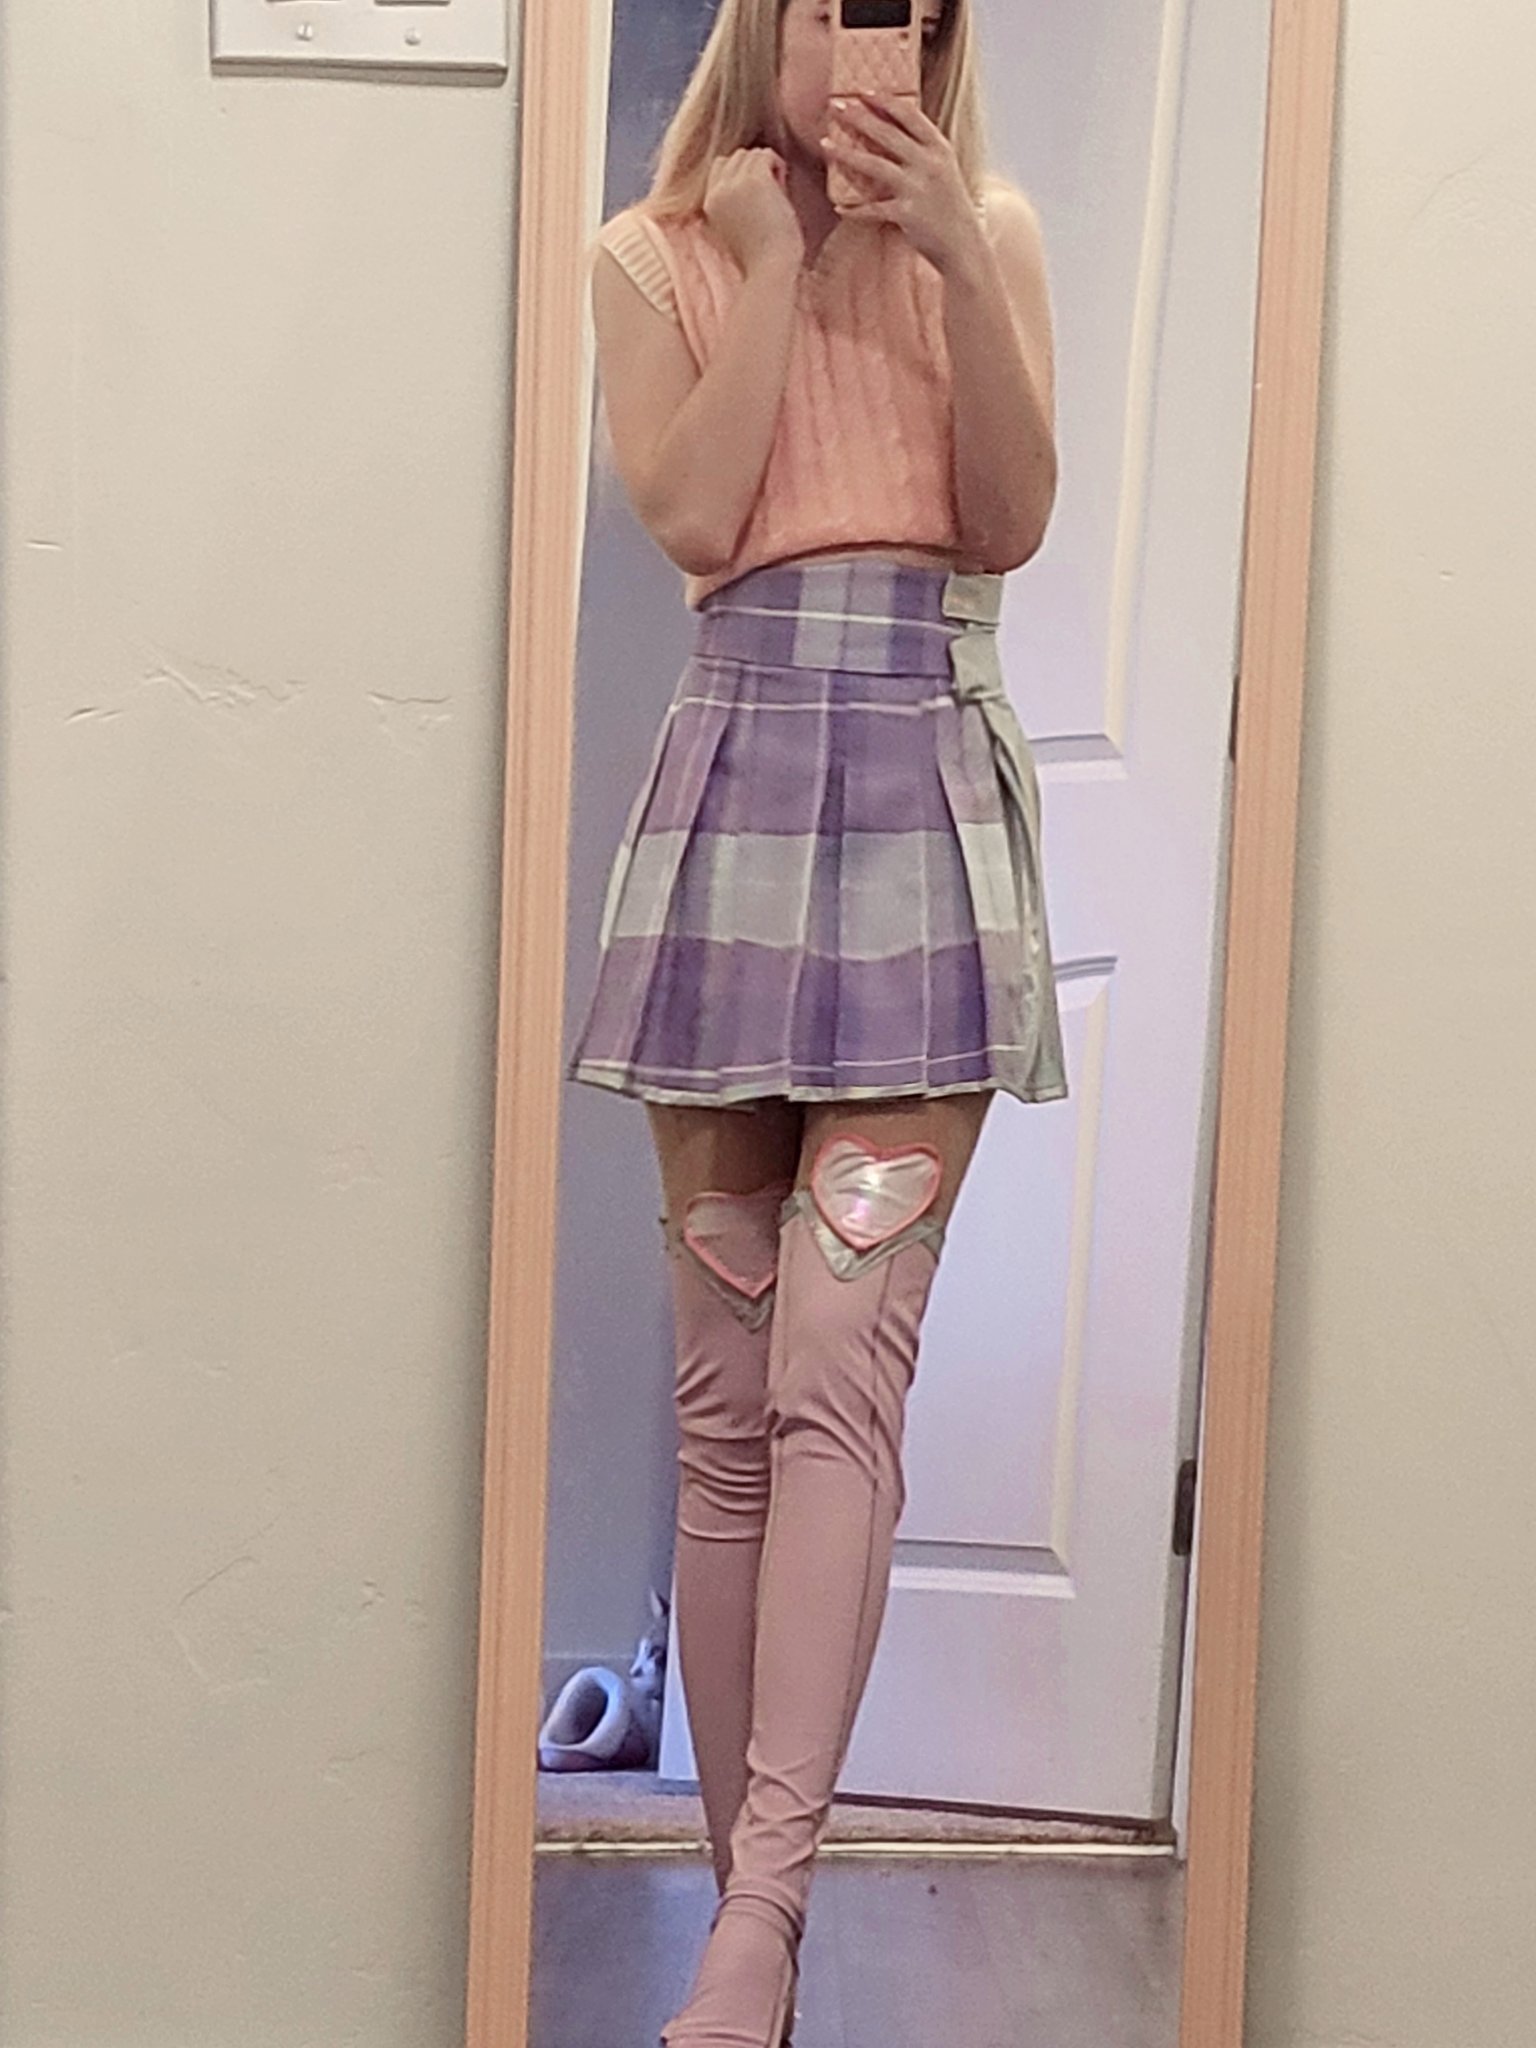
First Try on Highlights
The insides of this cosplay are clean. Everything is incredibly comfy to wear, the skirt waist band even has a little pocket for convenience around the convention all day. I was worried about comfort because the shirt is very cropped, so I have to deal with the jacket and skirt touching skin. Therefore, I made sure nothing would itch or have a weird feeling.
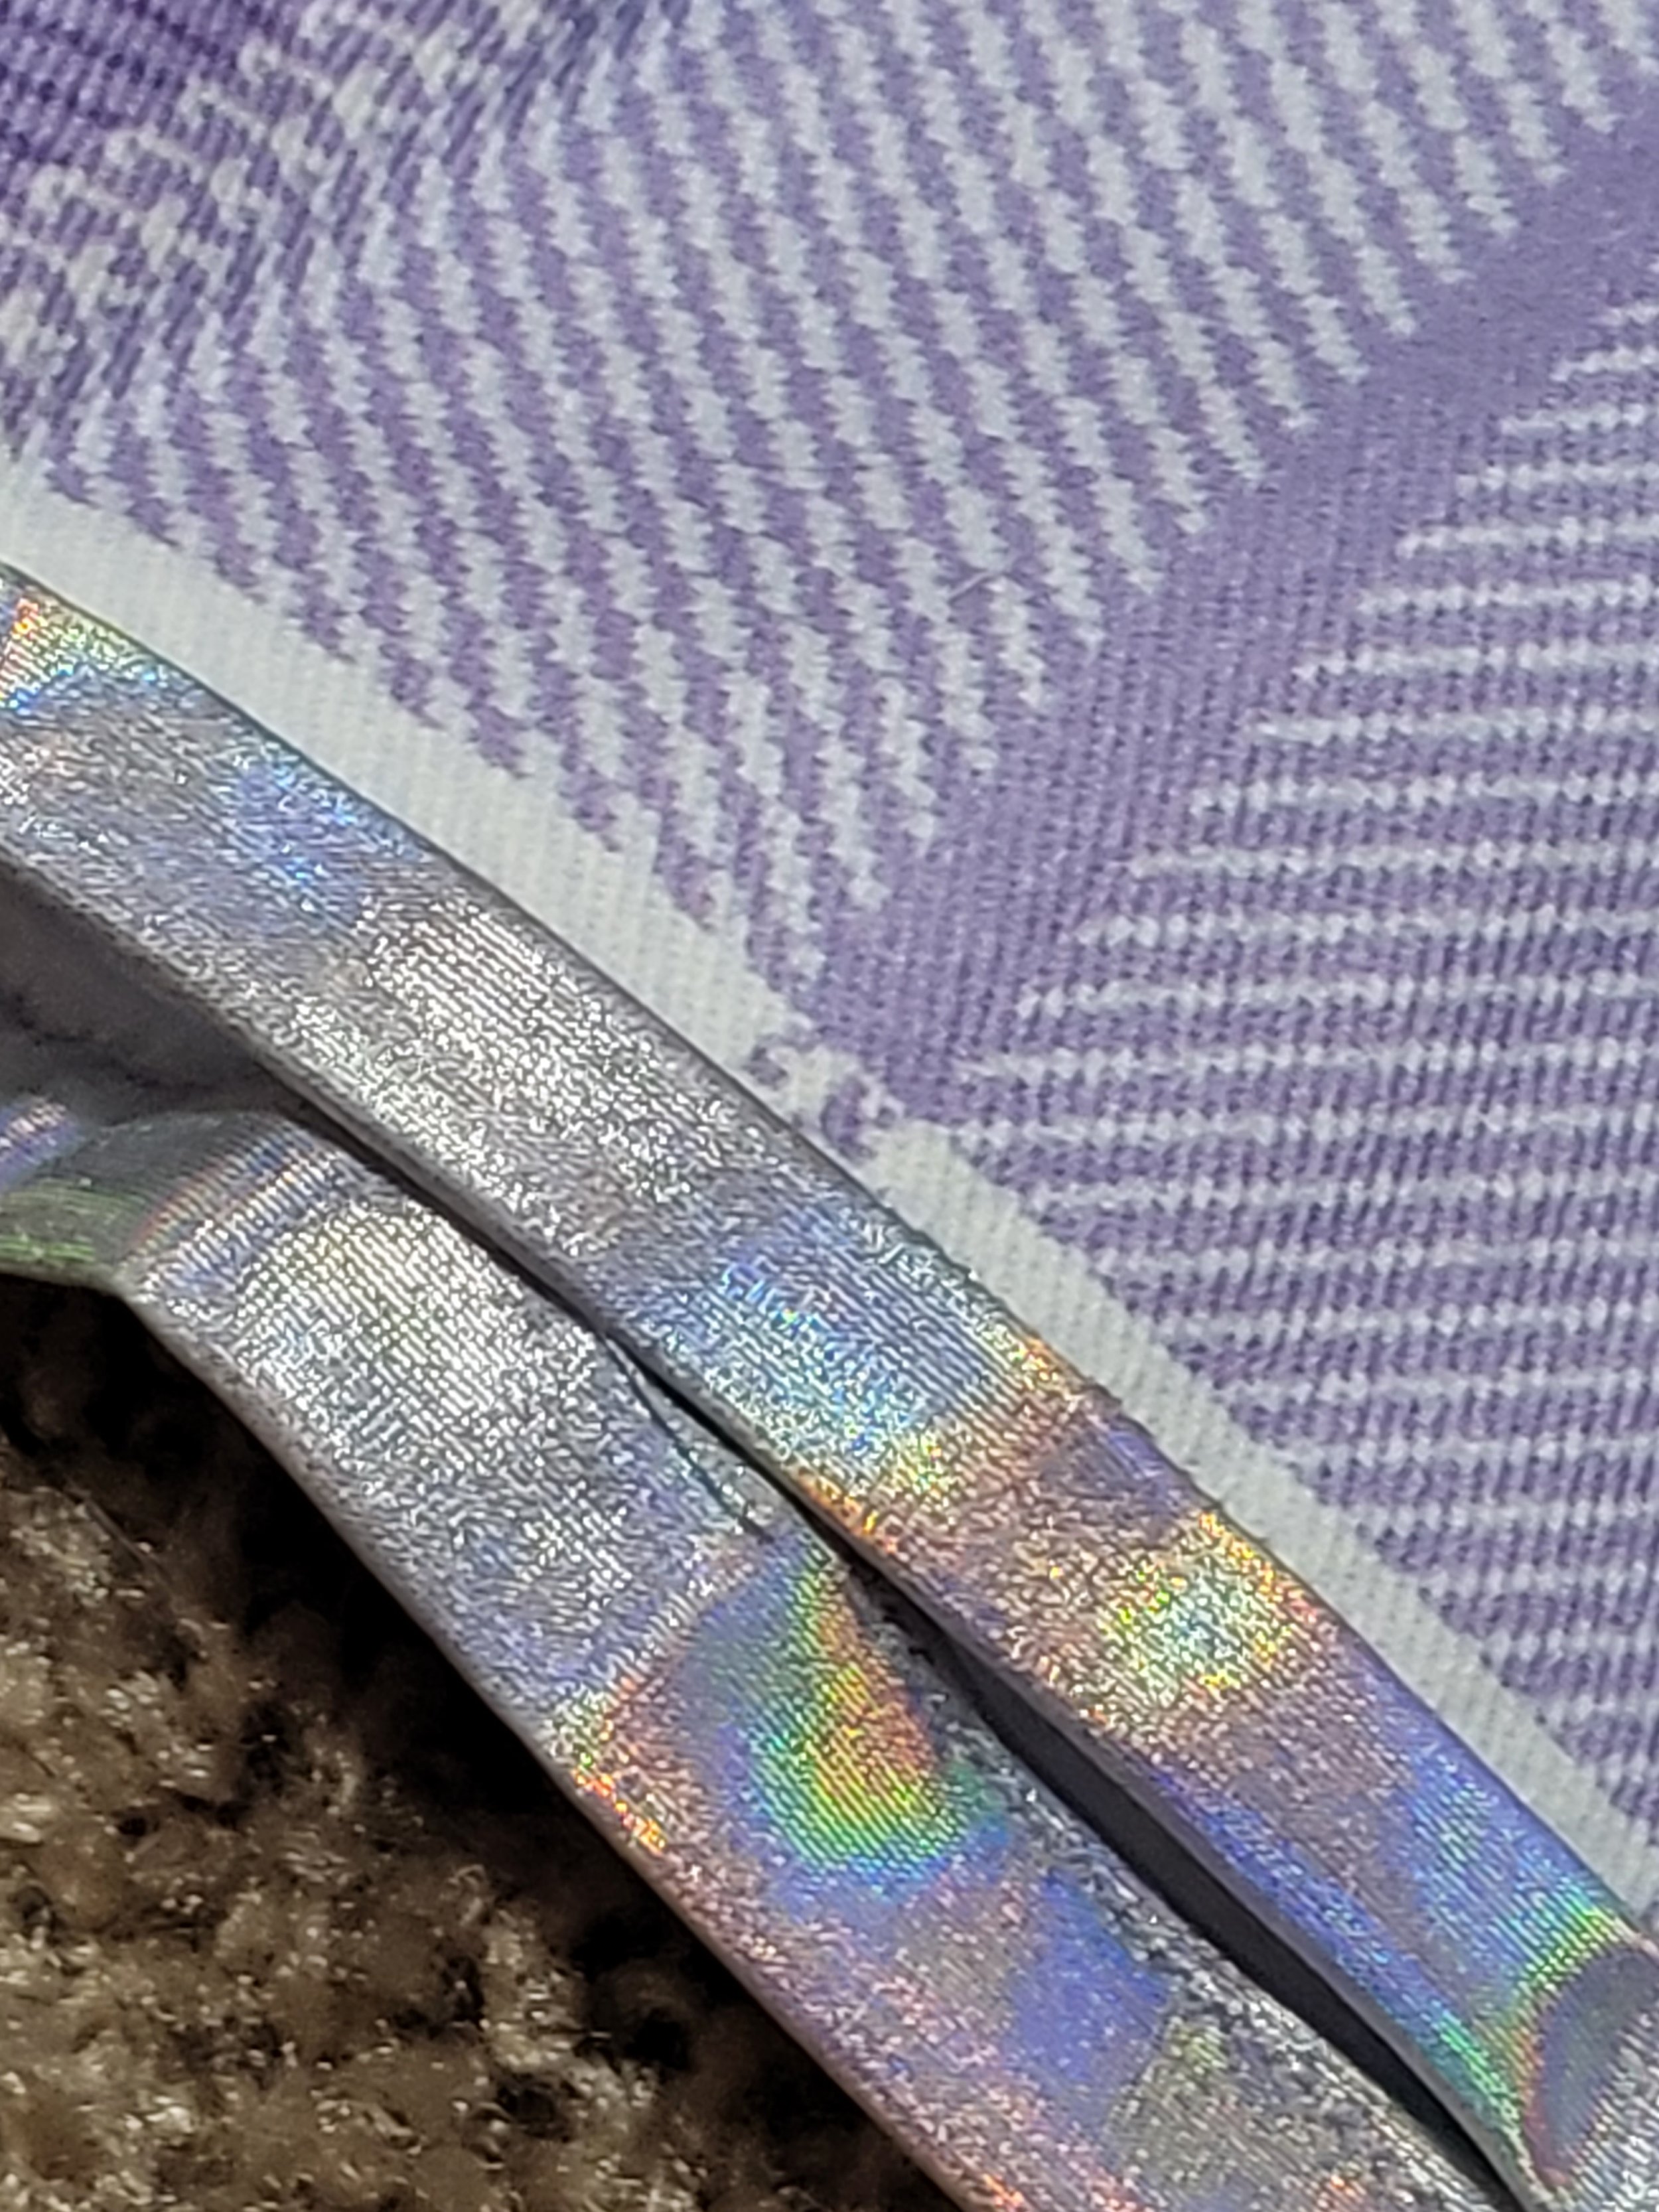
The bias finishes look really lovely! I put a lot of work into improving my technique with bias tape in this project, it was one of my main focuses. Not only did I make it myself, but I also believe I applied it correctly finally. The stitching on back is straight and nice, and nearly invisible in the front (visible if you look close enough and tug a little).
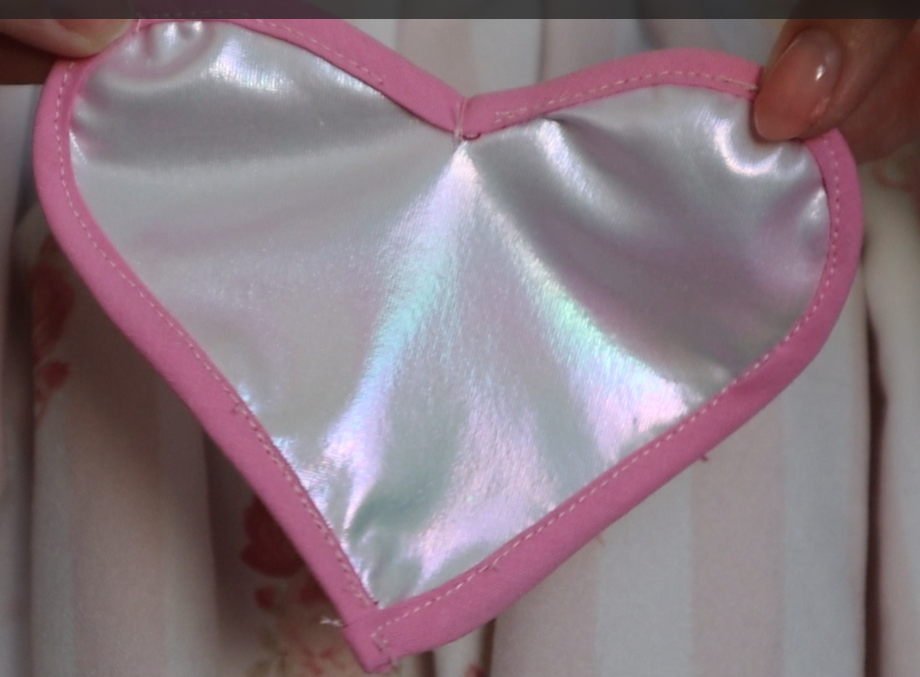
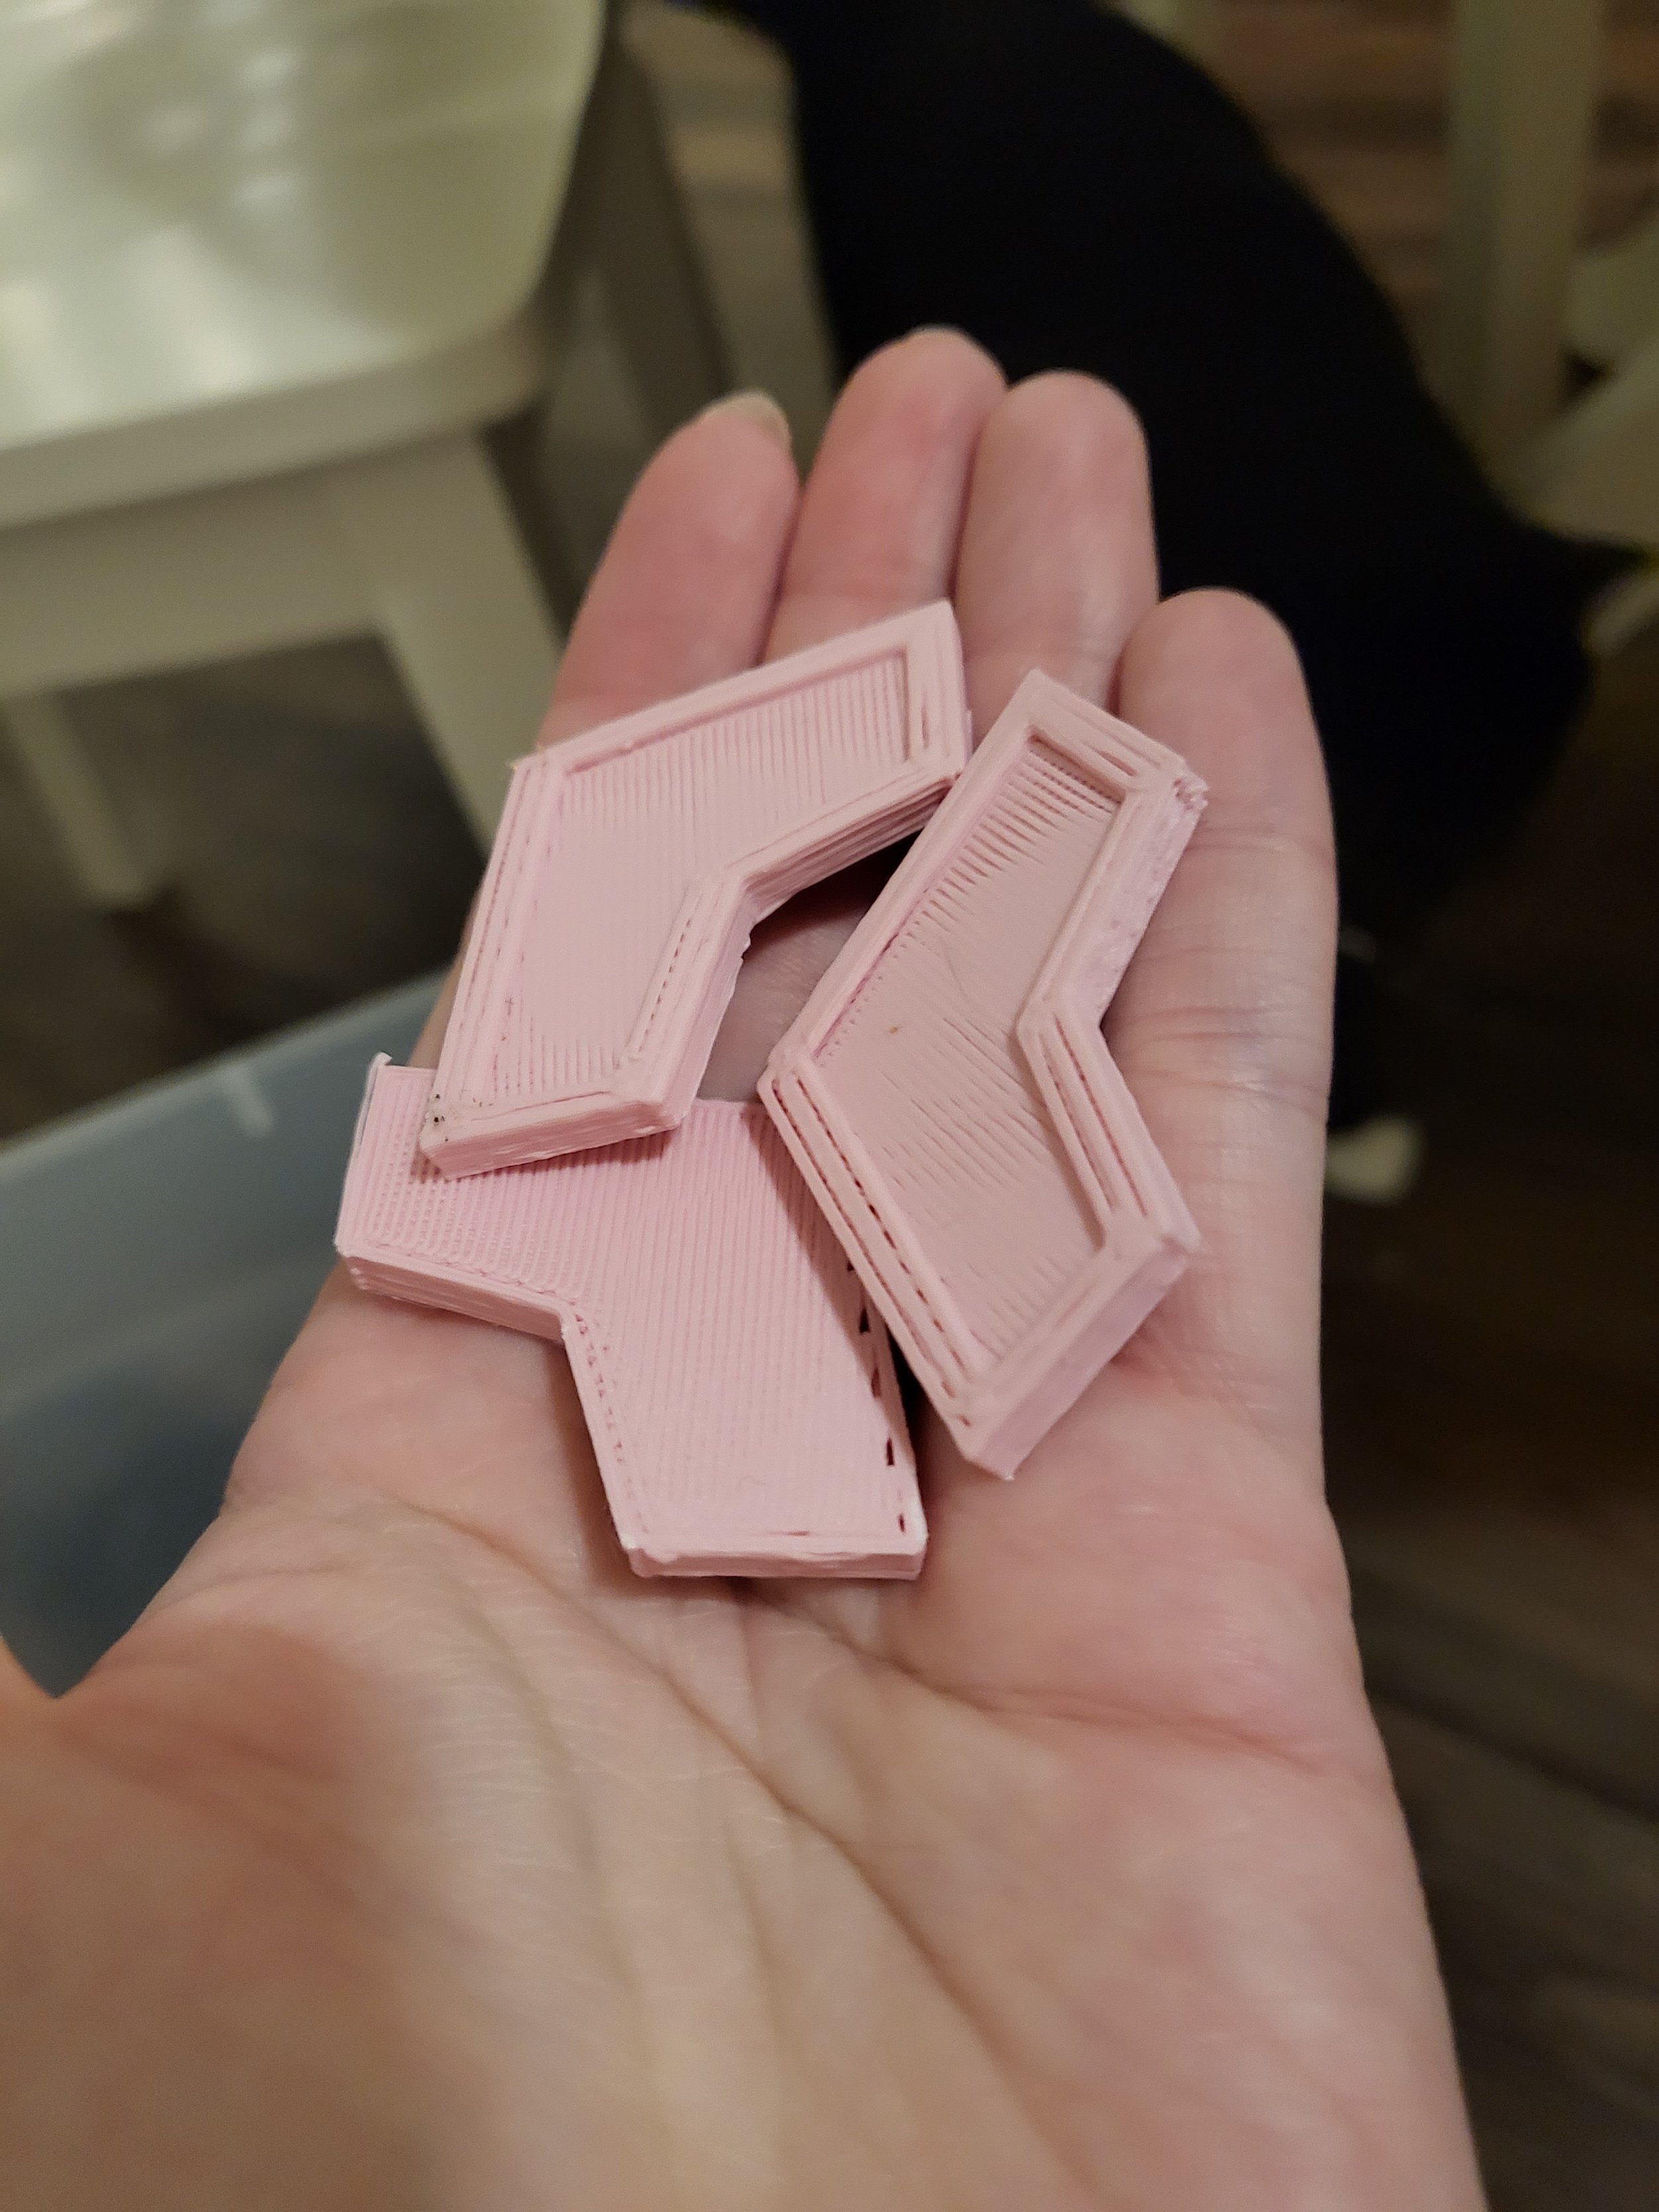
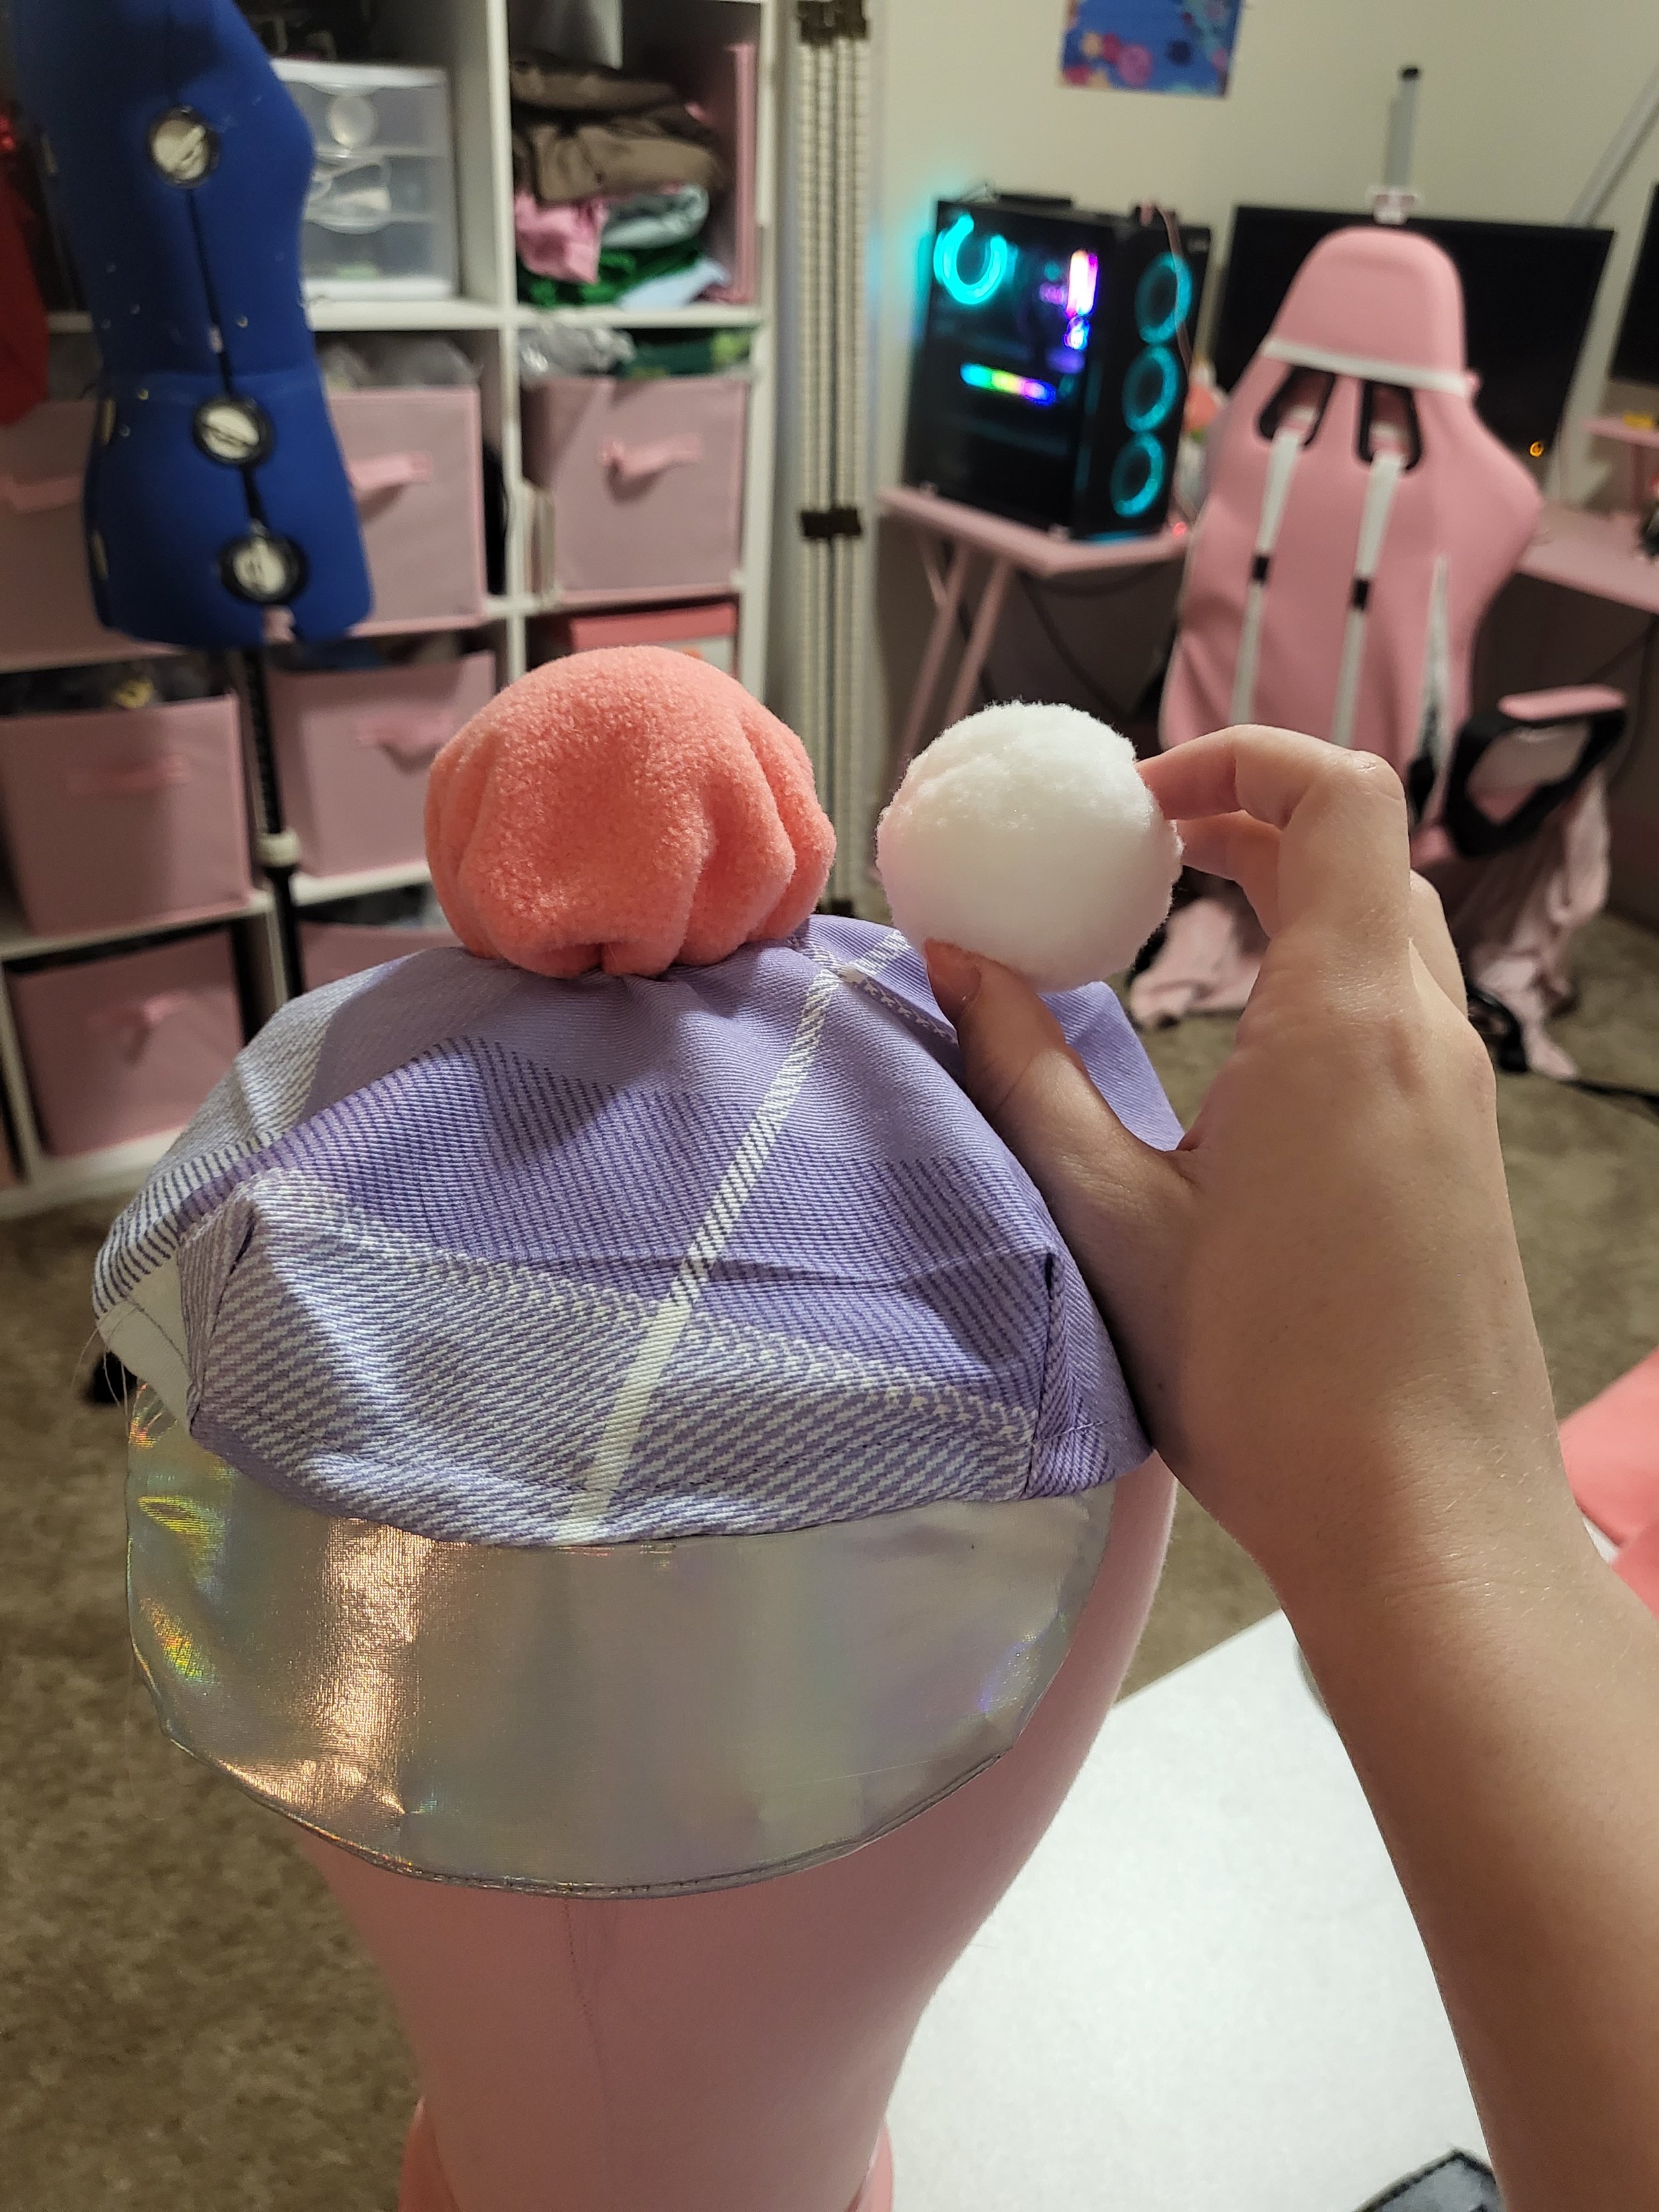
The 3D hearts were really difficult to get right! I’ll go more in depth when my accessories section is added. However, in the reference images, there is a purple border and I was like “well geez how am I supposed to make that work!?”. I decided to make the backside purple and front fluffy pink, then stitch towards the middle to expose the purple “border" which is really just the other side. Also it took me 9 tries to draw a proper heart.
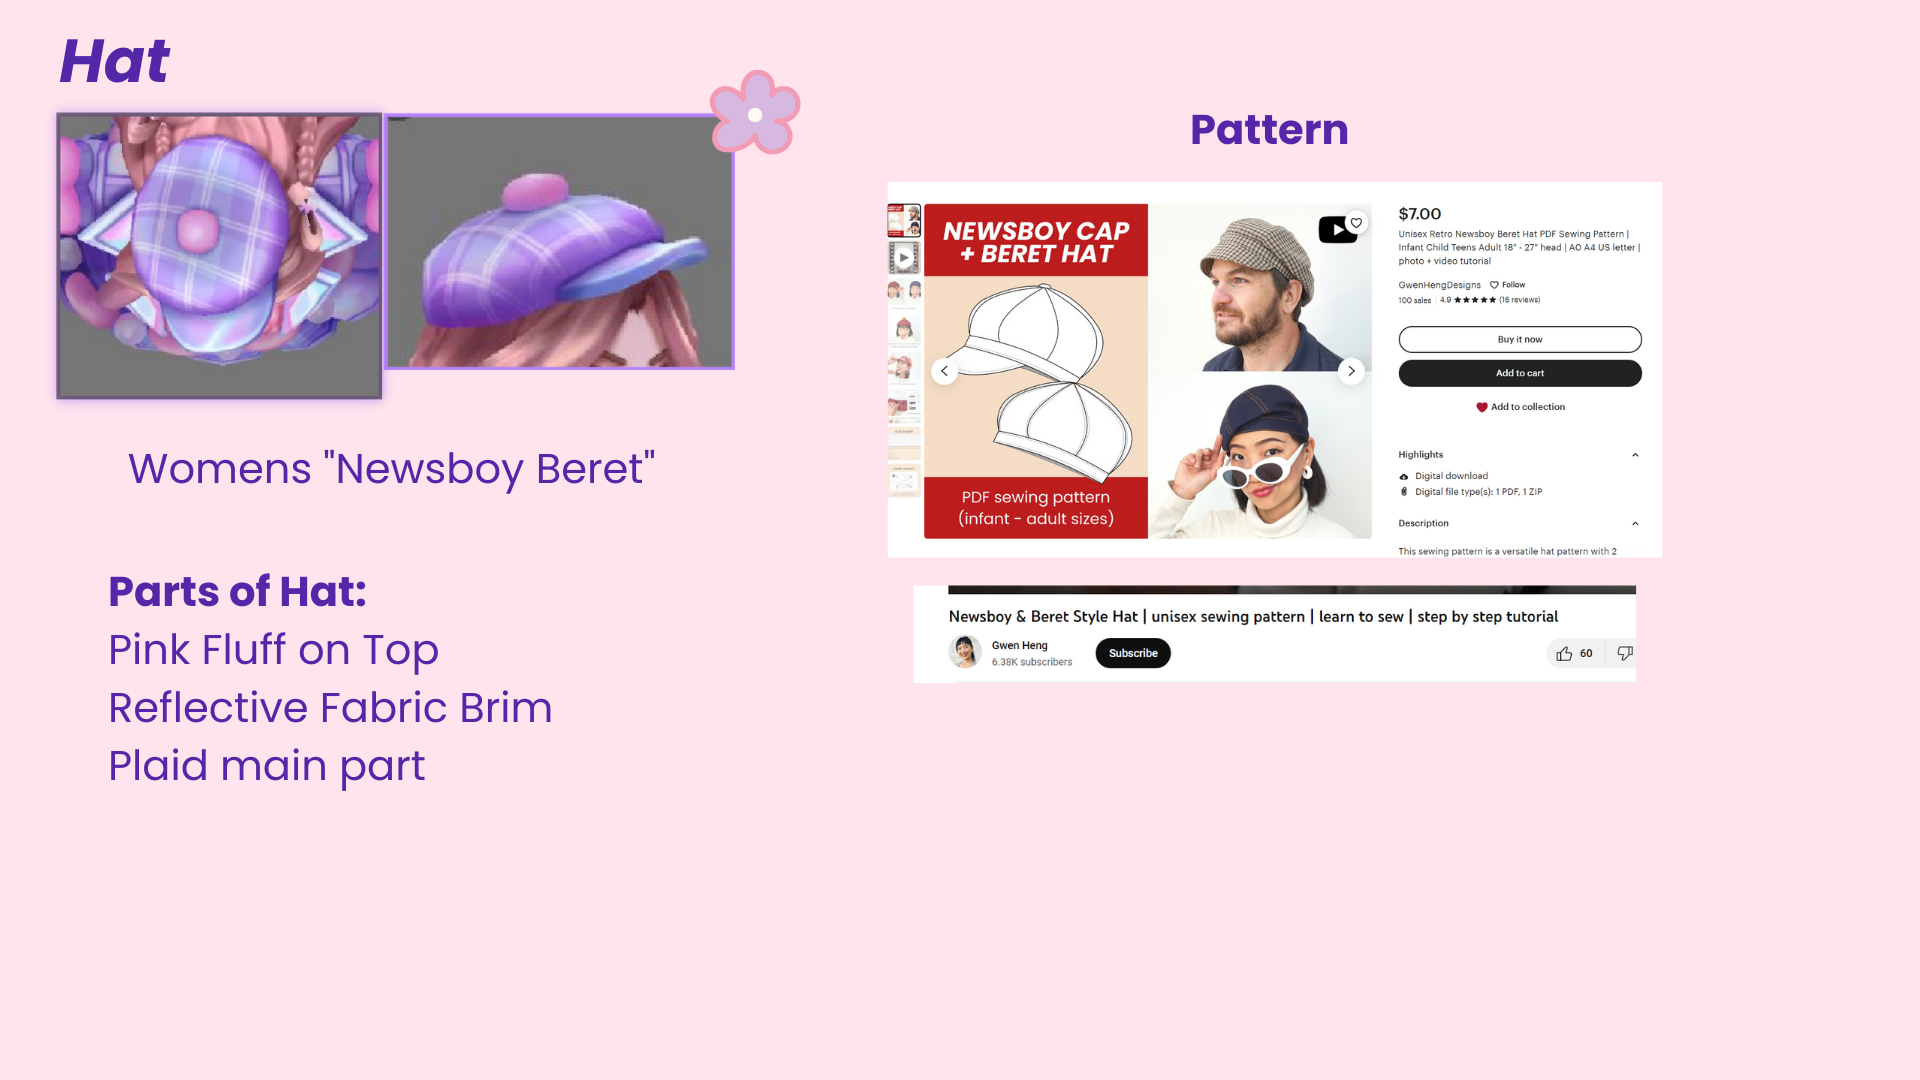
This was my first time ever making any kind of hat, it fried my brain but I’m proud I accomplished it!