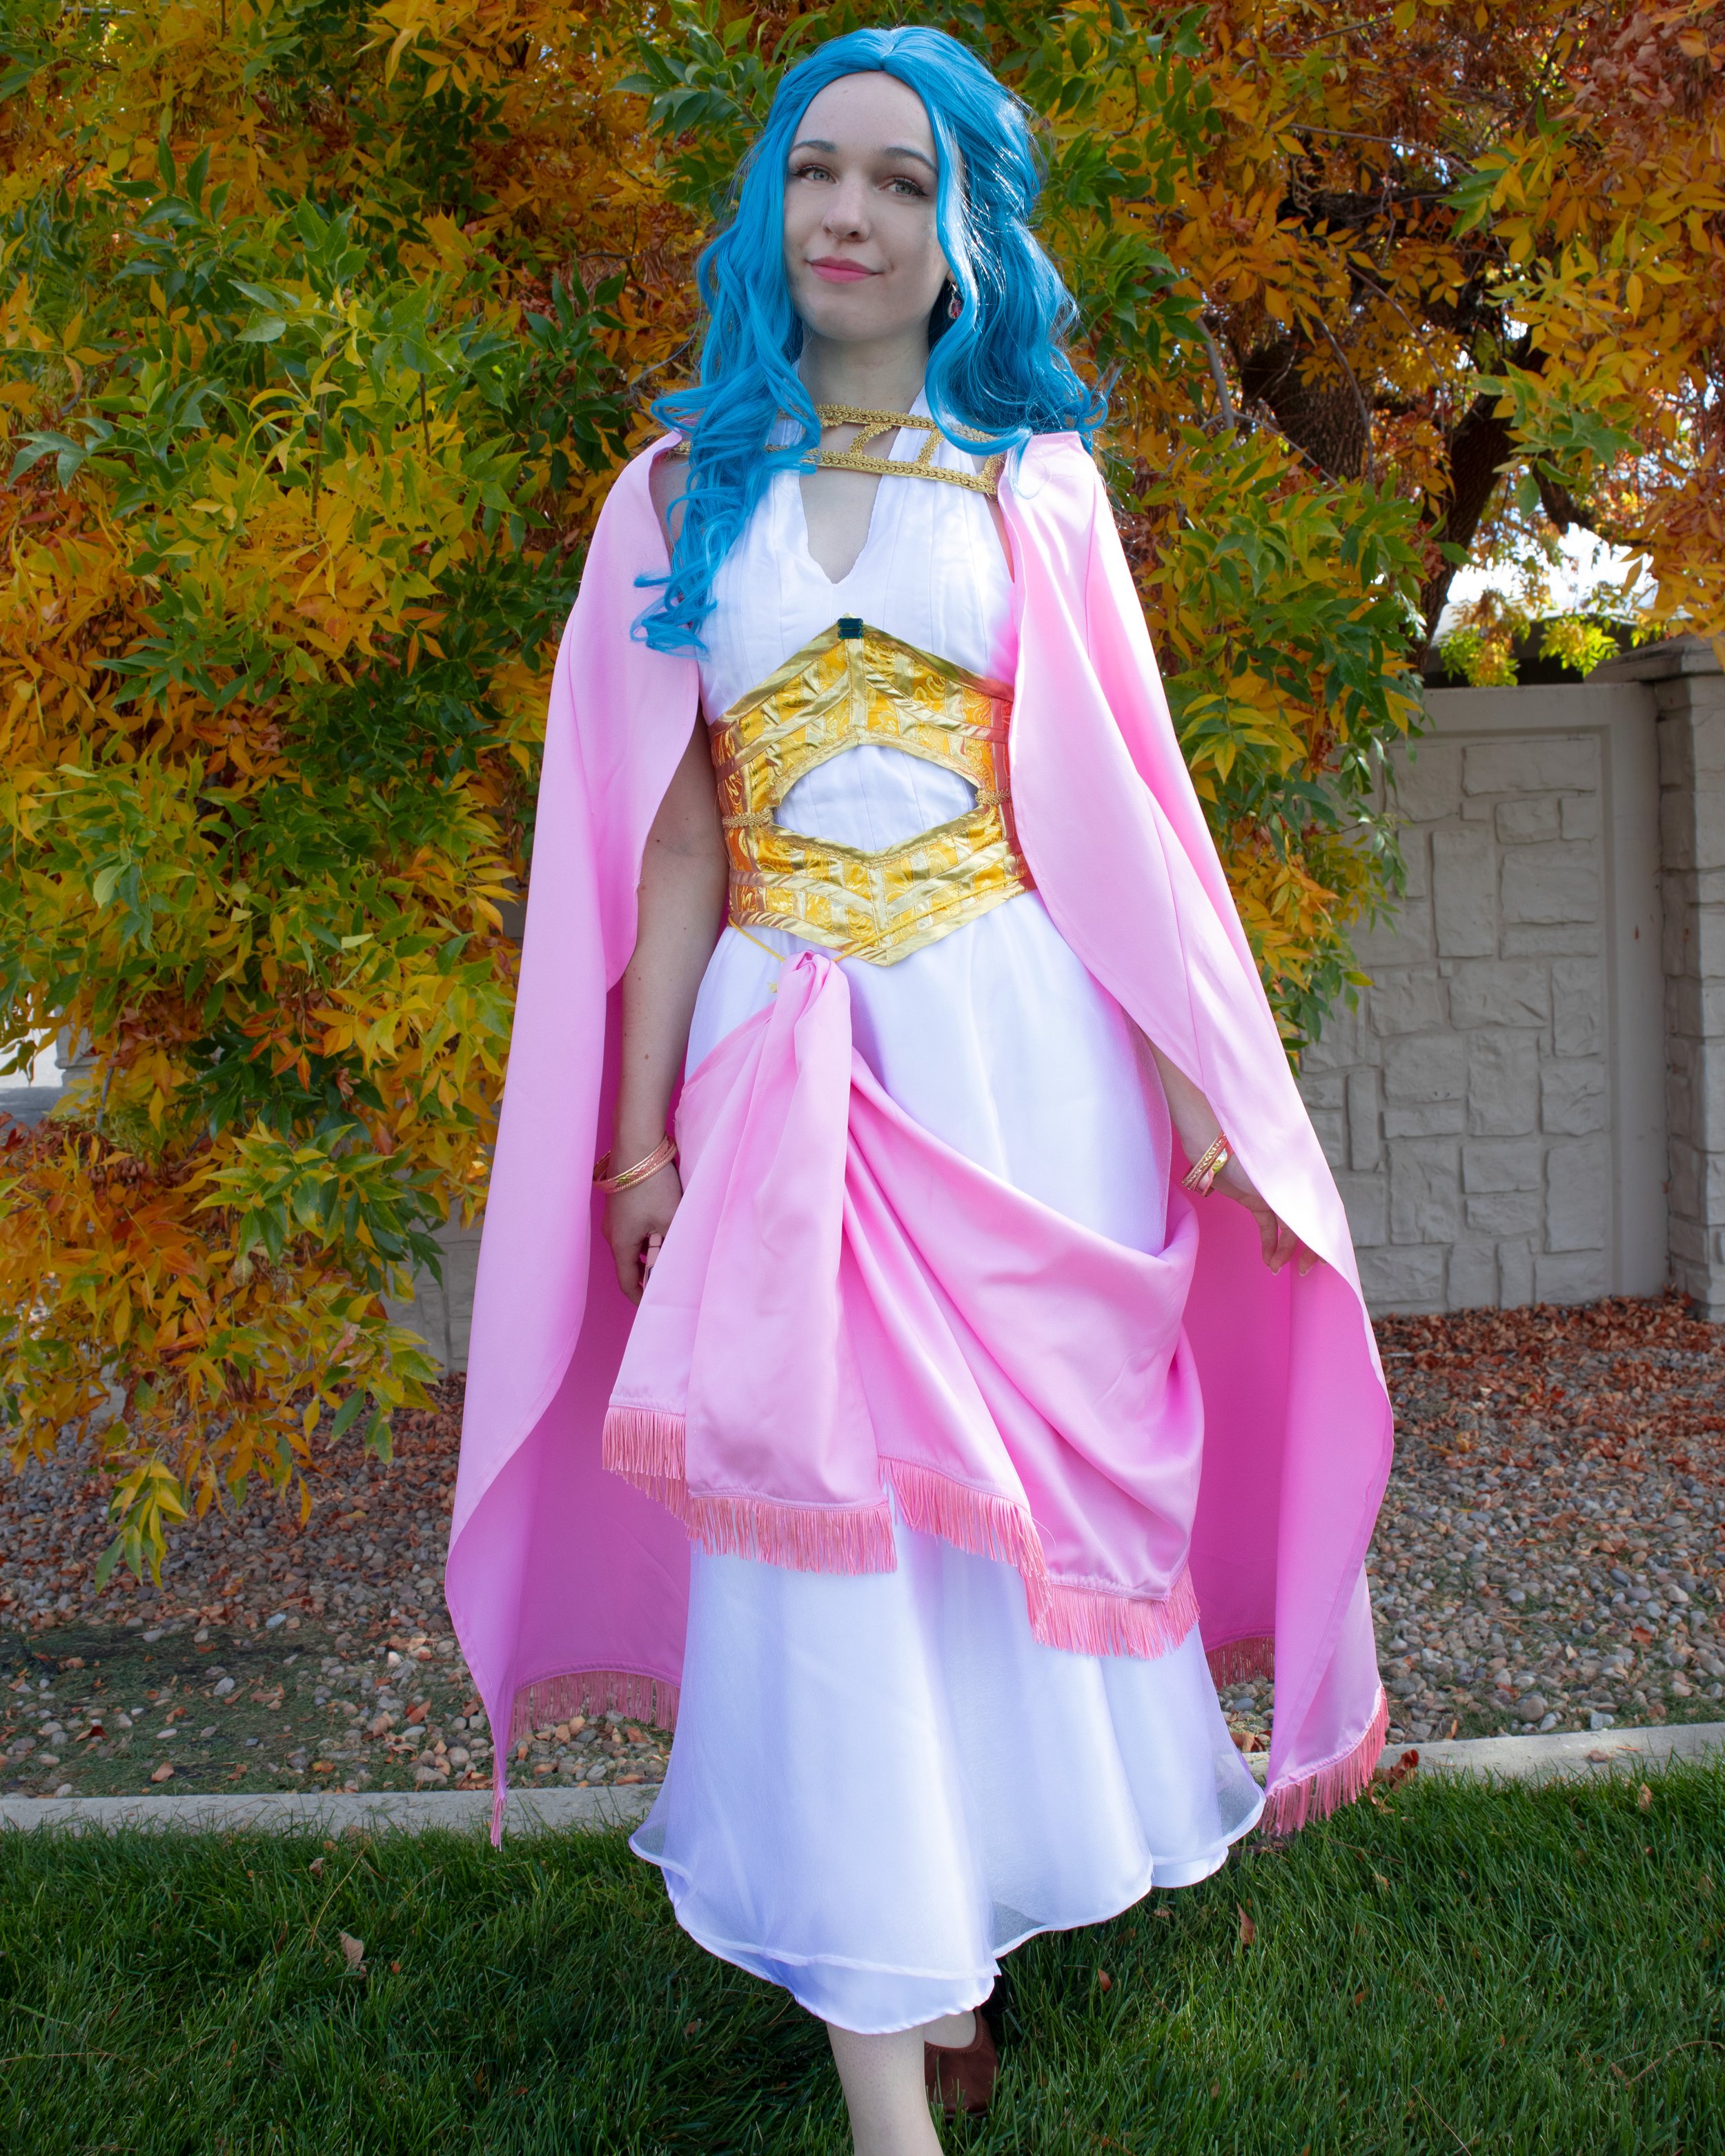
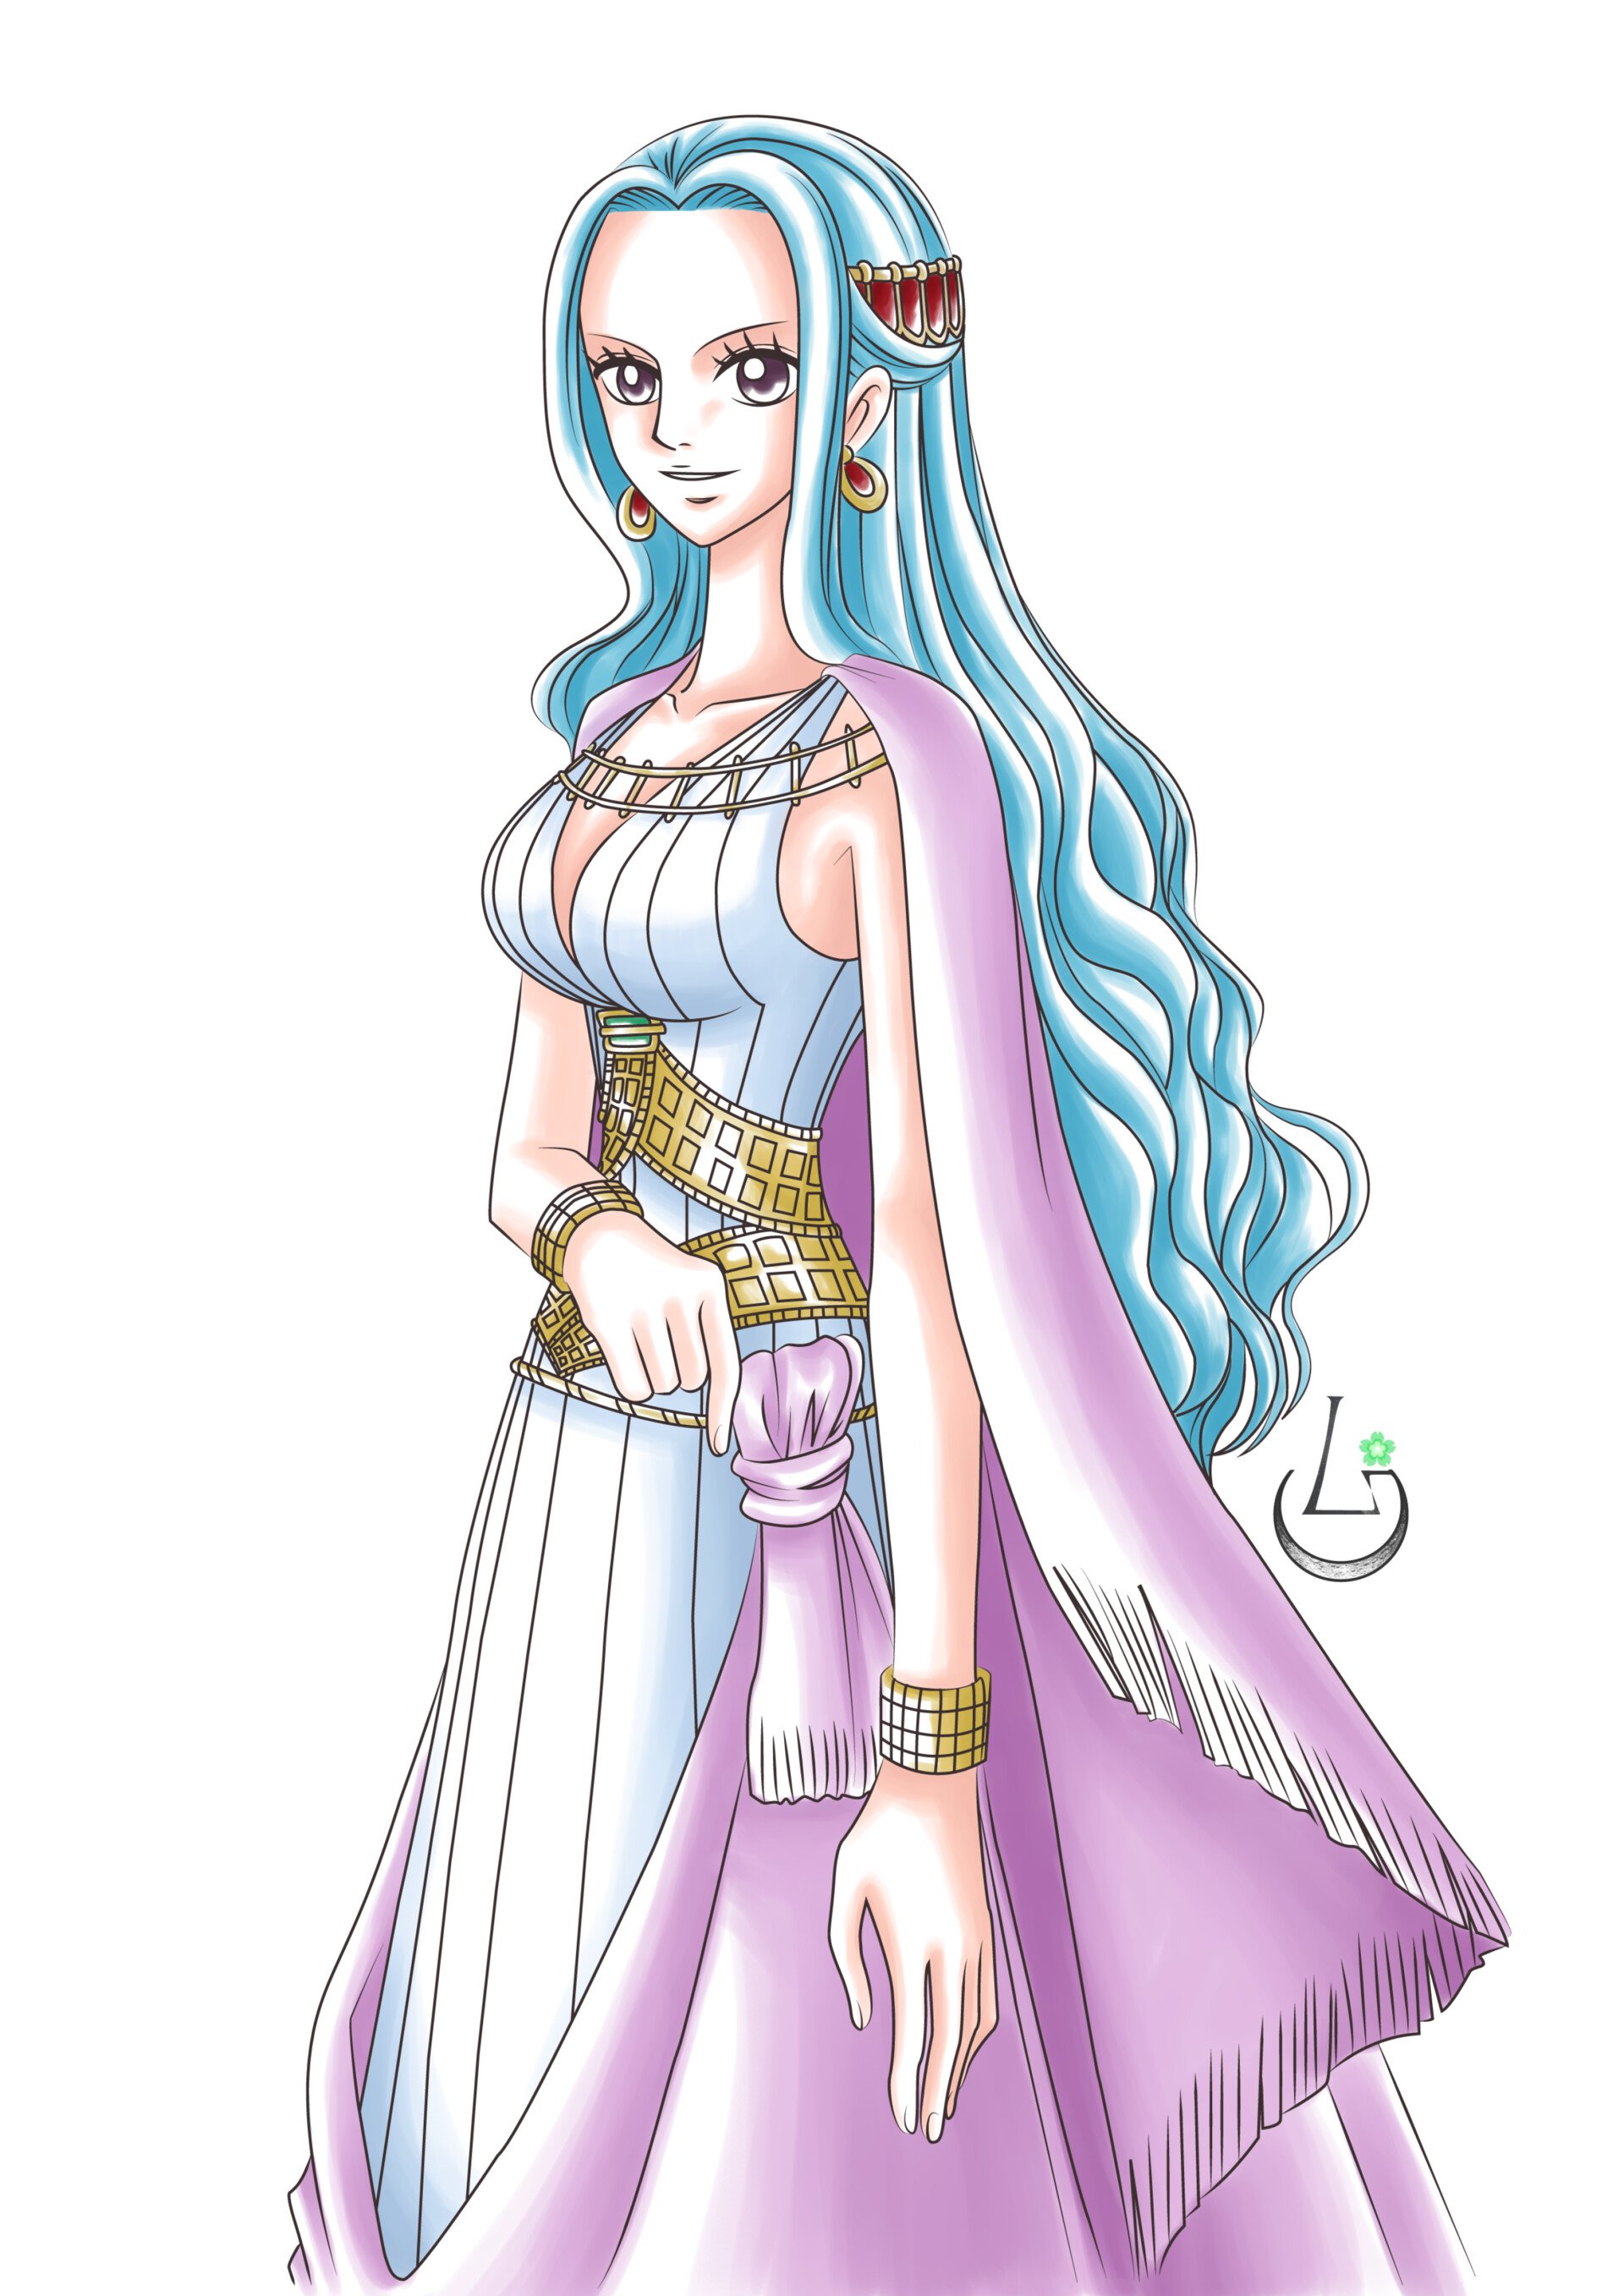
Nefertari Vivi Cosplay Project
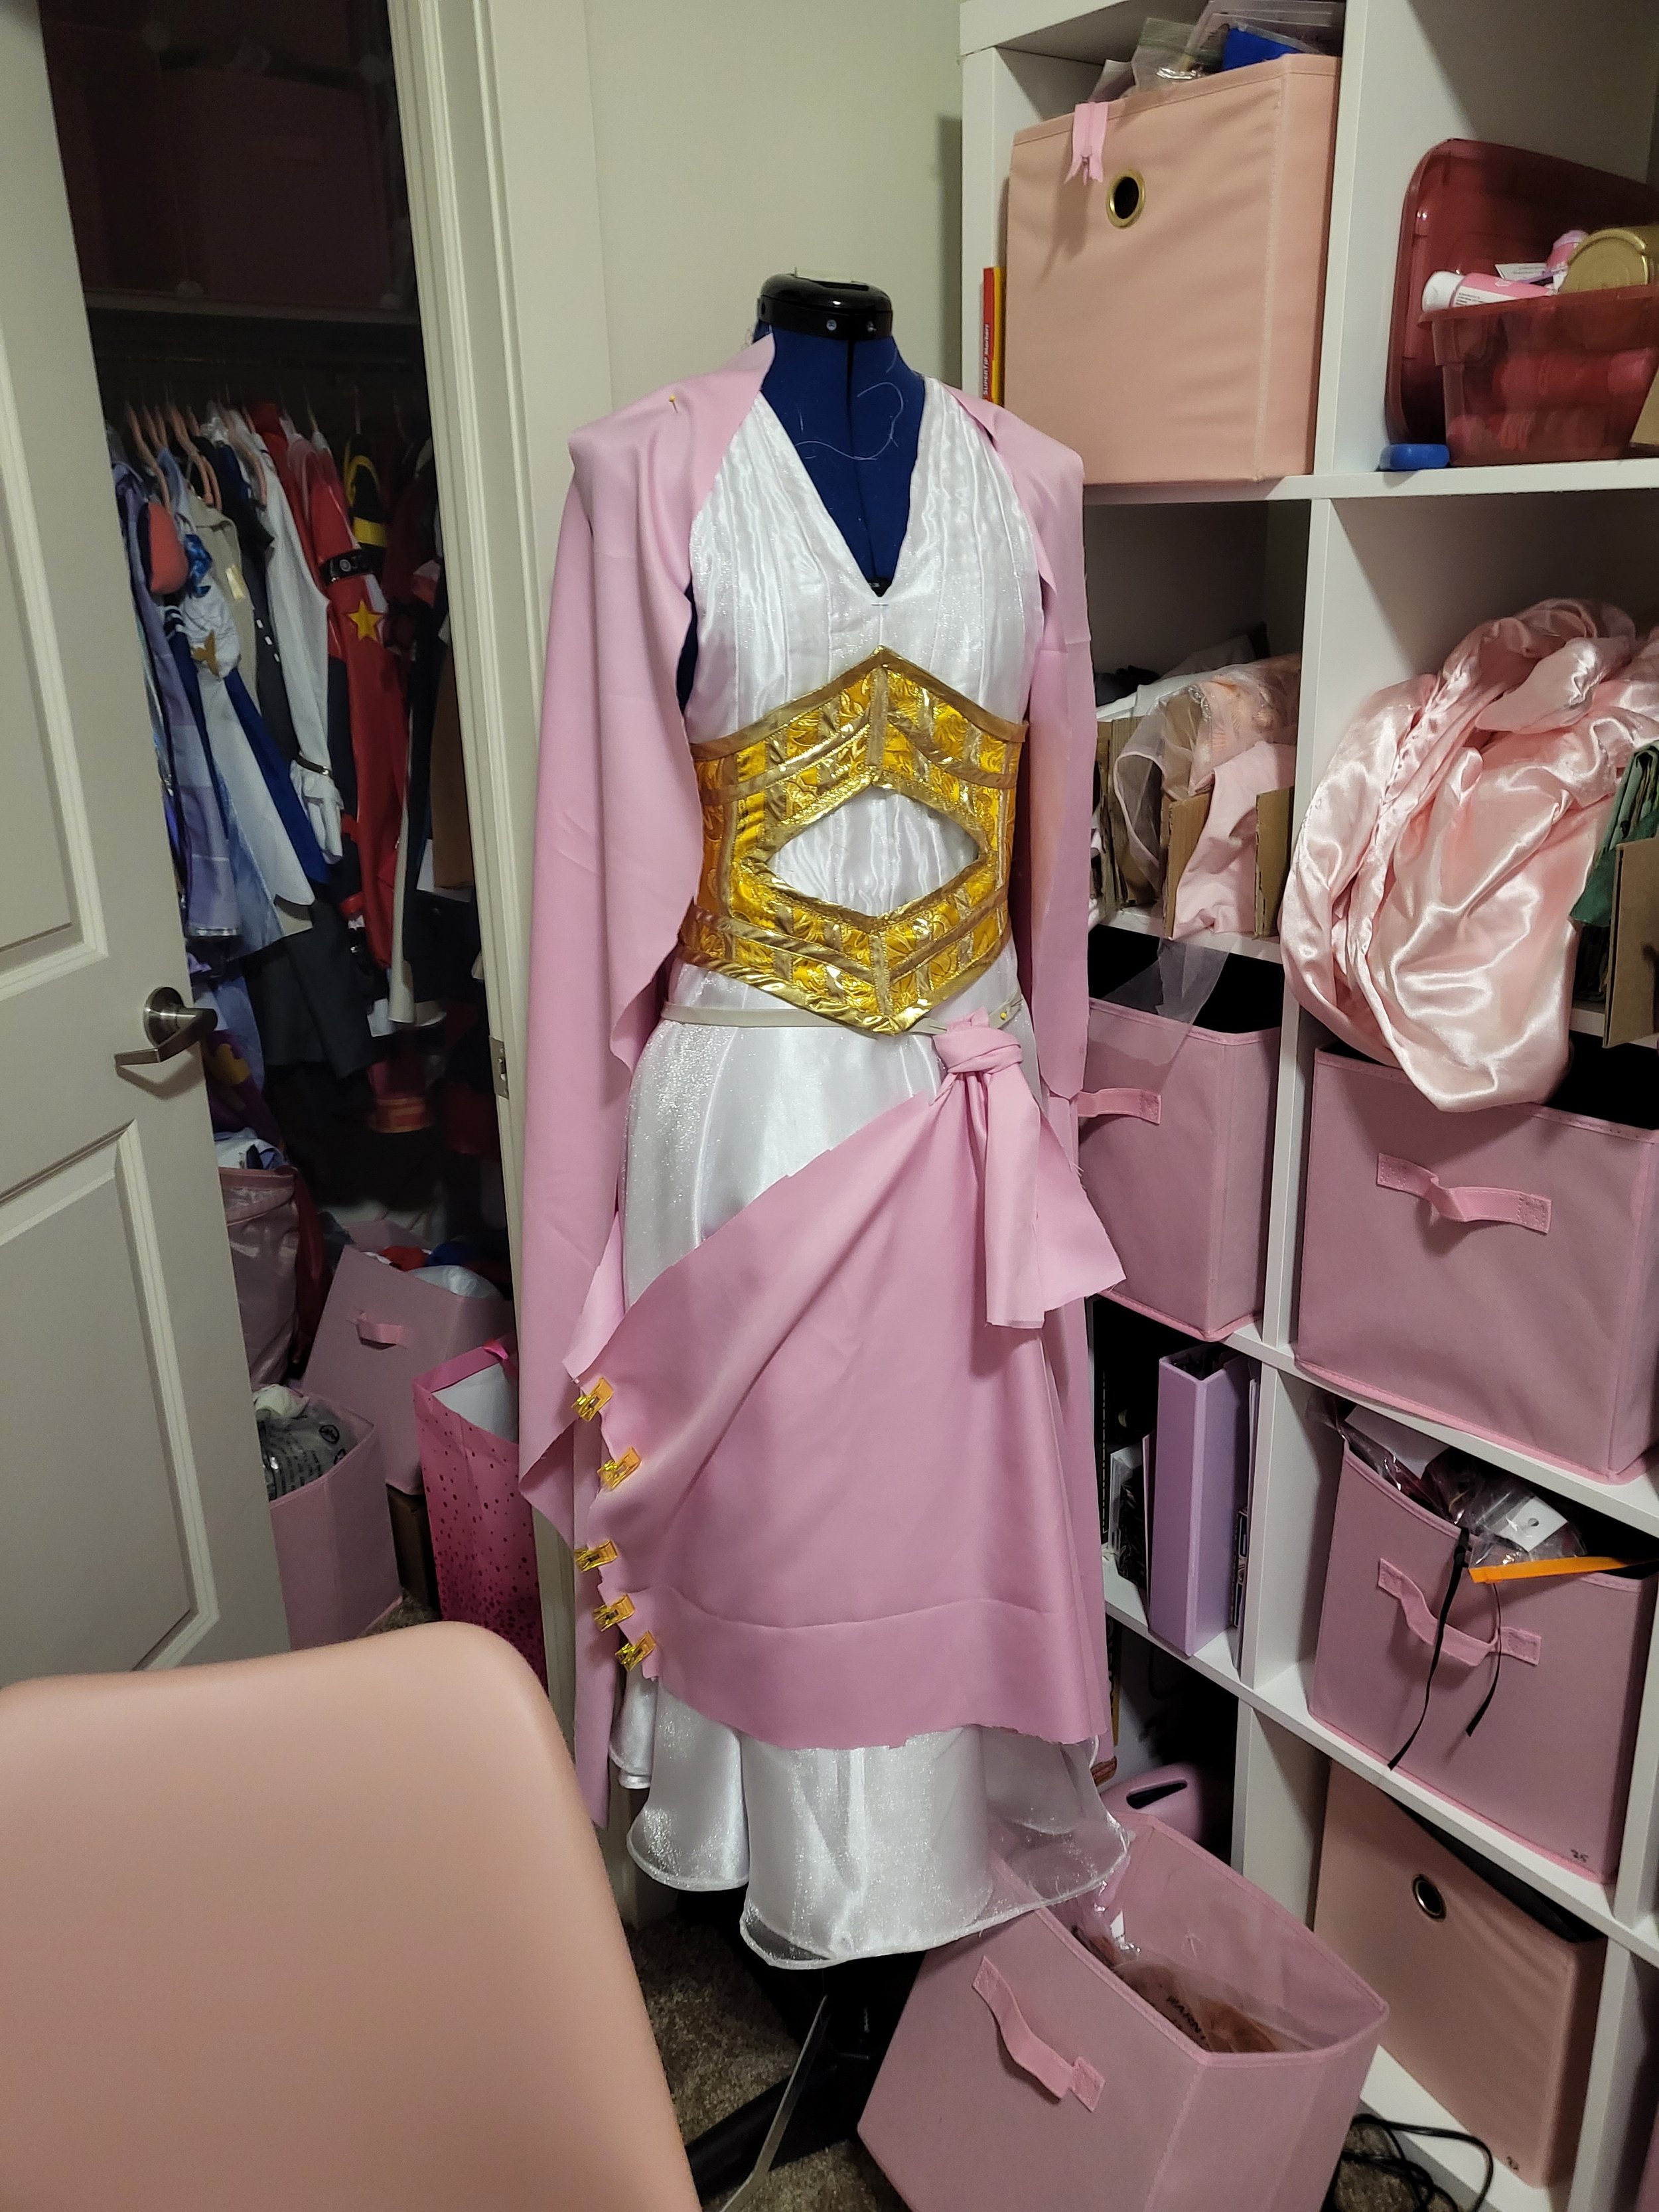
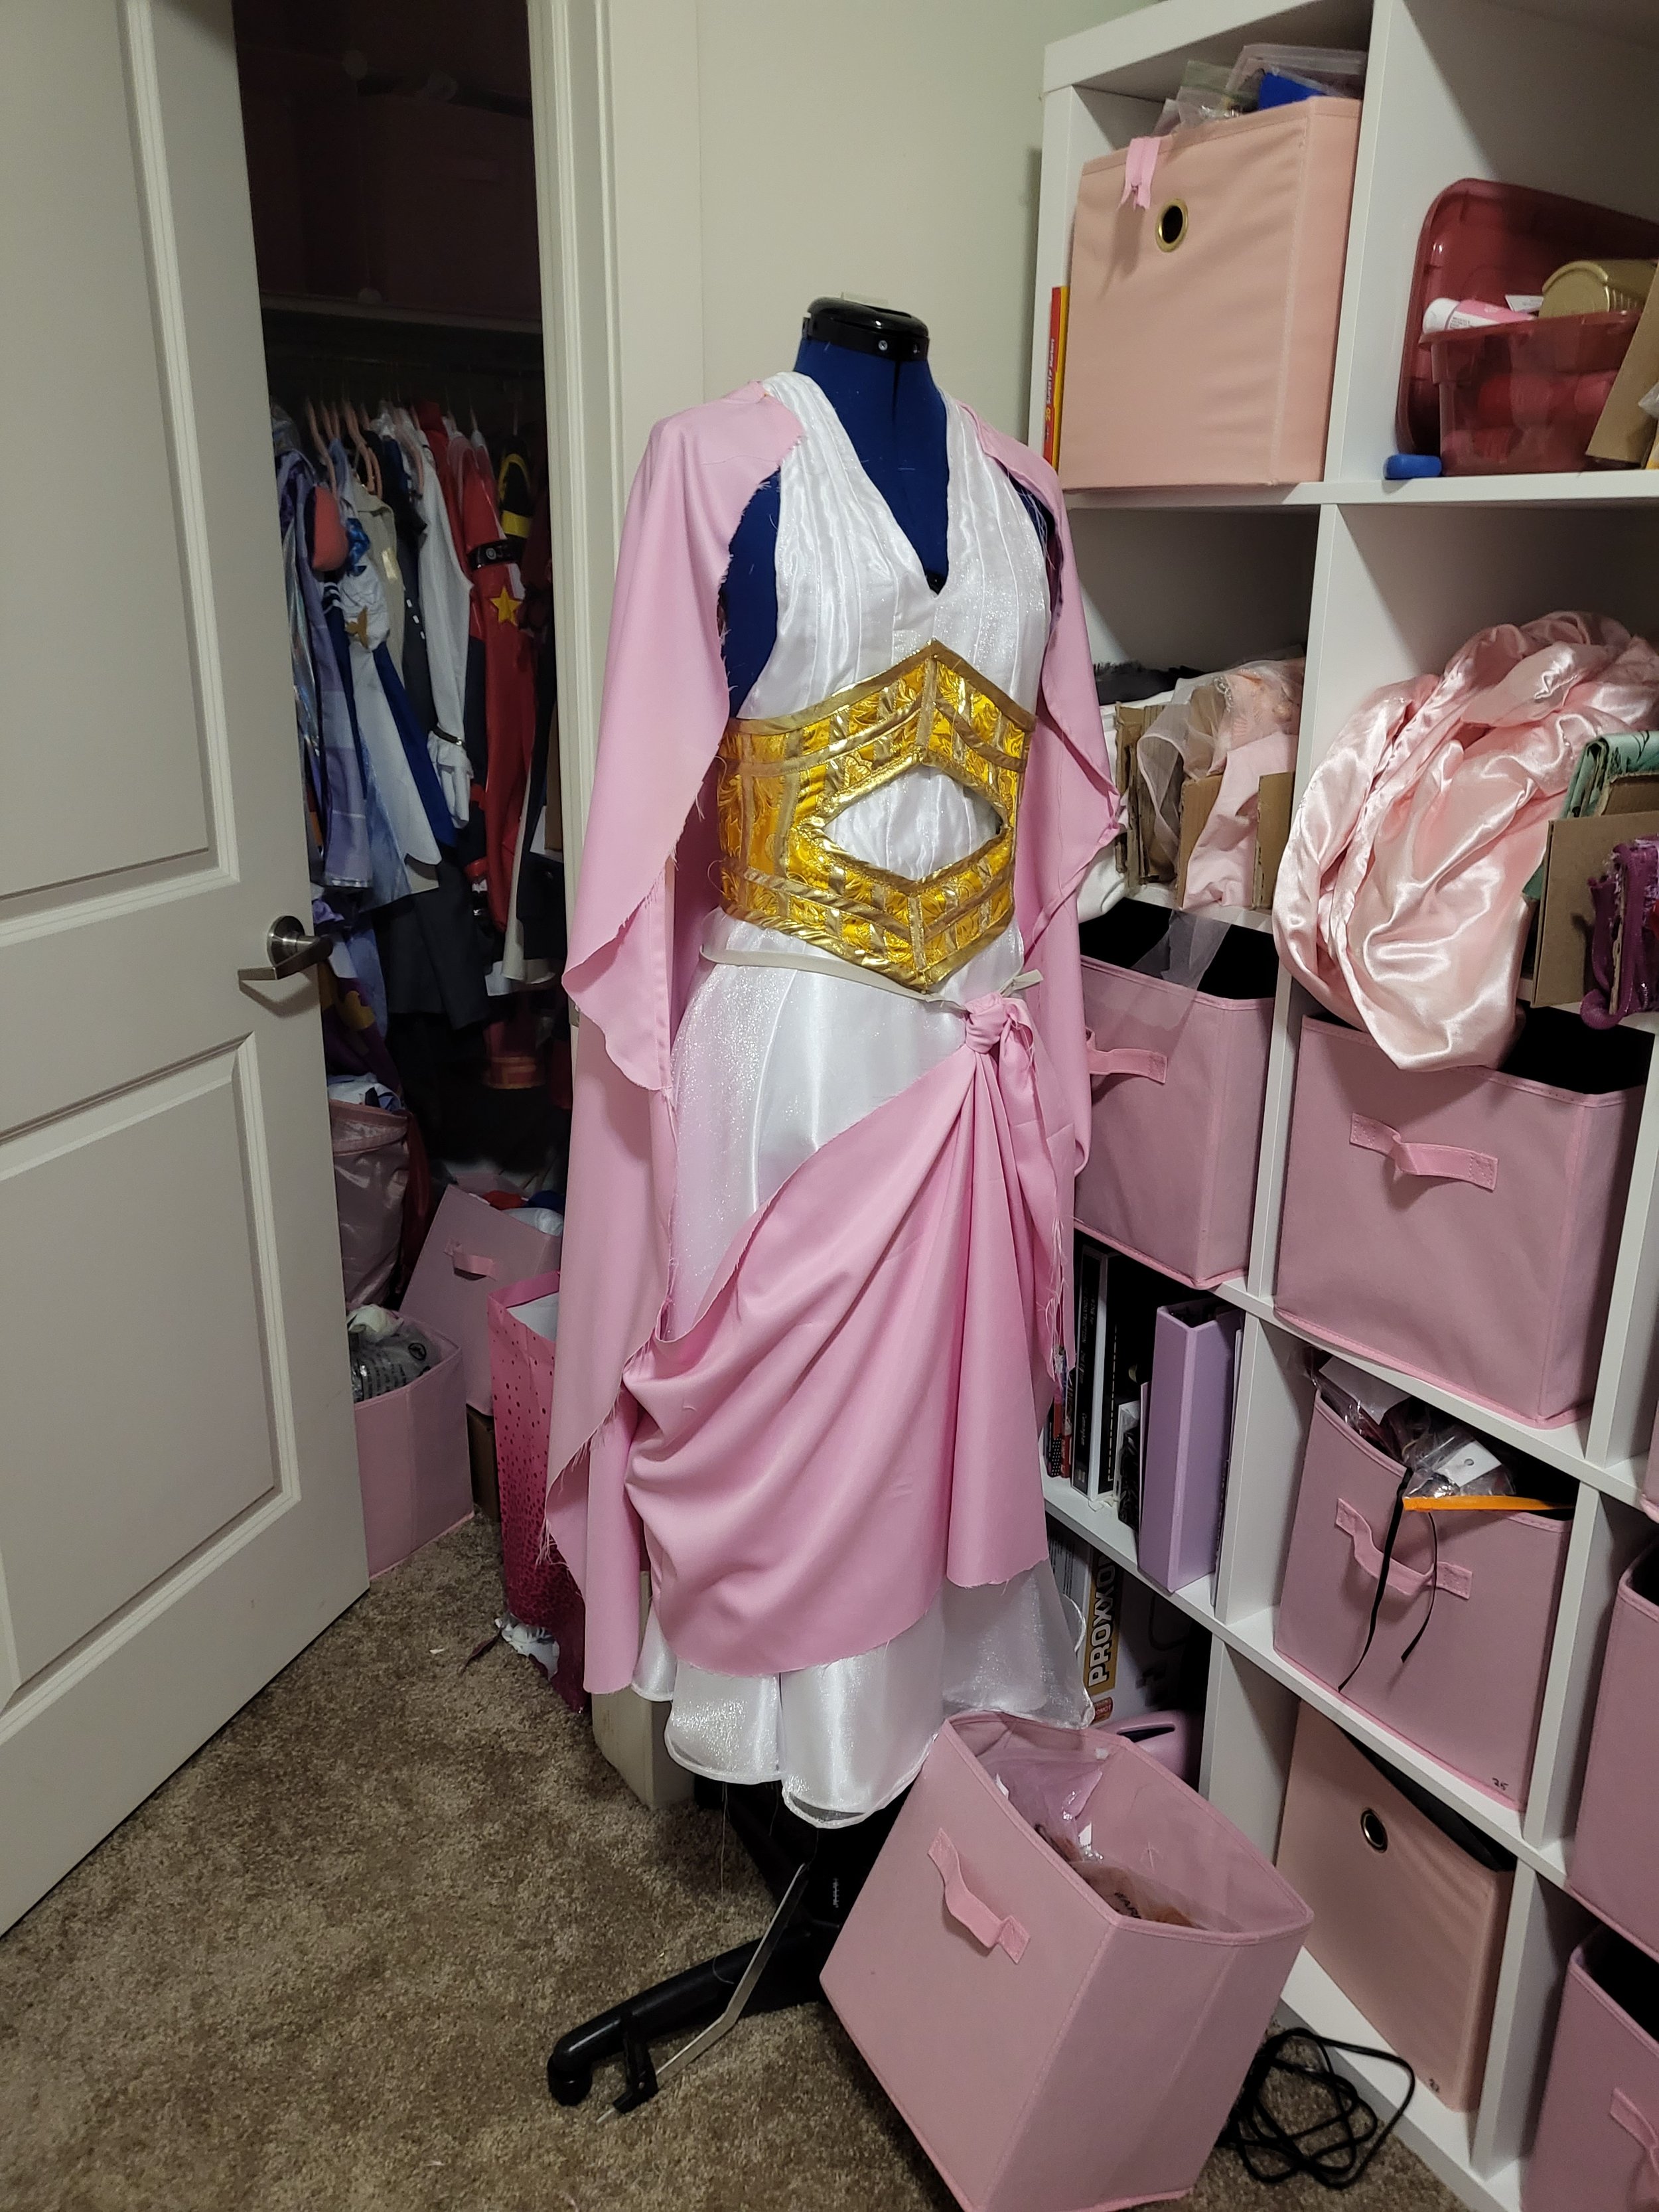
This project won best craftsmanship in the beginner category at Anime Banzai 2023 which was my final contest ever competing in the beginner/novice category. It was so much fun to make and I learned so much. Follow along on how I accomplished making Vivi’s princess dress cosplay from One Piece.
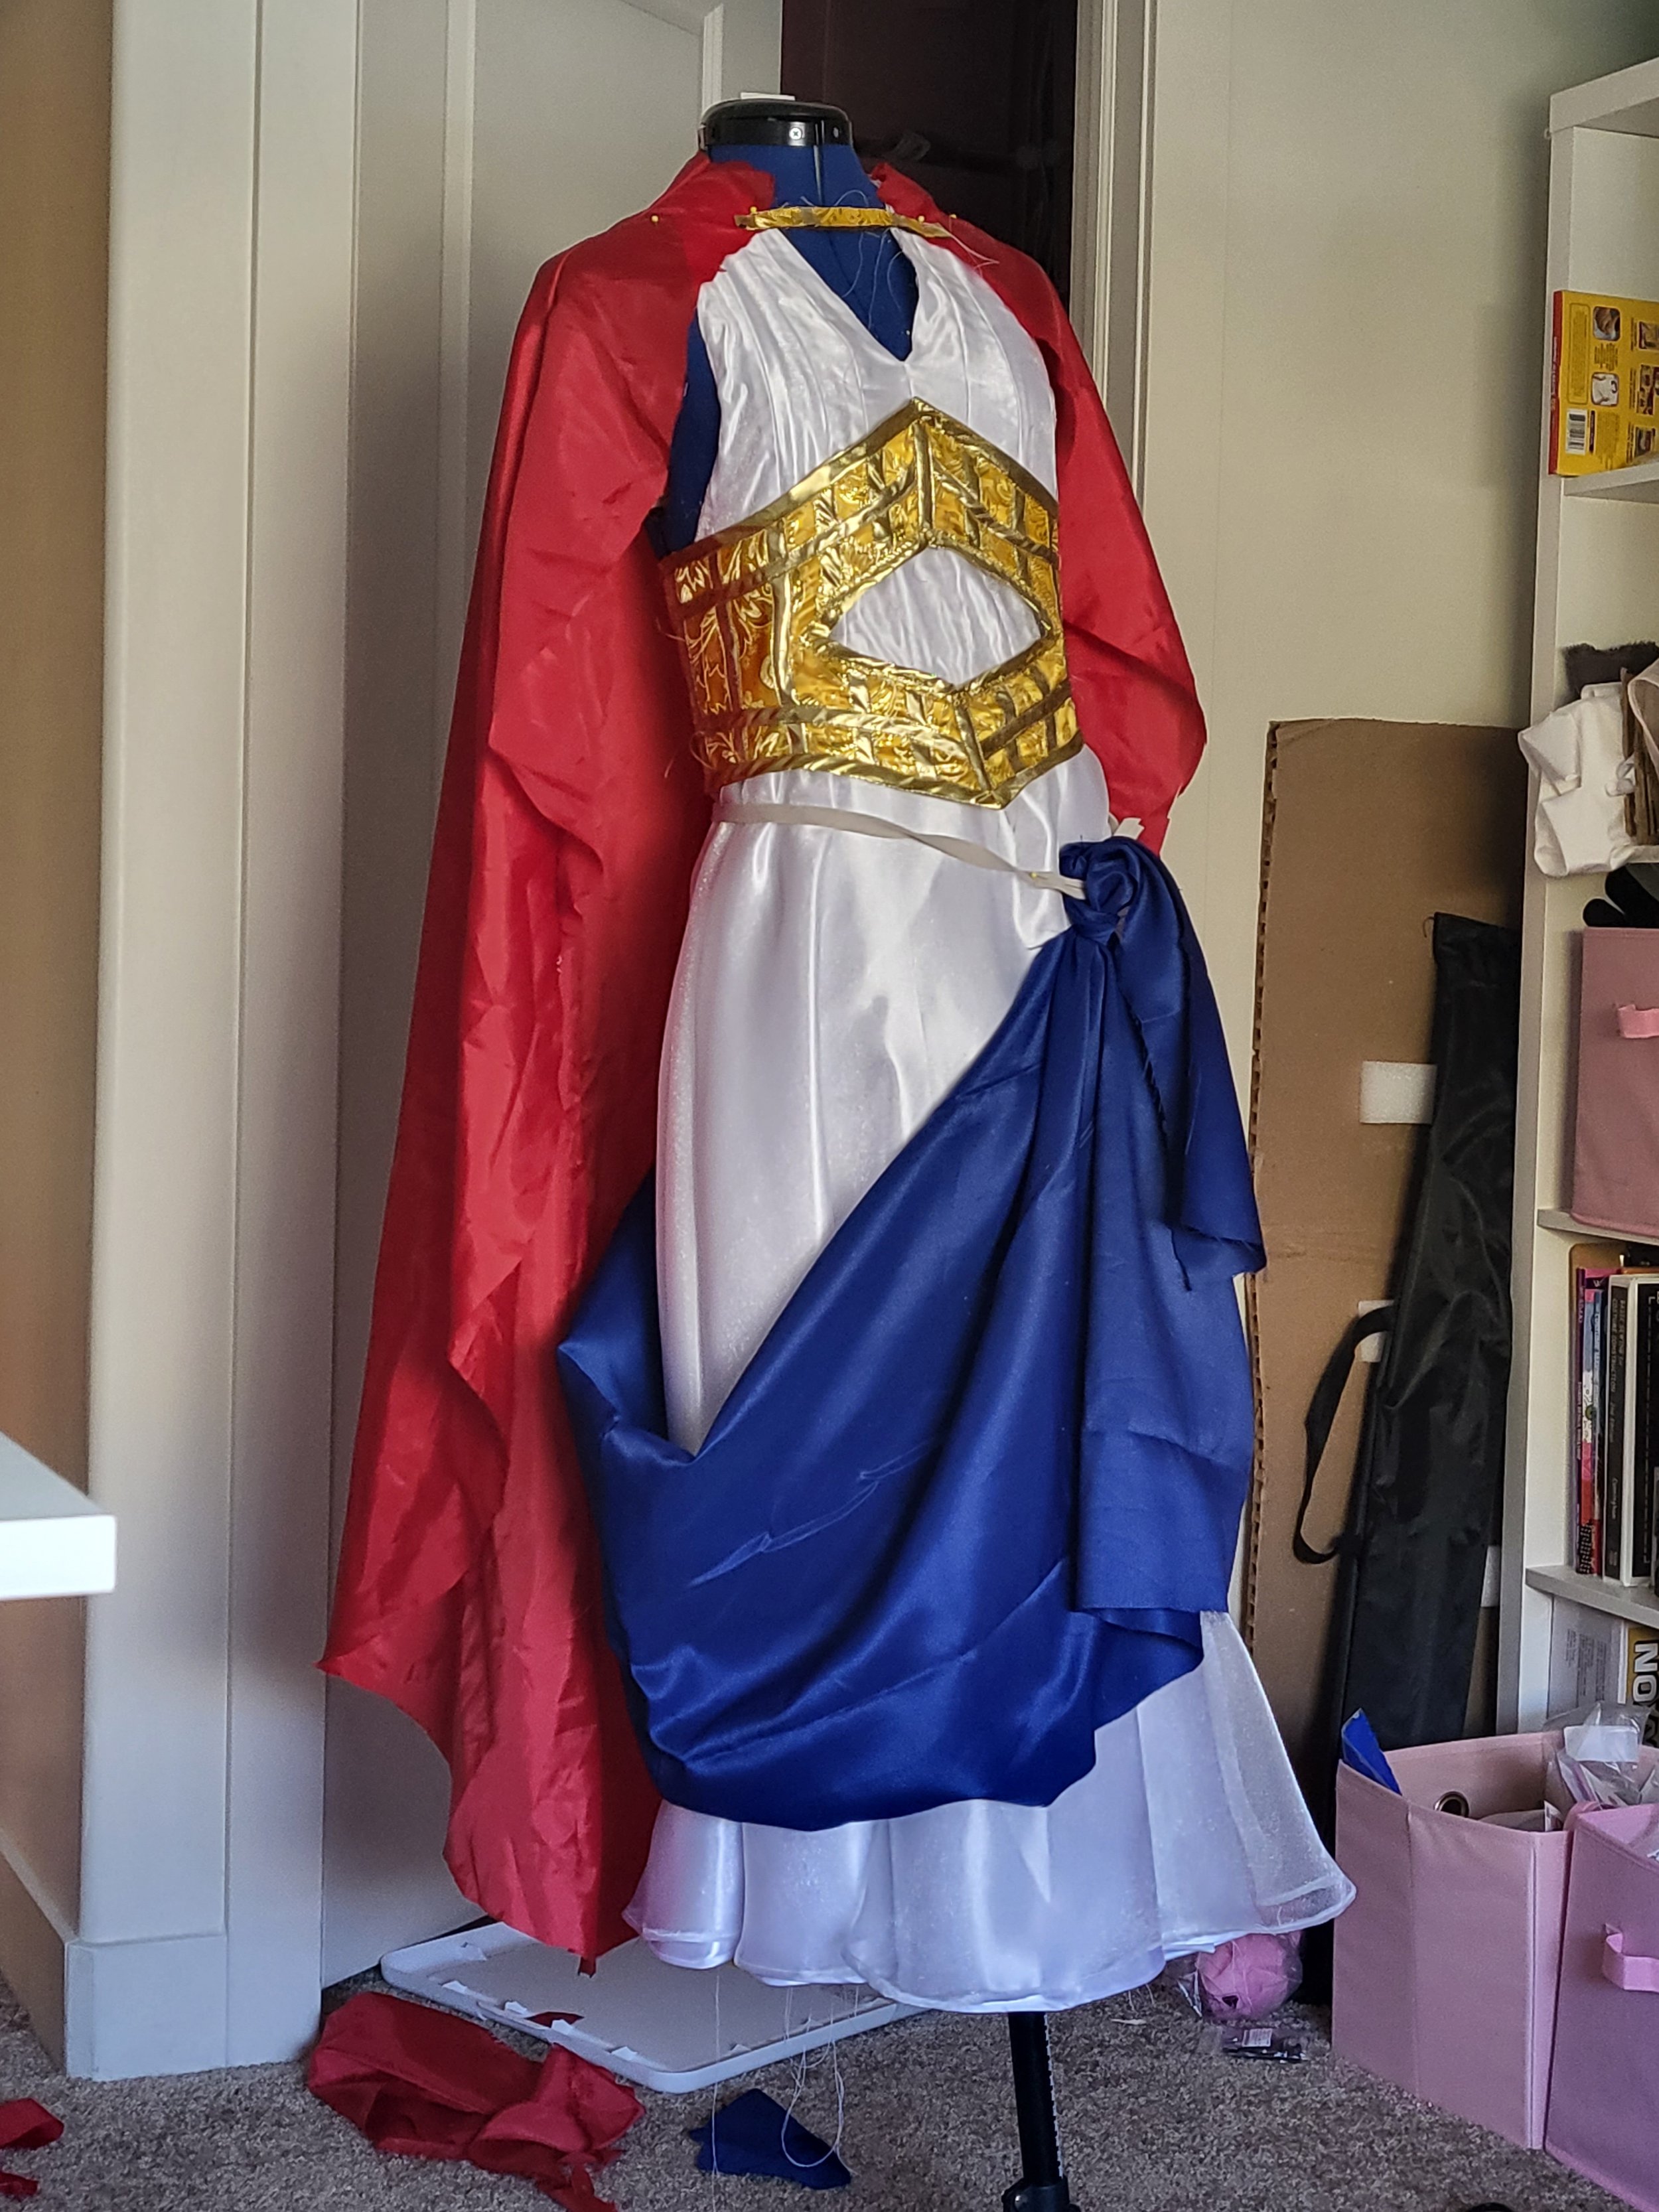
The Dress
Patterning
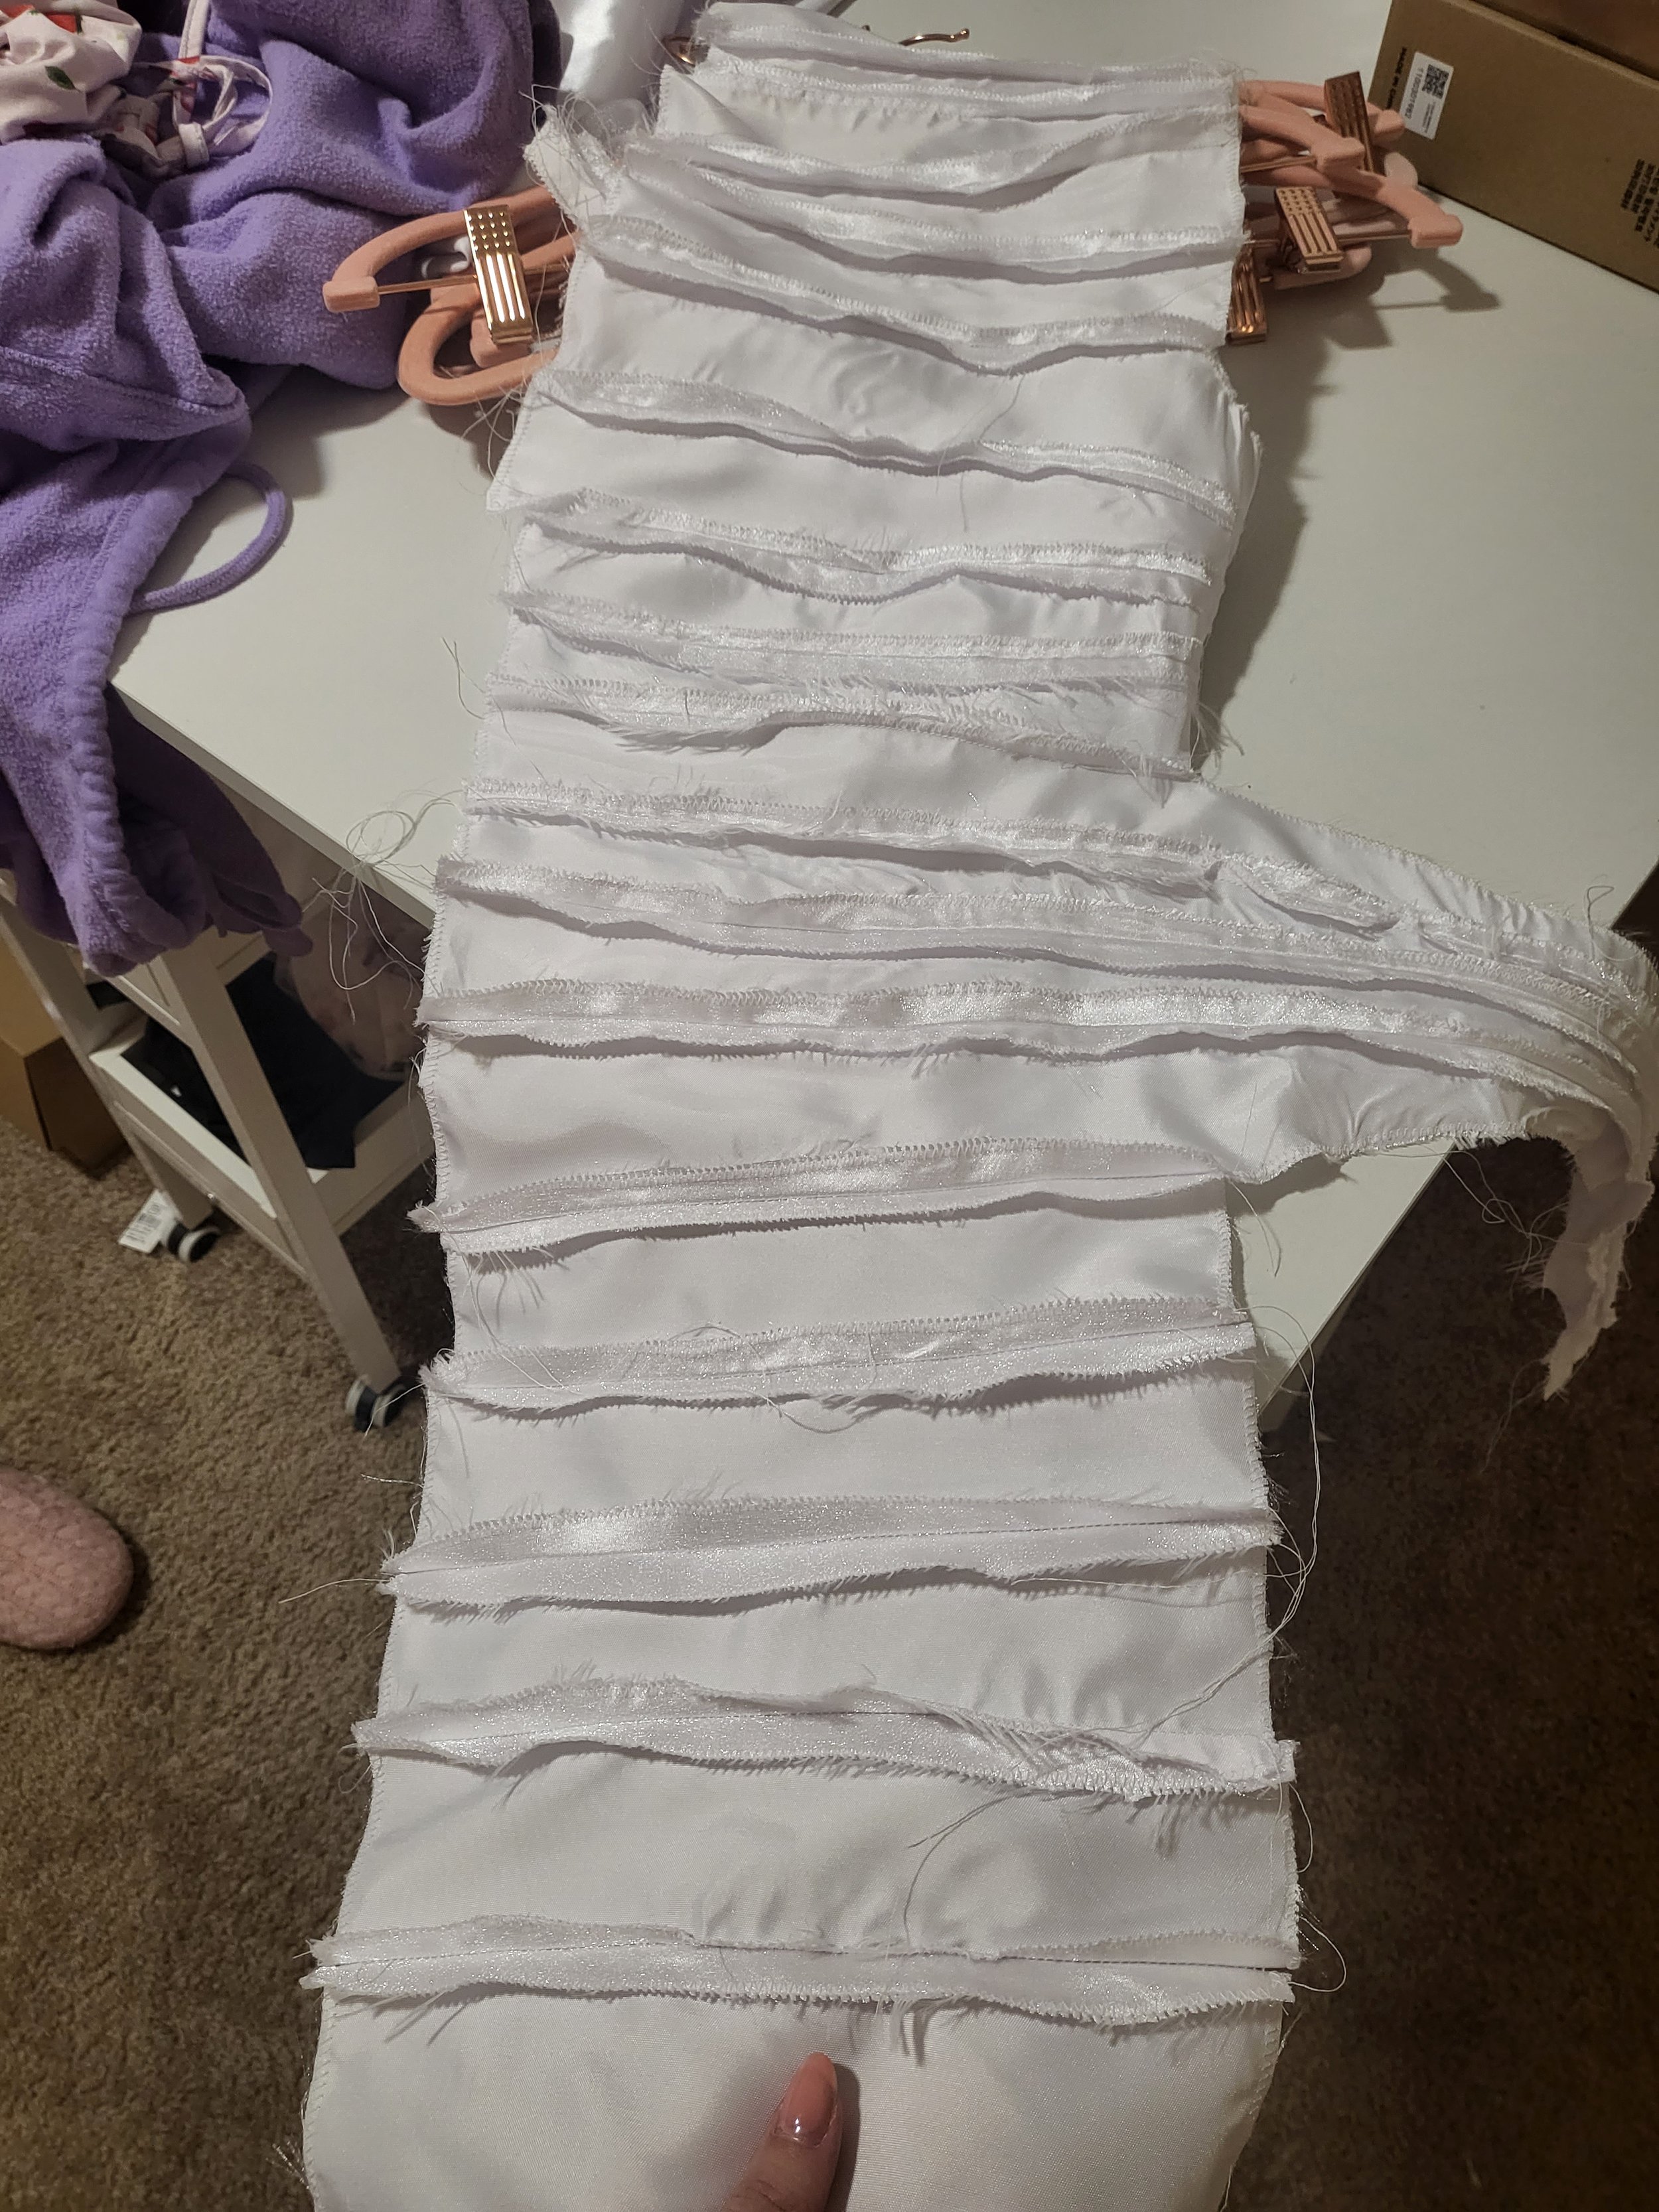
The skirt of the dress was made with a pre-made pattern. However, the top of the dress had a pattern made by myself. The initial challenge was getting the structured line pattern on the top. I was really stuck deciding between pleats and sewing together smaller pieces. Pleats obviously lost.
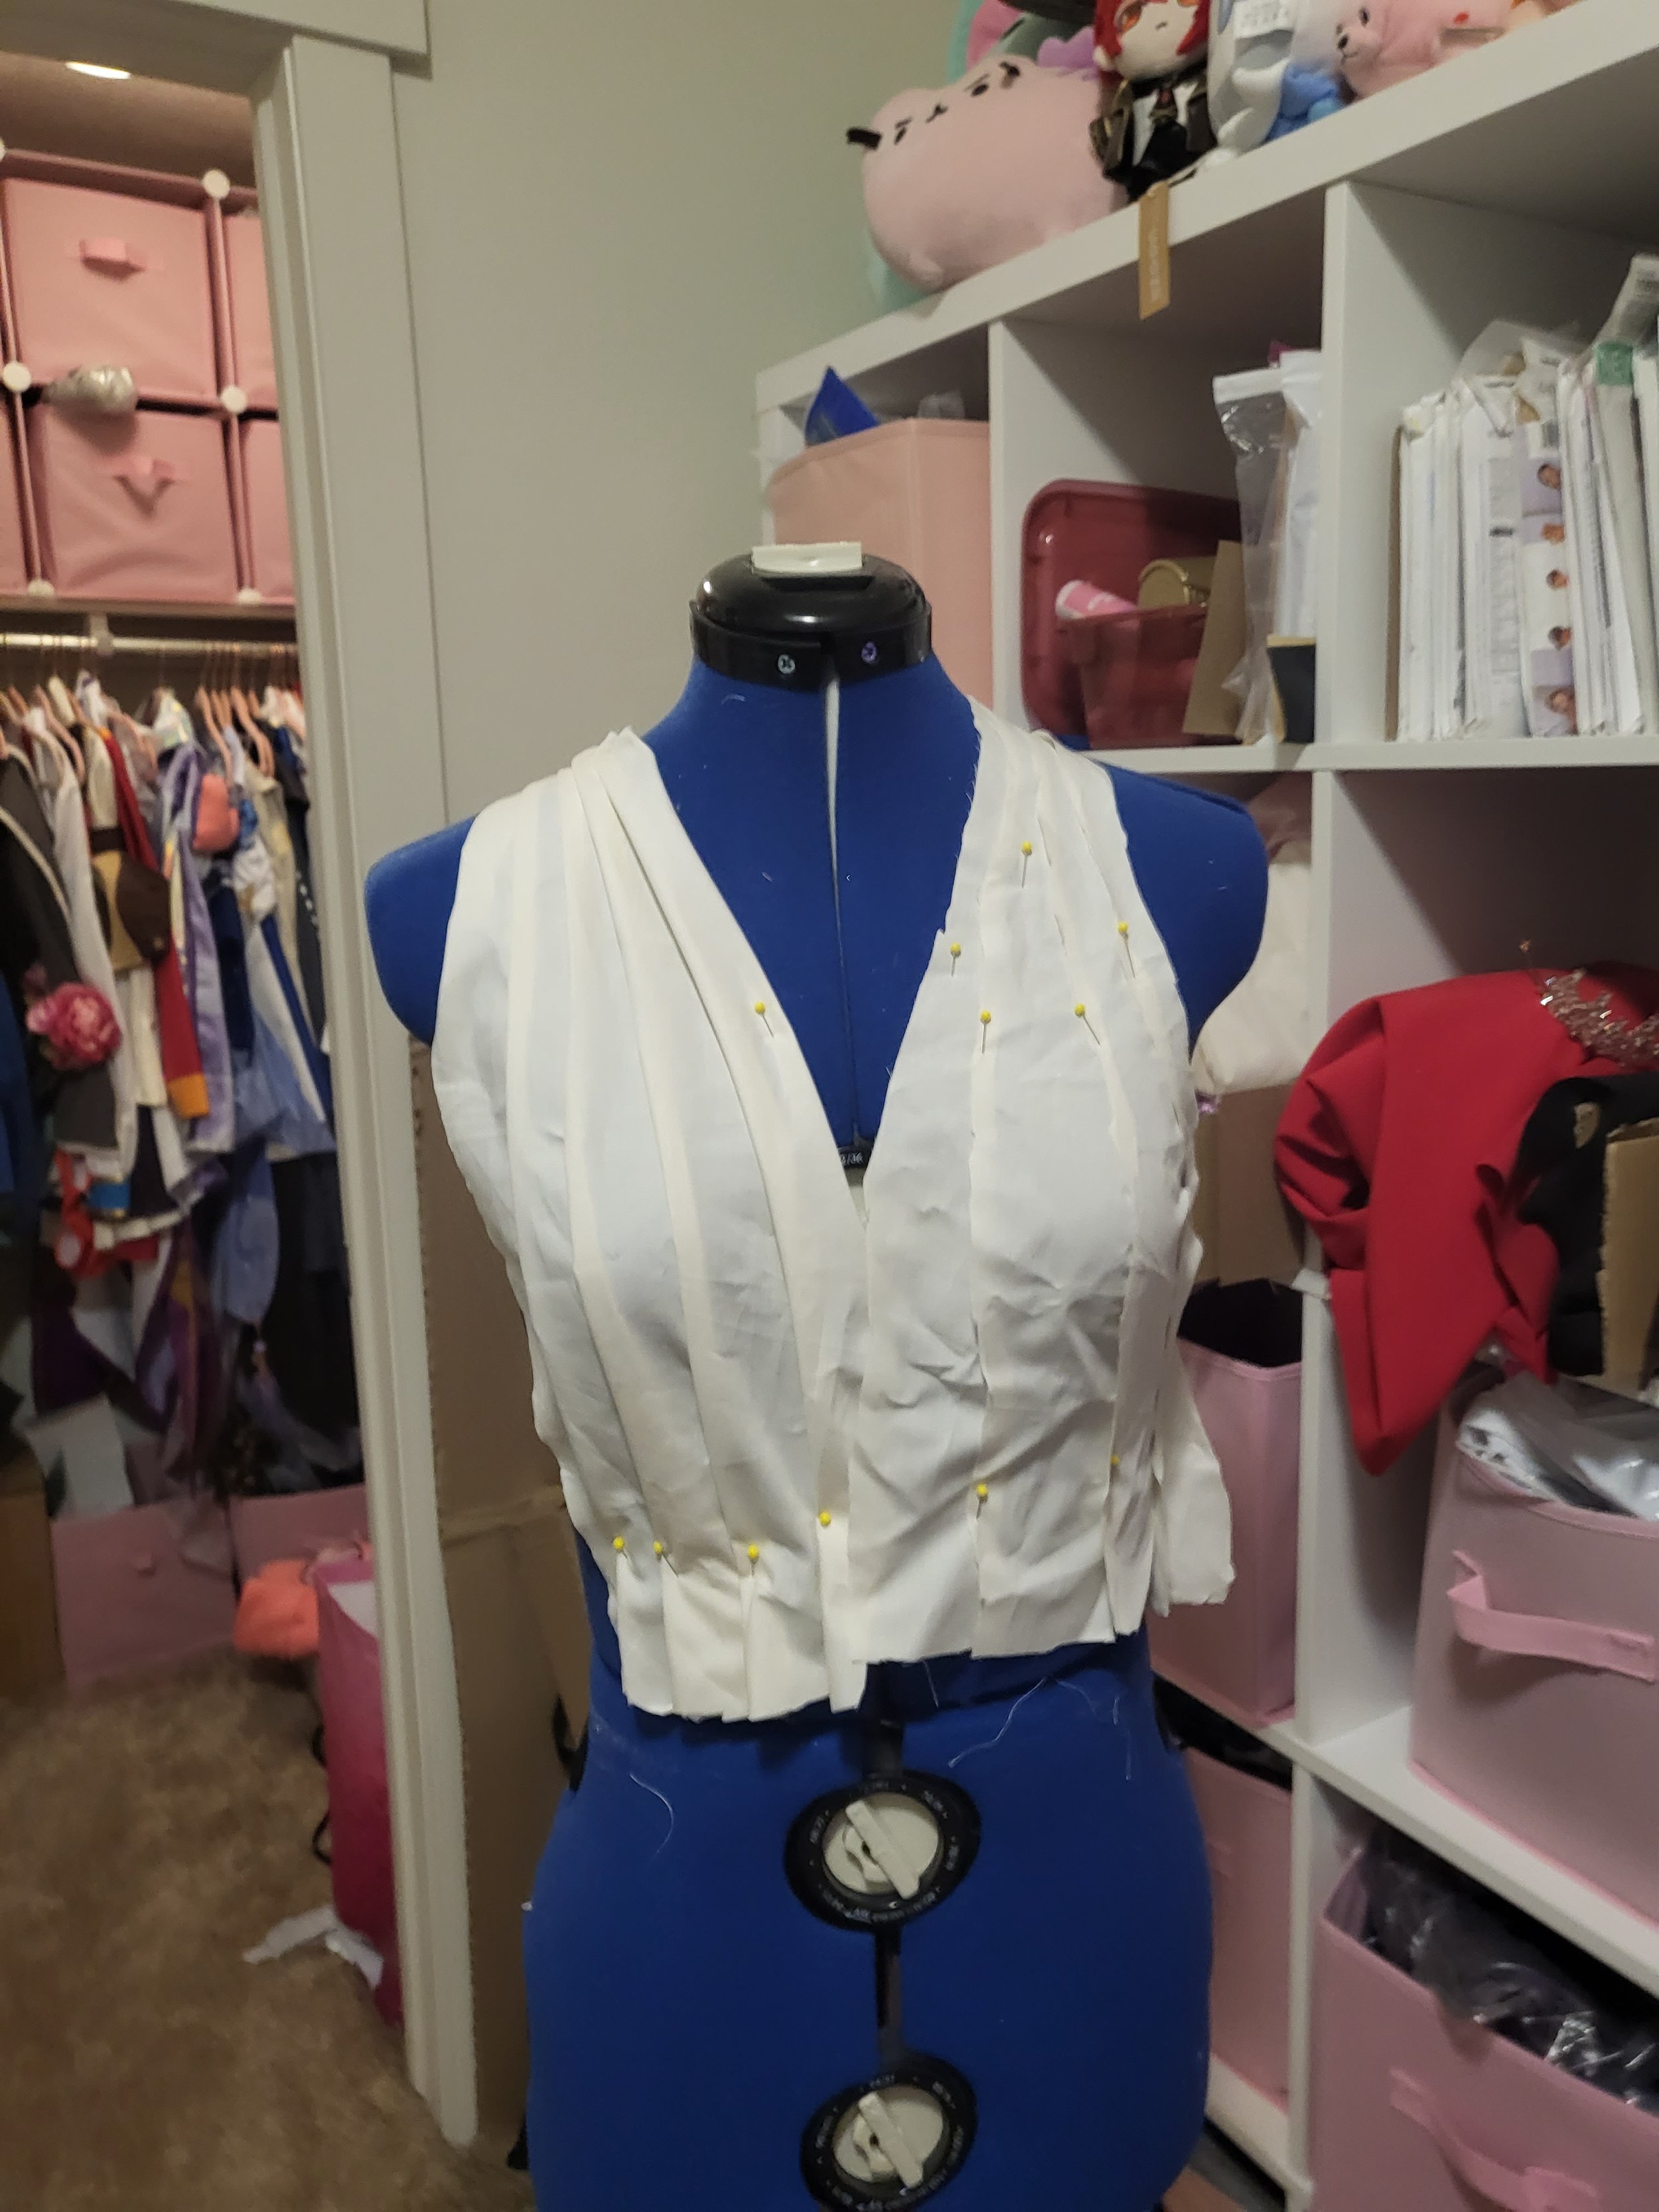

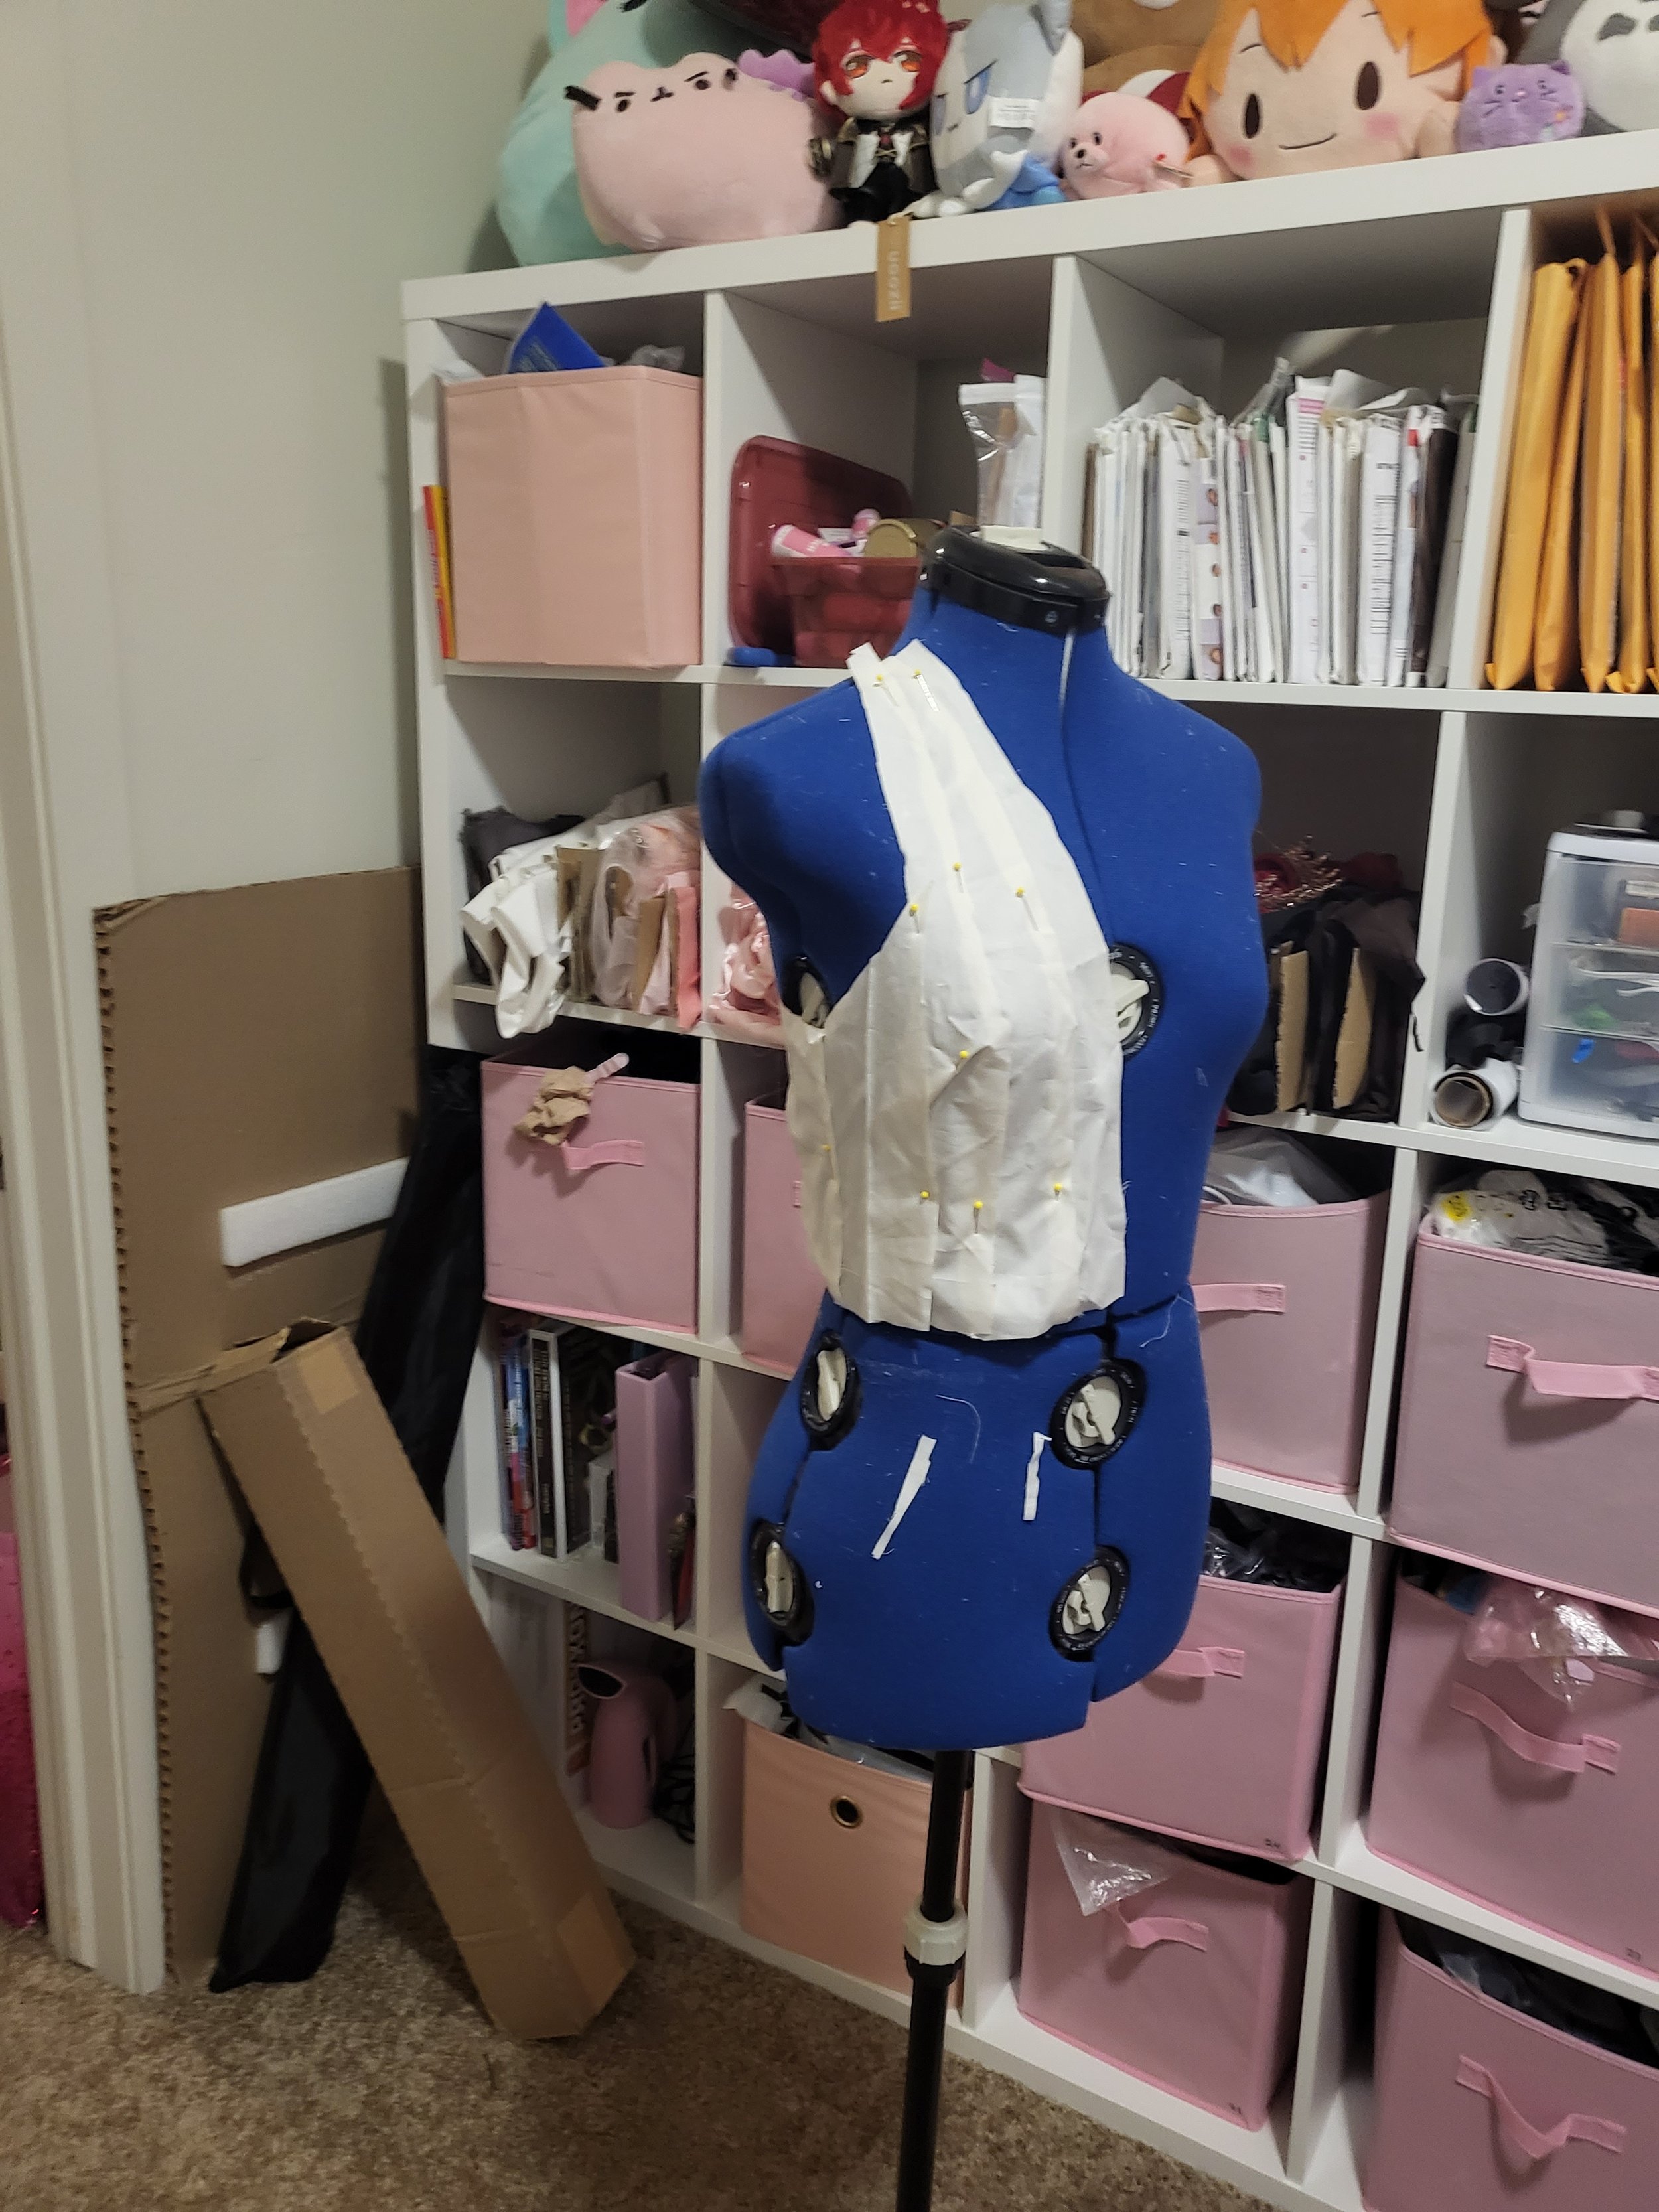
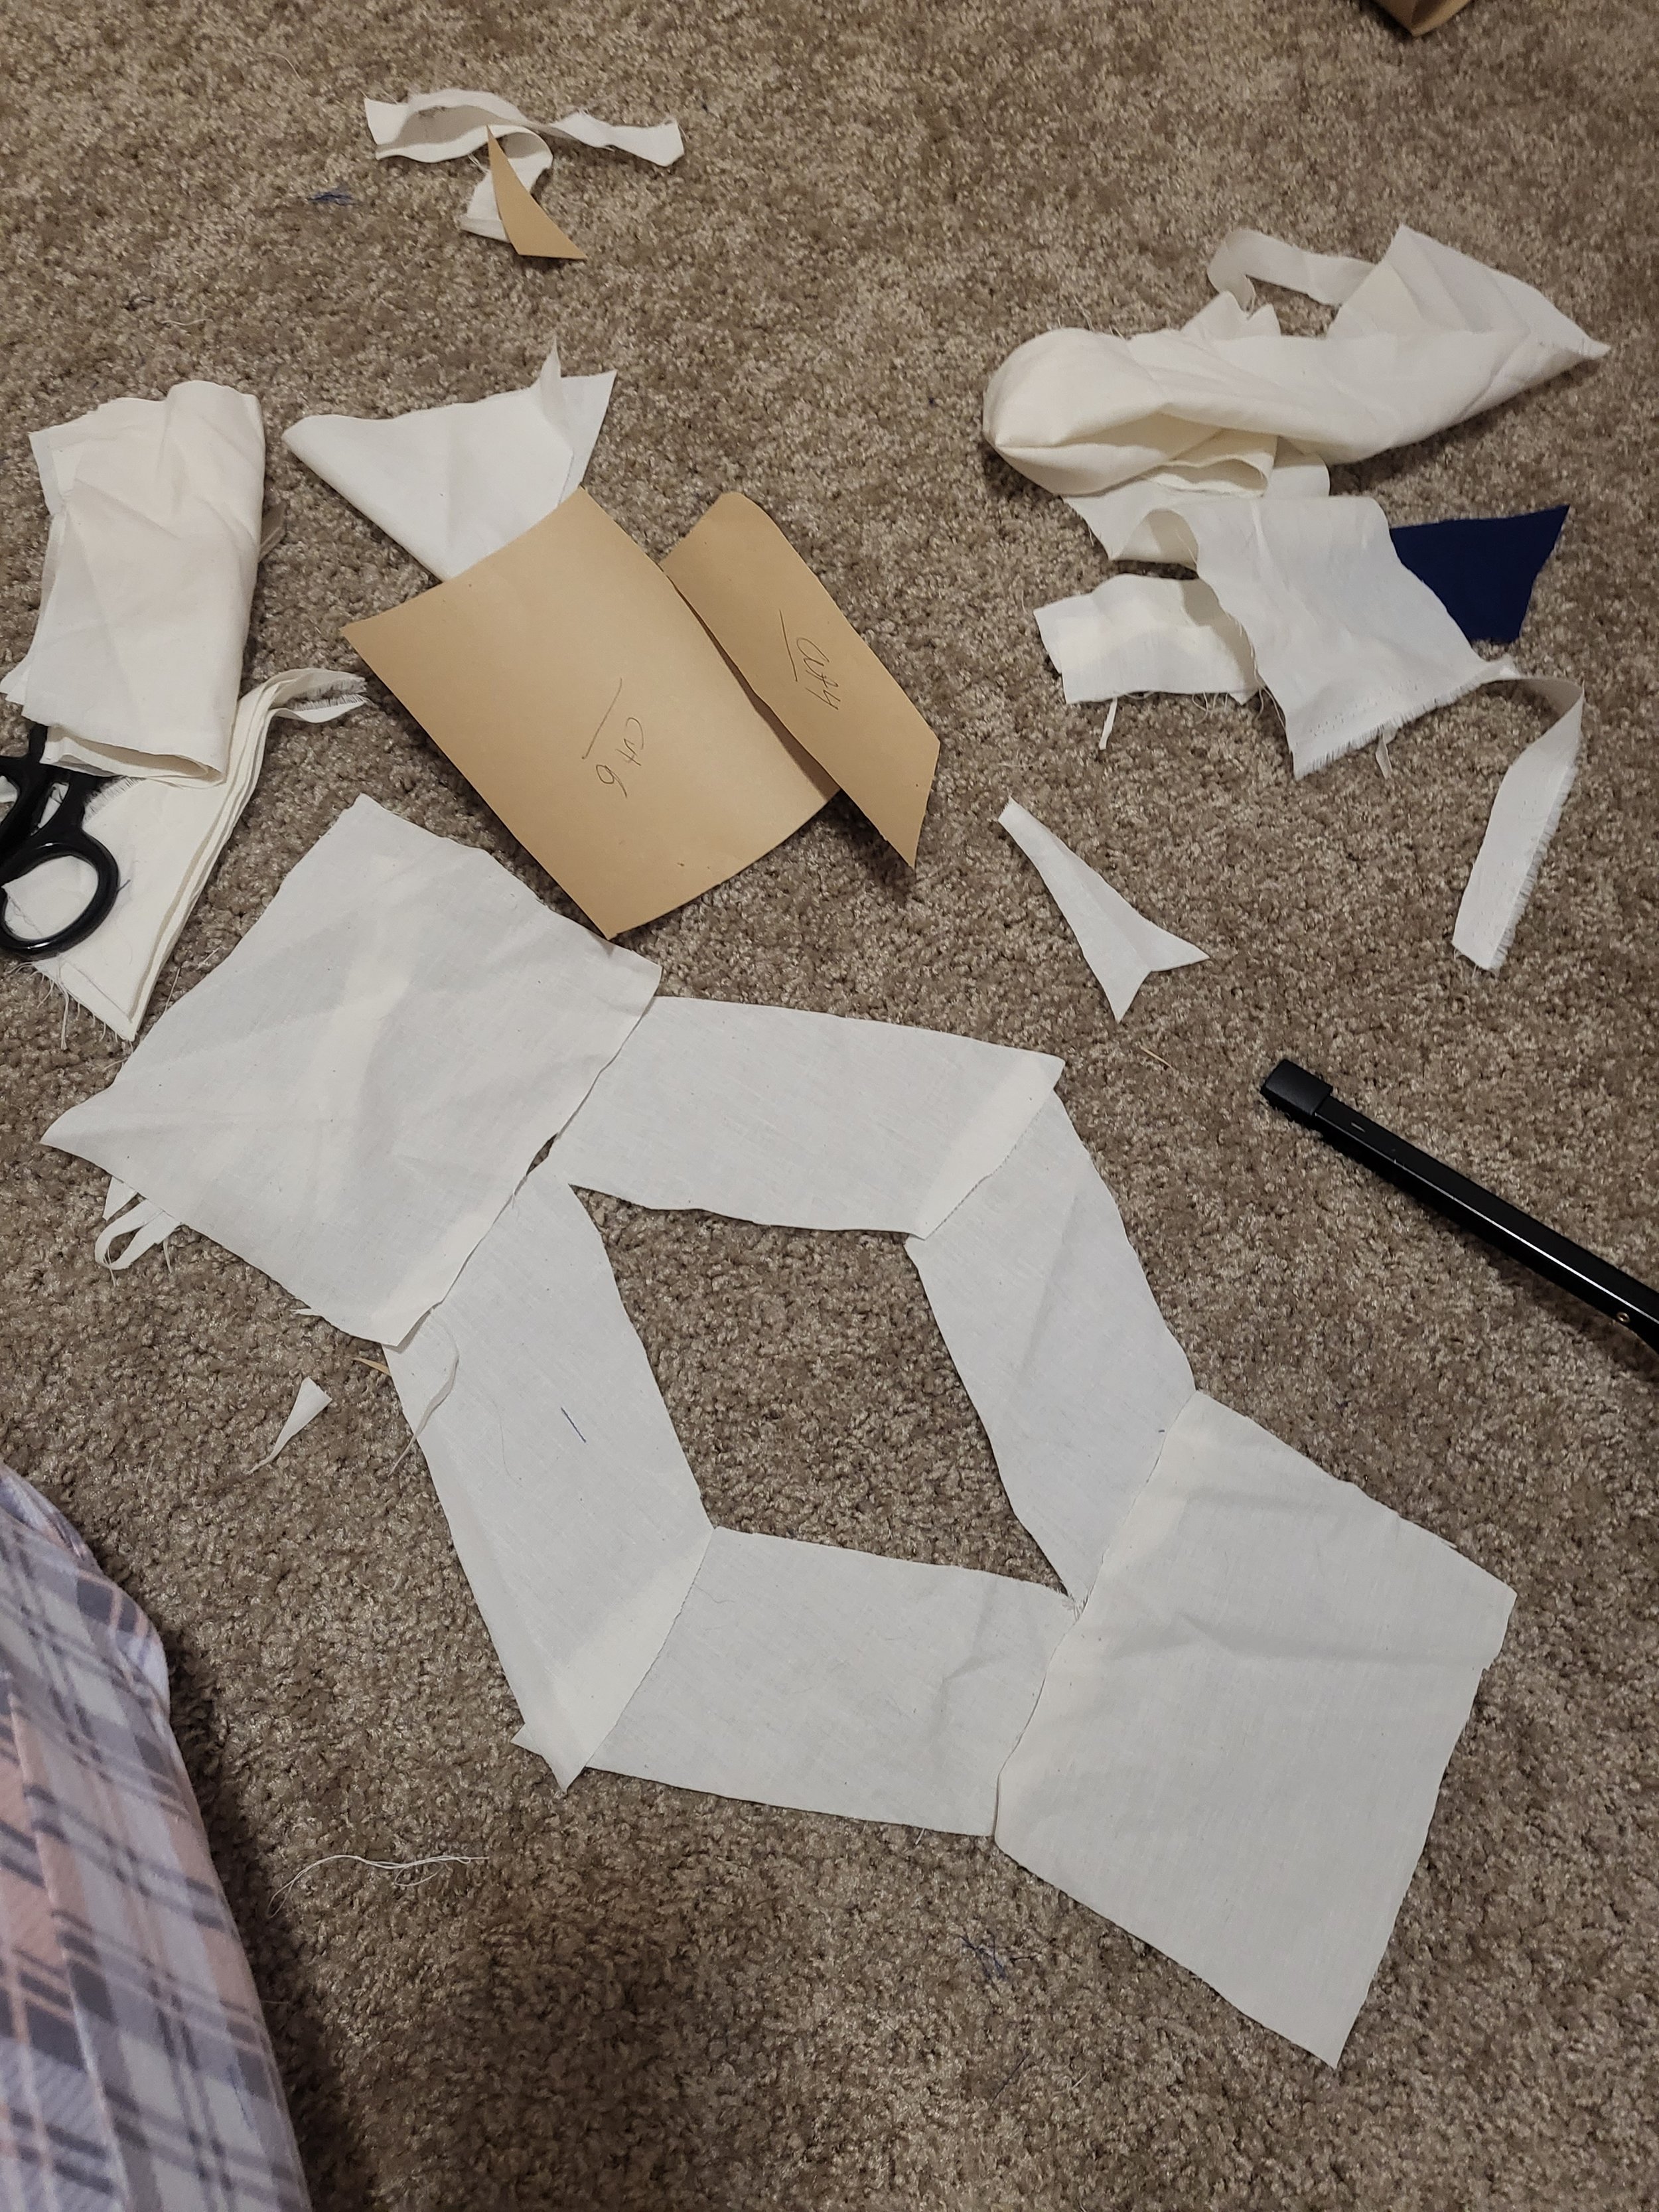
Once I understood generally how I wanted the top laid out, I divided my waist measurement by 14 to decide on the width of the bottom of each top panel and I added seam allowance to the pattern of each piece. Then I had 14 panels overall on the top that with the exception of their top halves, were all even. On the front I cut the 4 pieces on each side to have very narrow tops to create a halter top that would be buttoned together in the back.
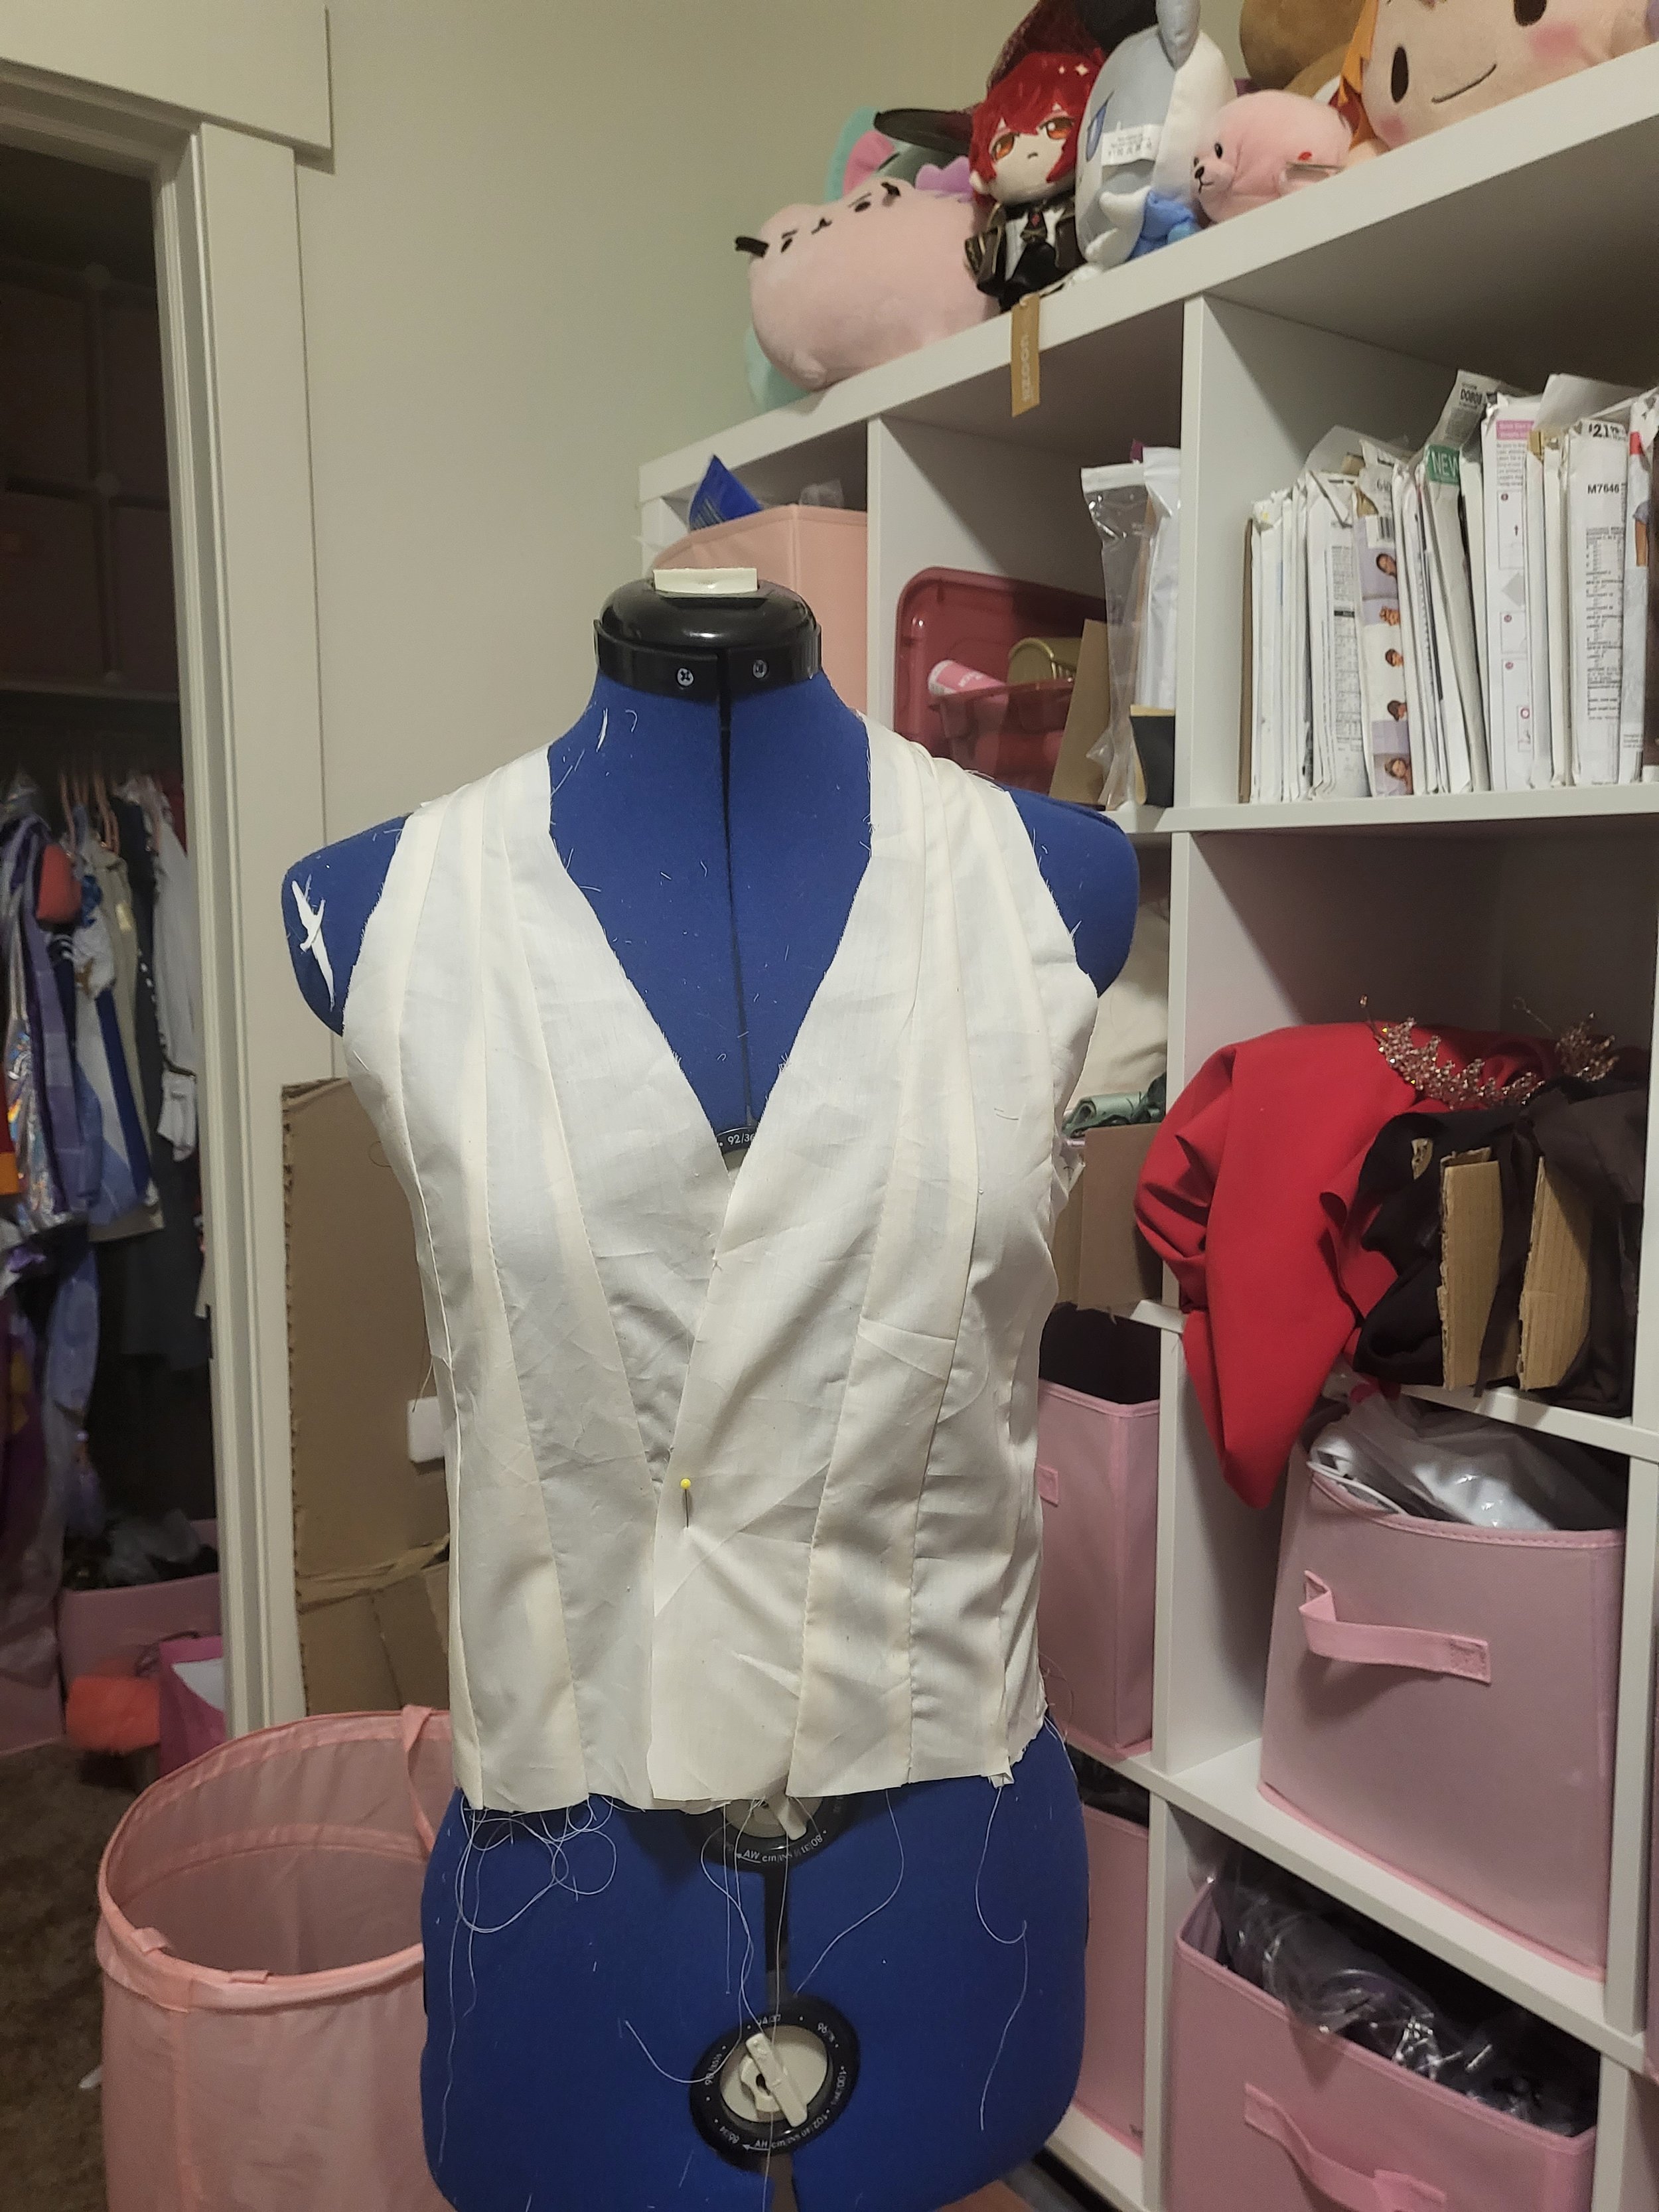

In the end, I narrowed down the pattern to 3 pieces.
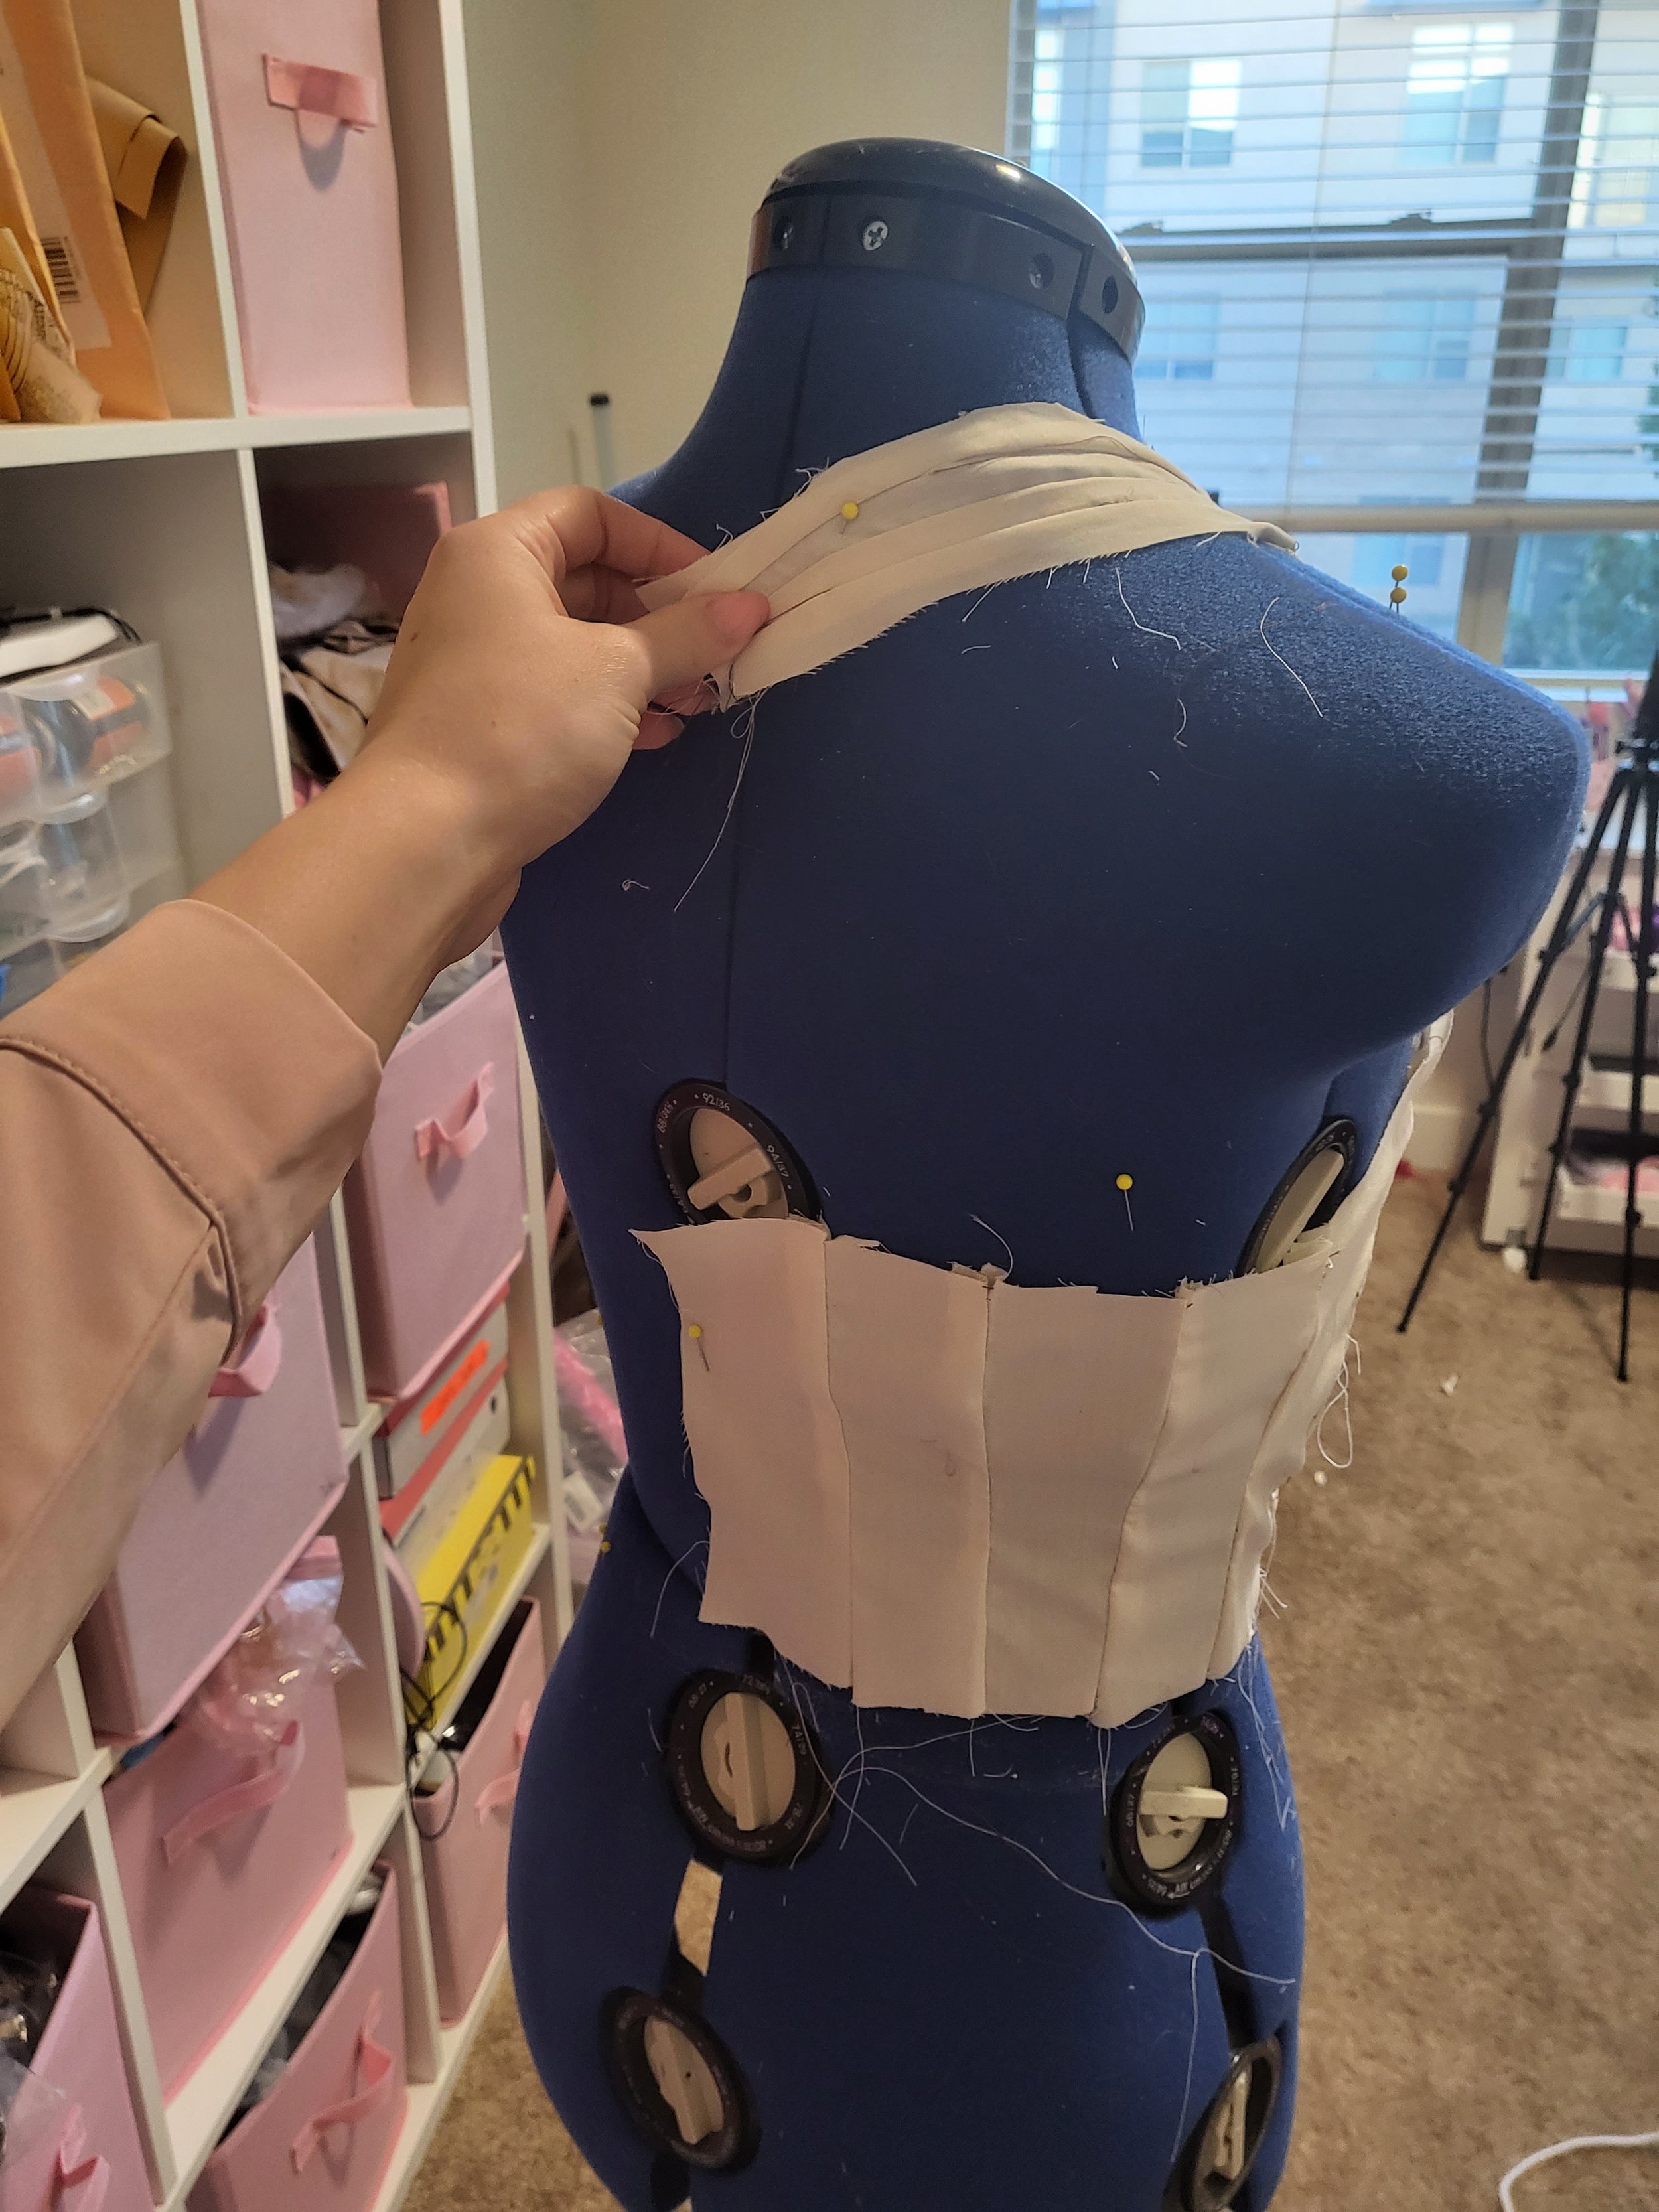
Back Pieces to eventually attach a zipper to
The panel pieces for the back and sides
The front pieces that taper into a halter neck
Then for the skirt I used the pattern Simplicity 1195.
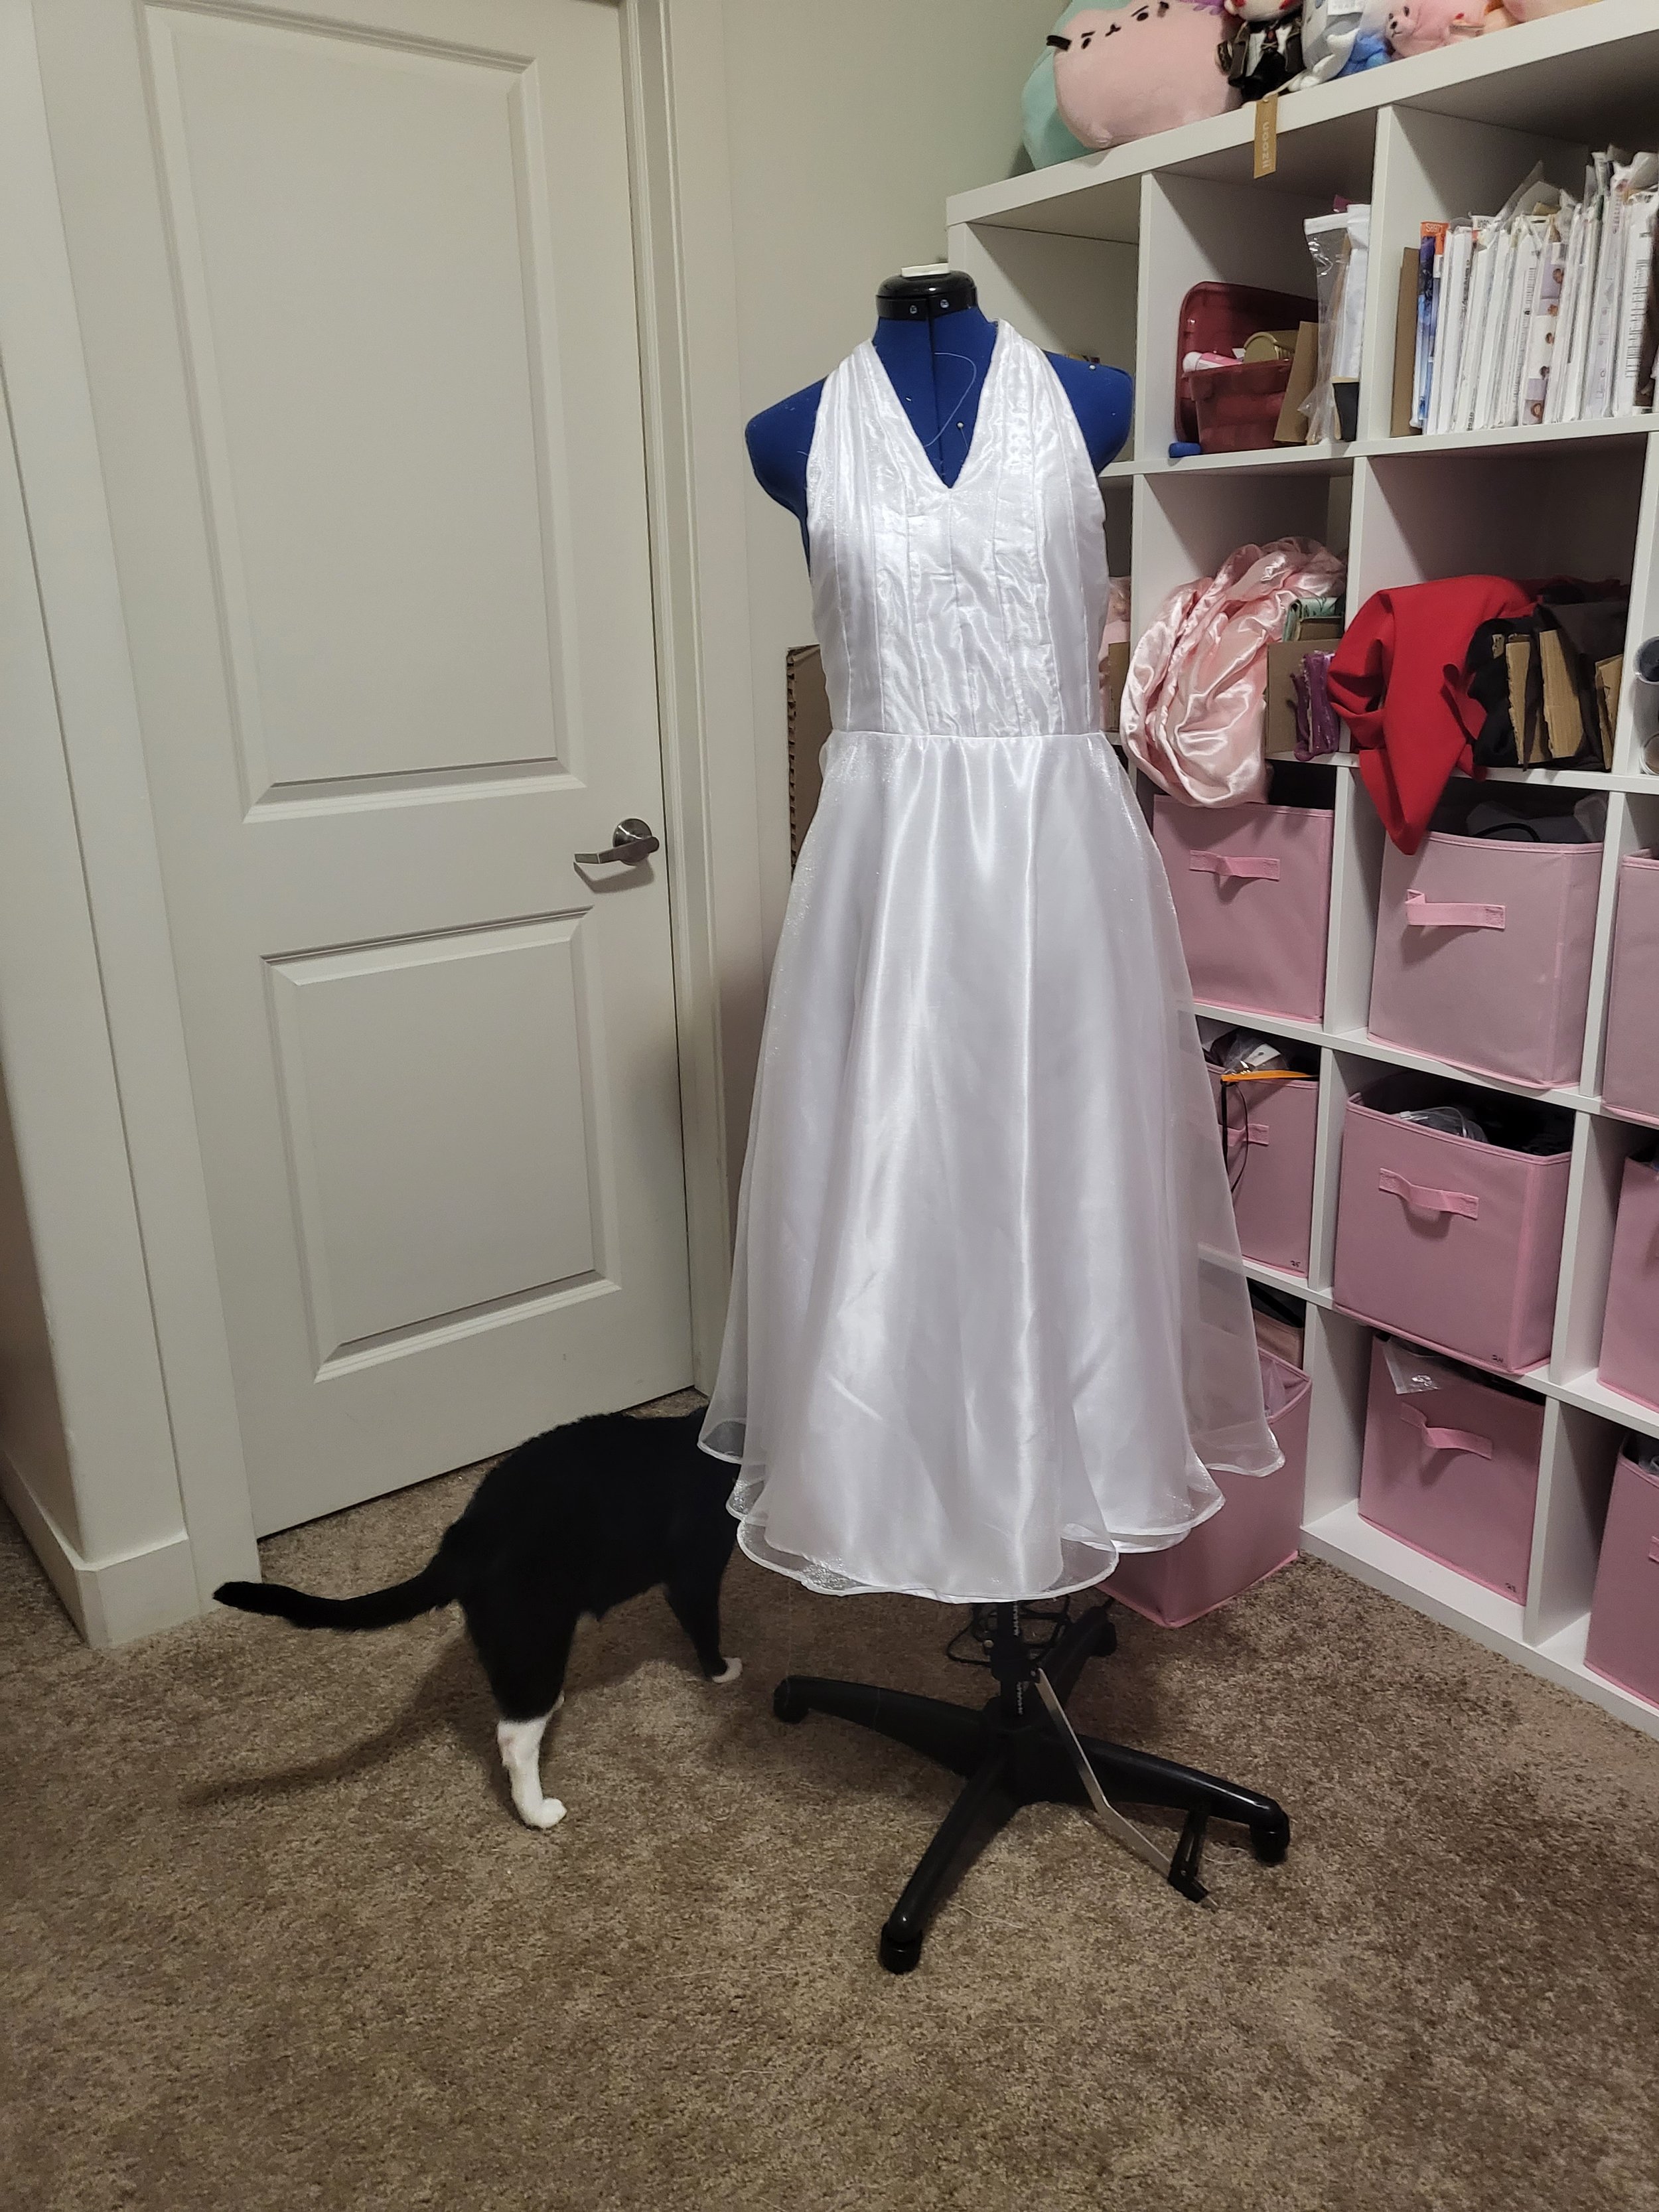
Dress Construction
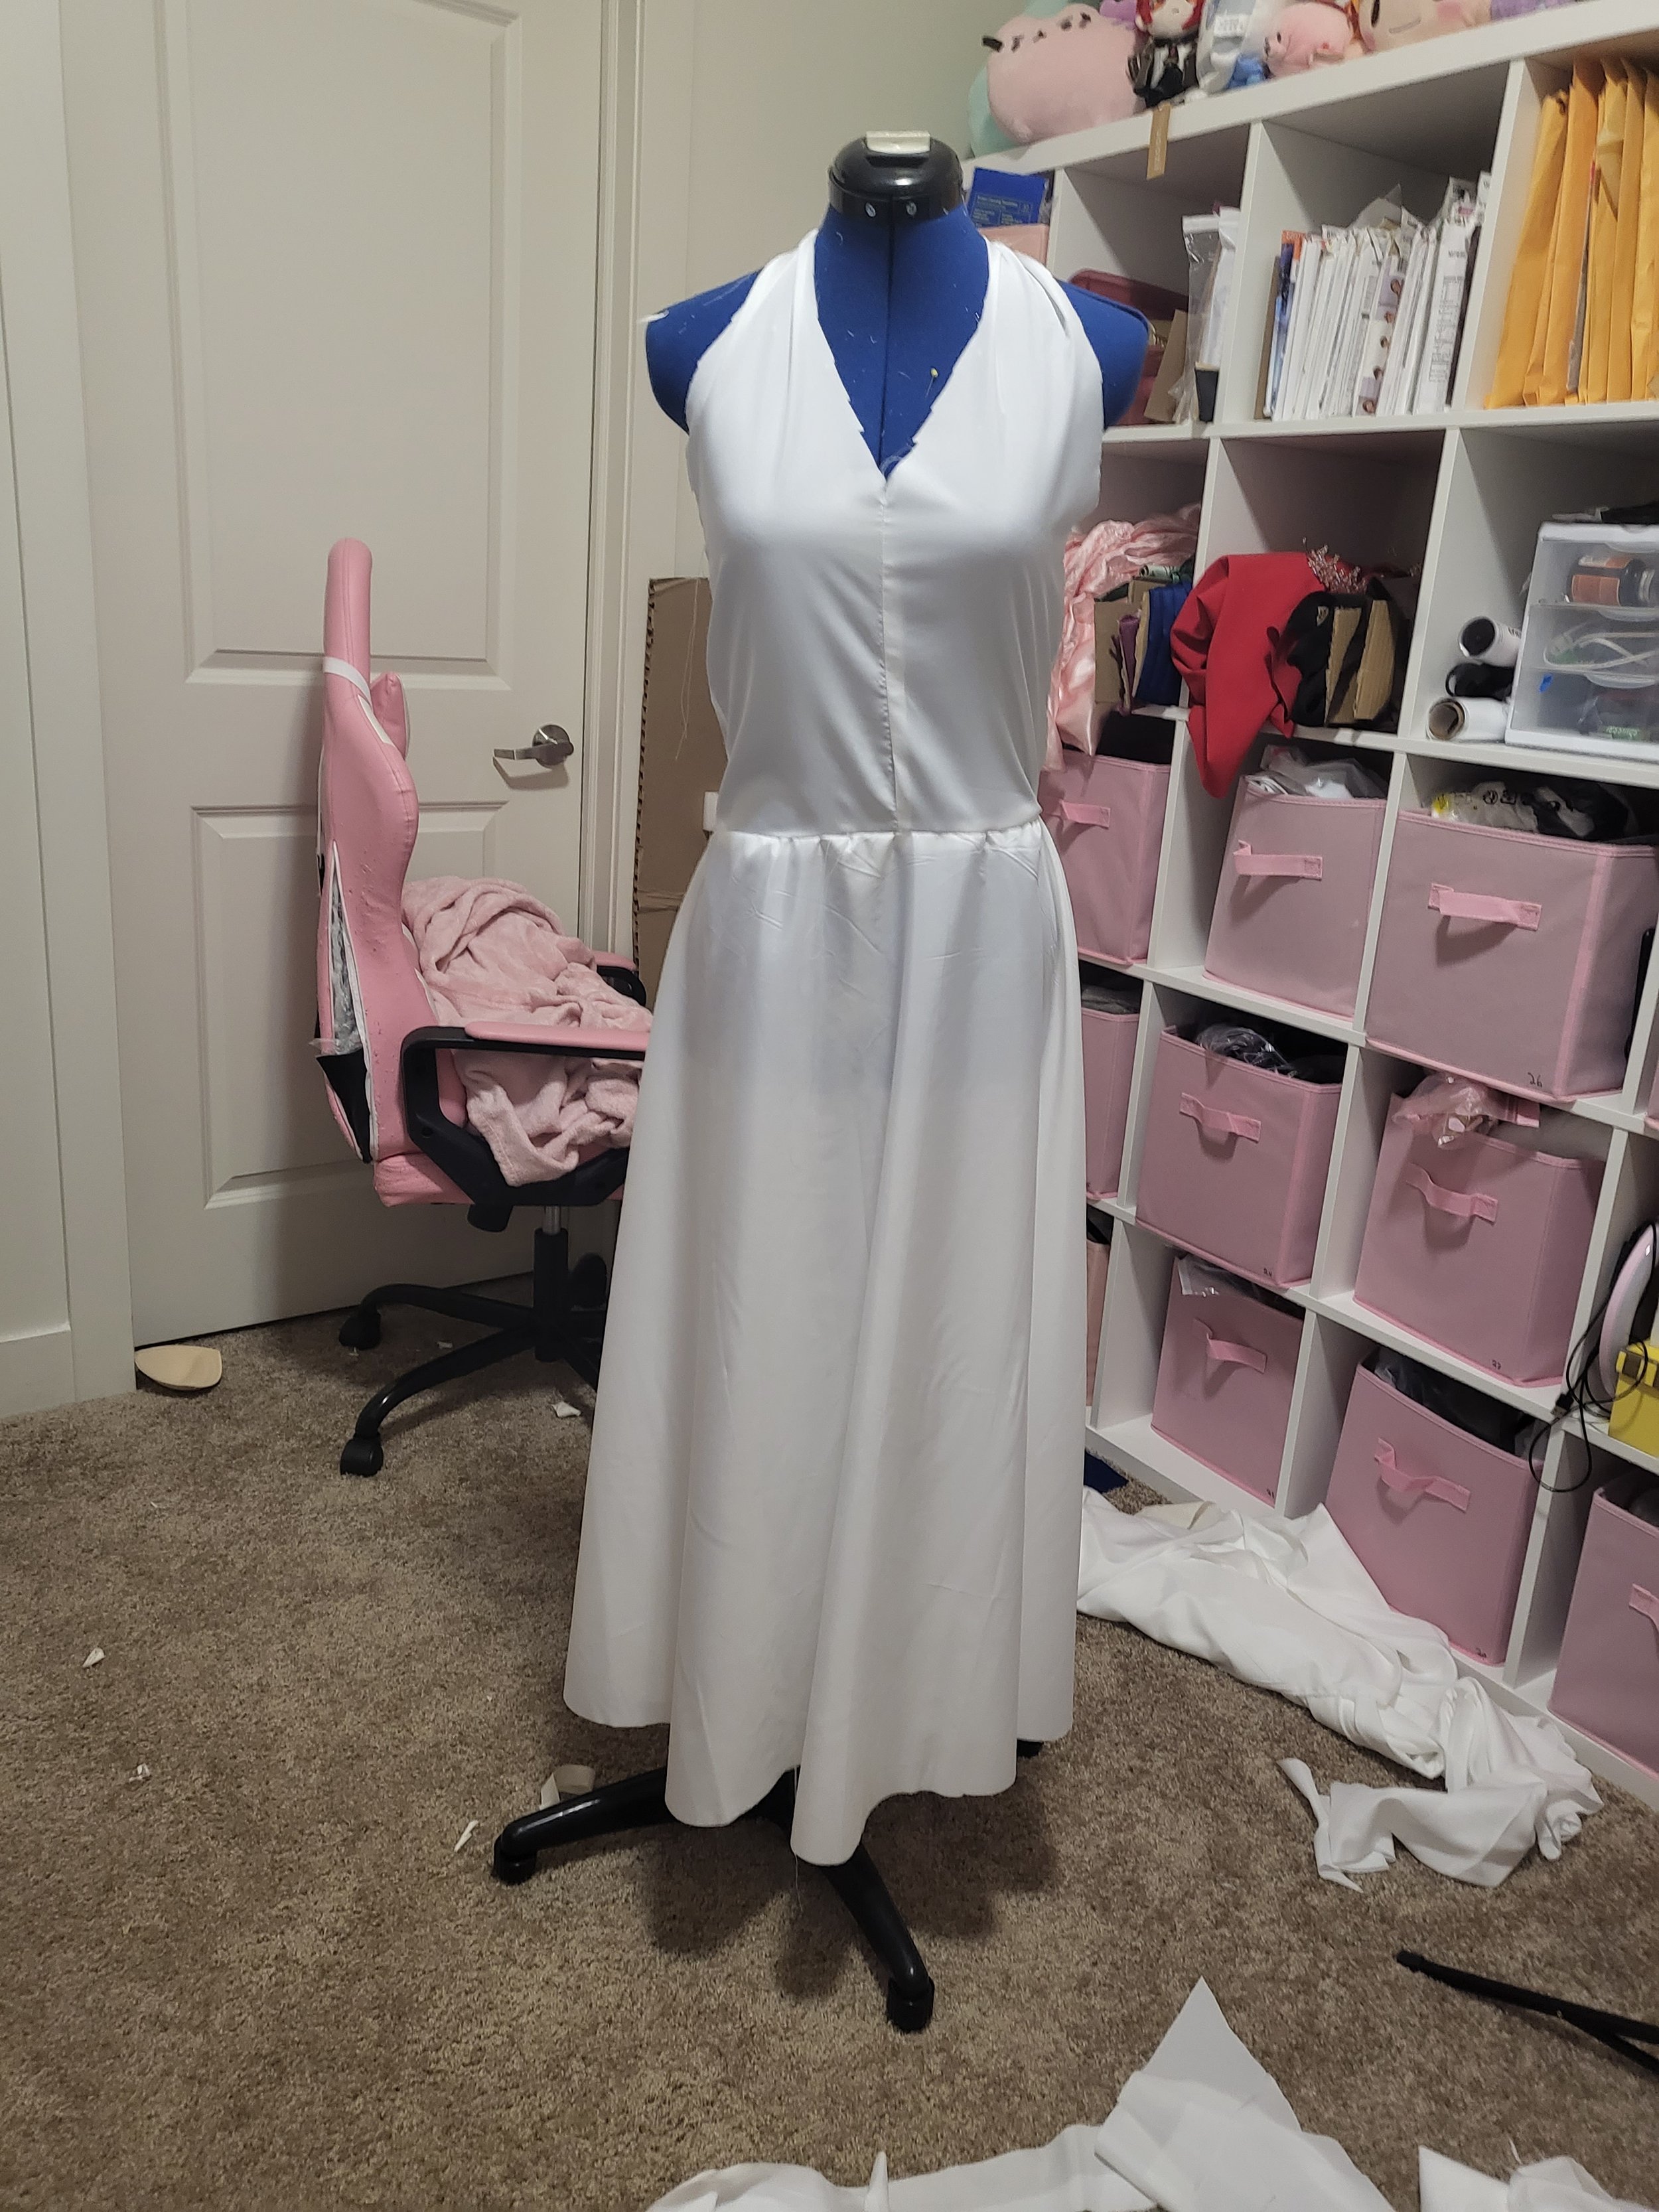
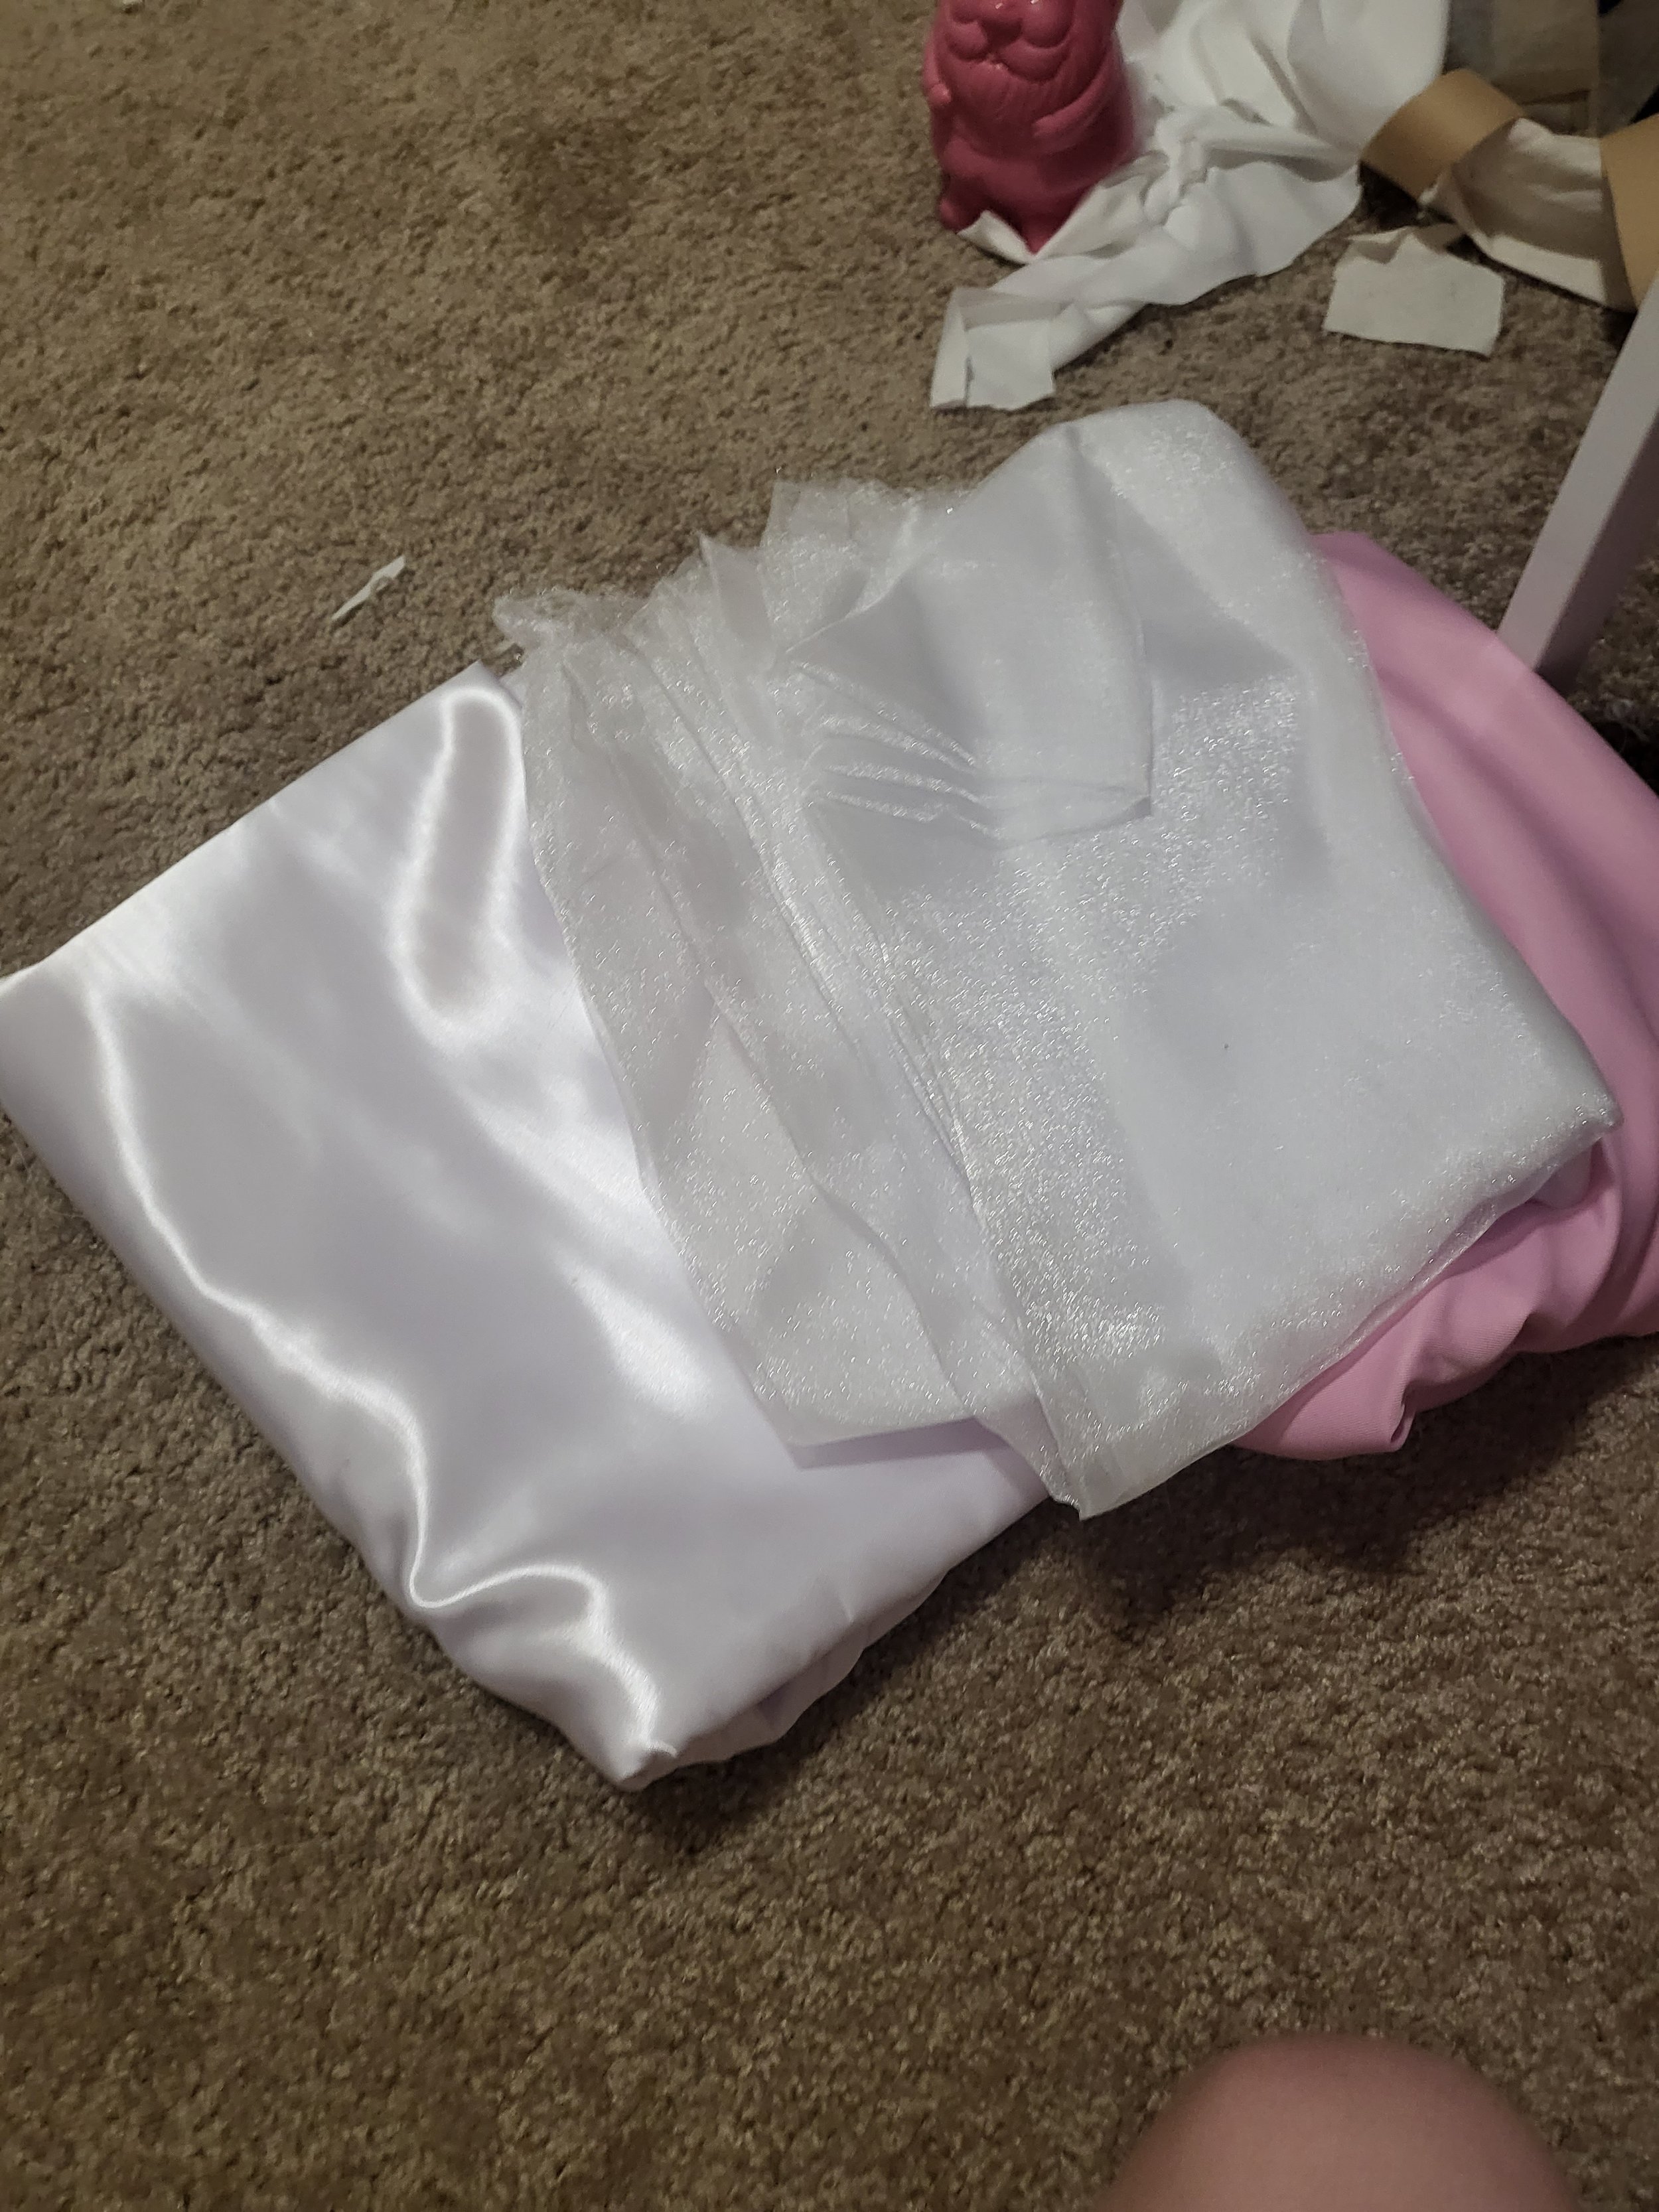
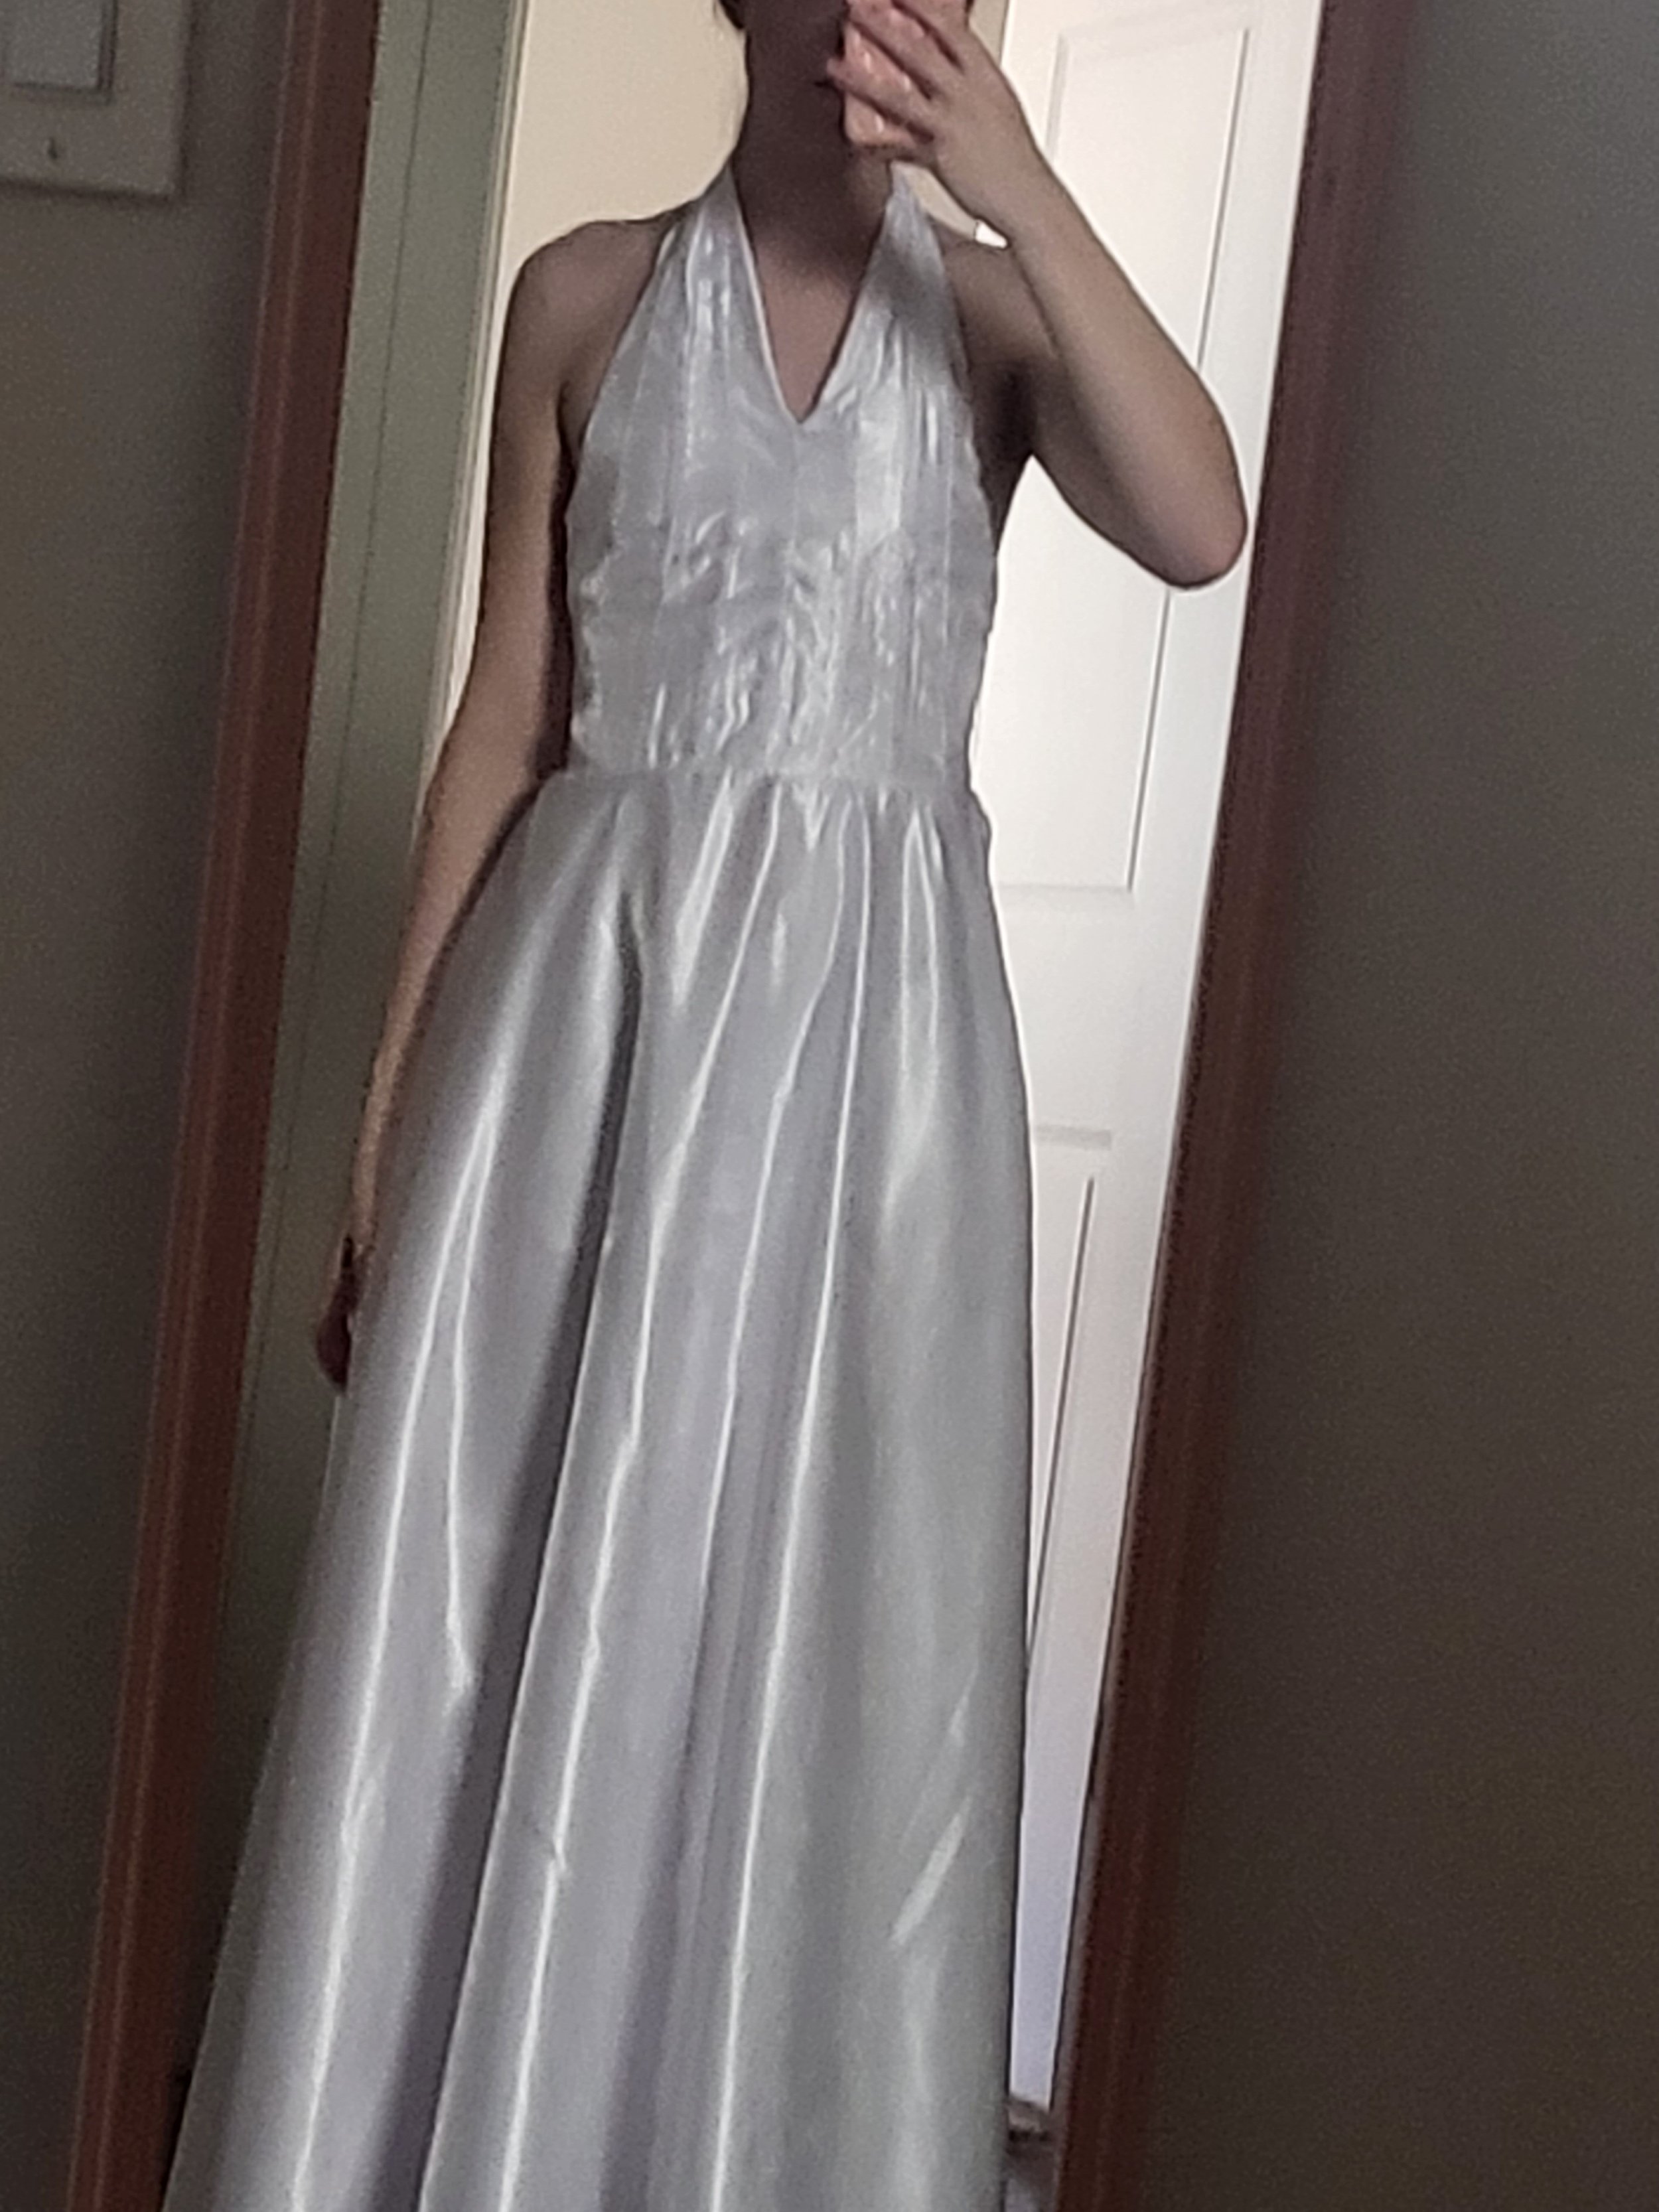
Following the pattern I previously created, I made the main white dress. I flat lined on a pearly organza to a bridal satin and my lining was just a typical lining with no special materials that I found at Joann’s (forgot to order online, oops!). I believe that flat lining such a shimmery organza over the satin really added to the texture of this. I had to also make the dress a few inches shorter because I burnt the bottom of the dress while ironing.


The Corset
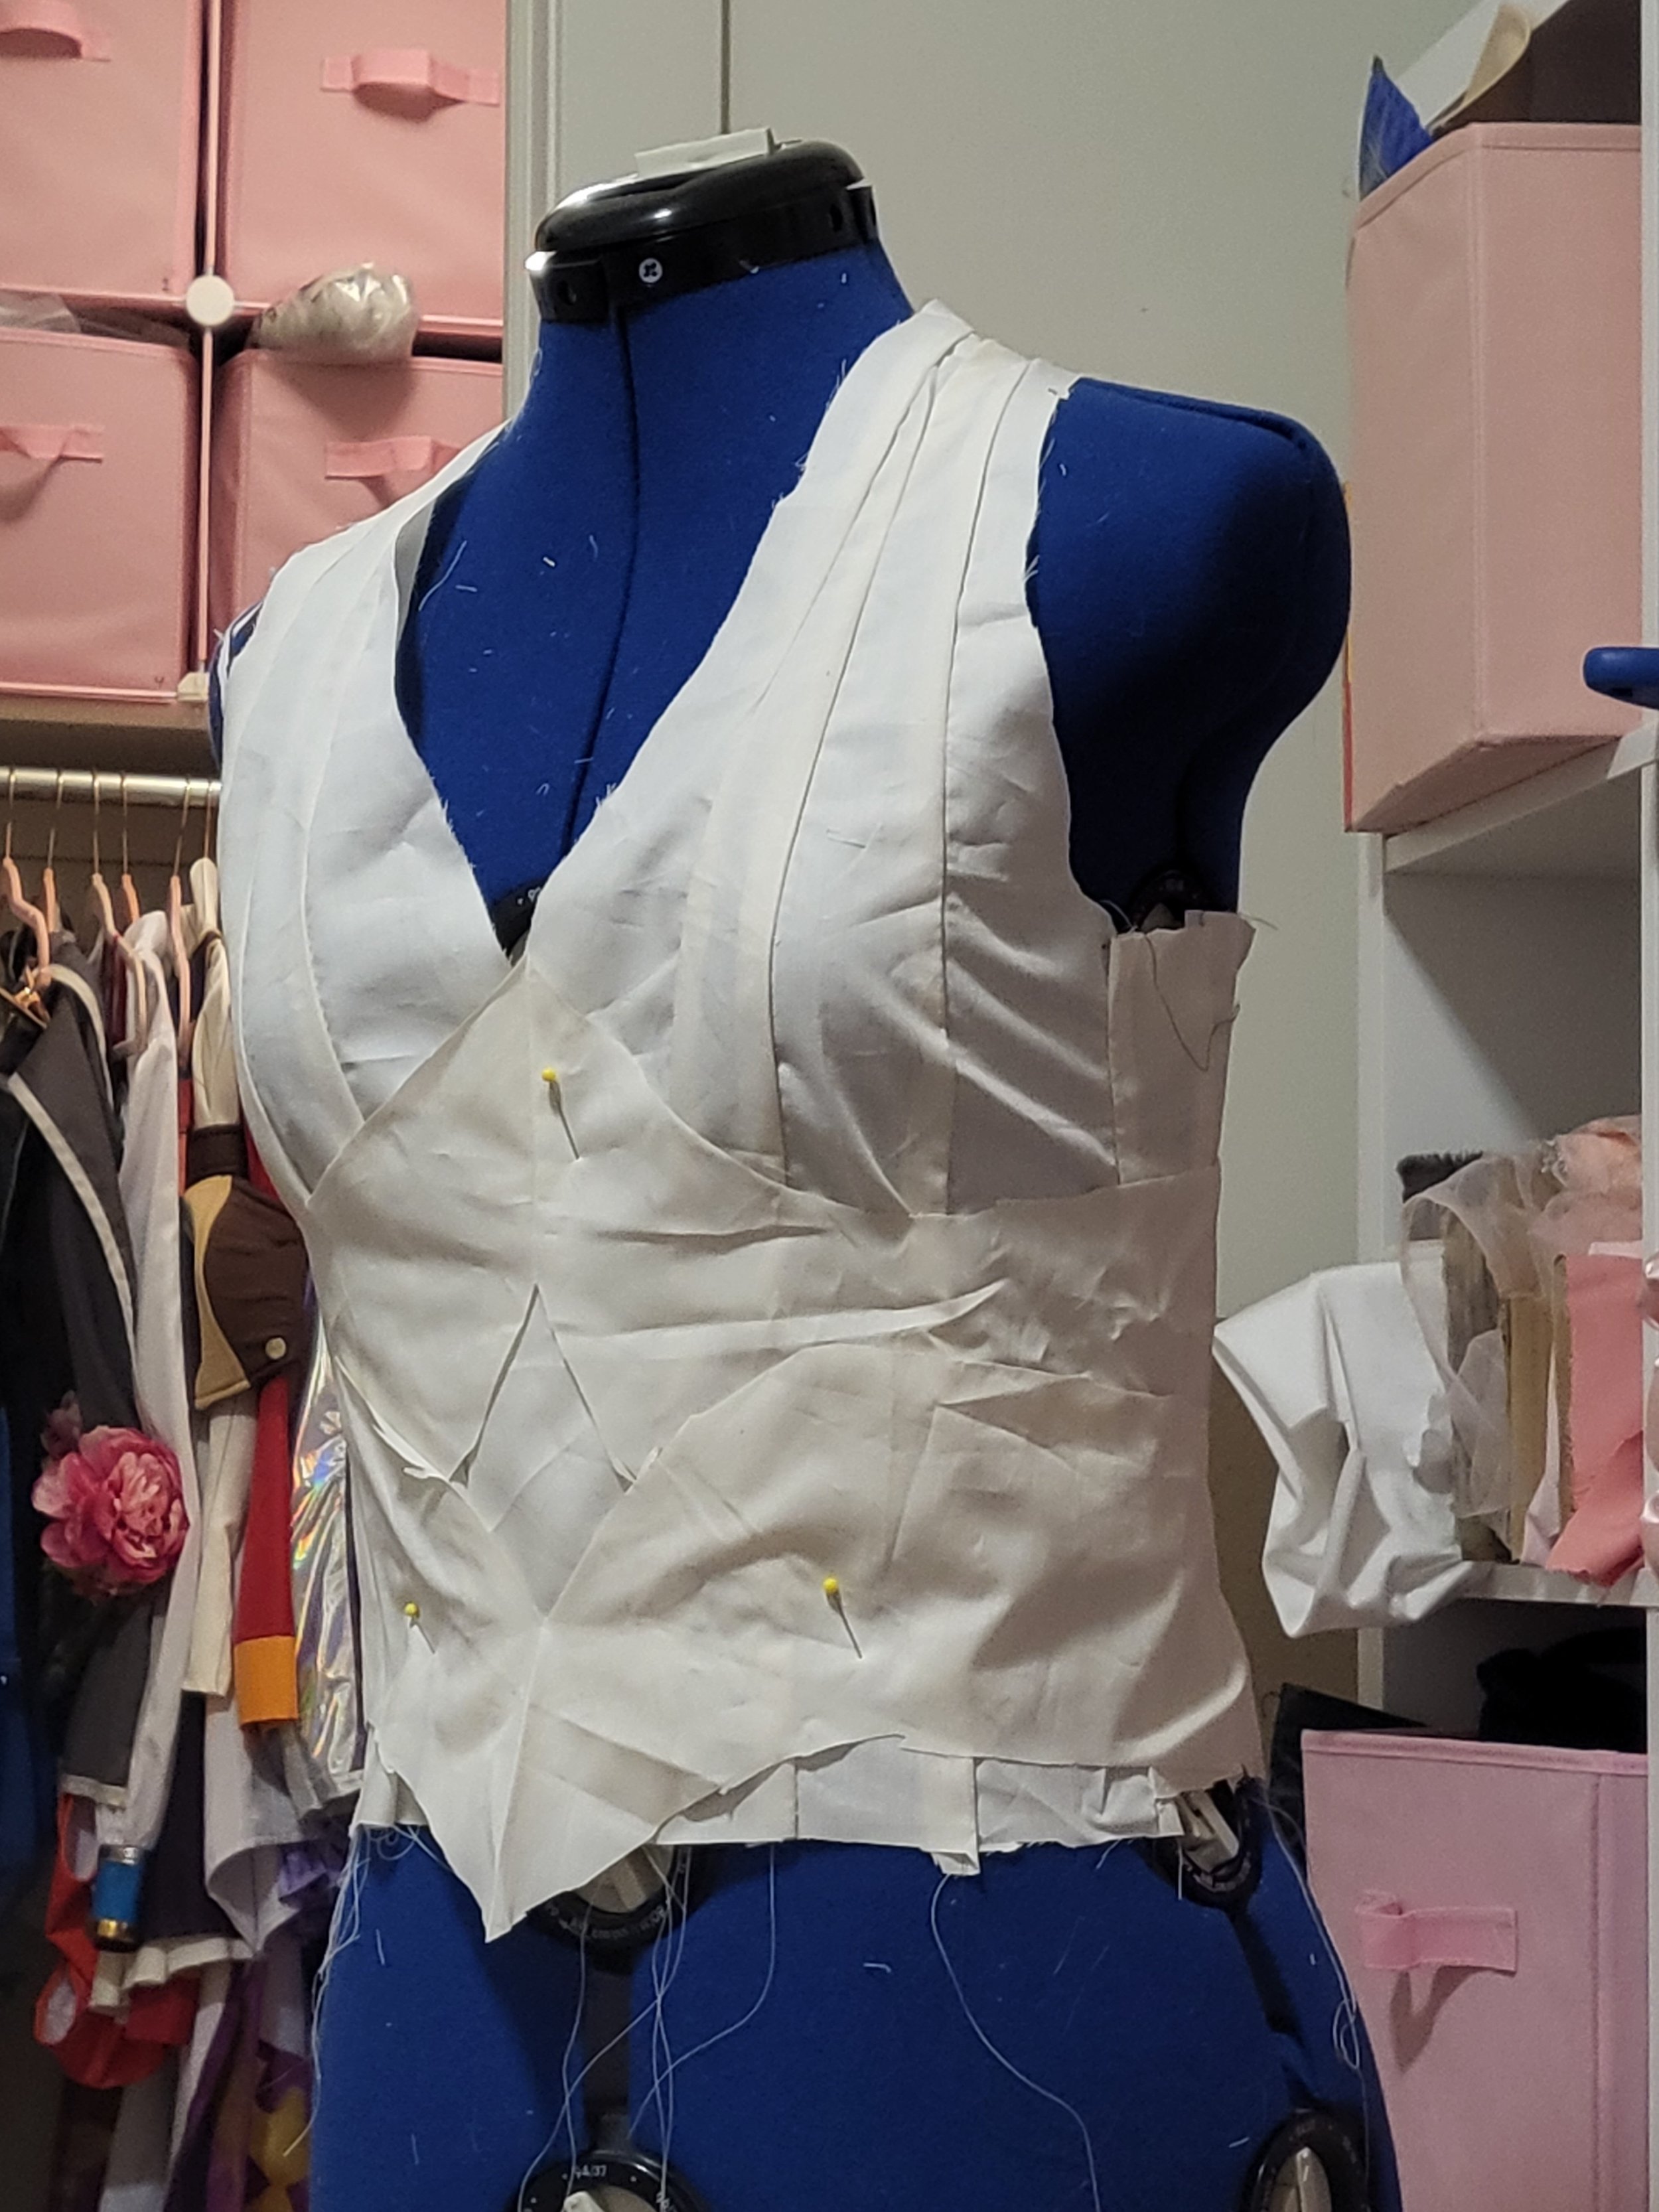
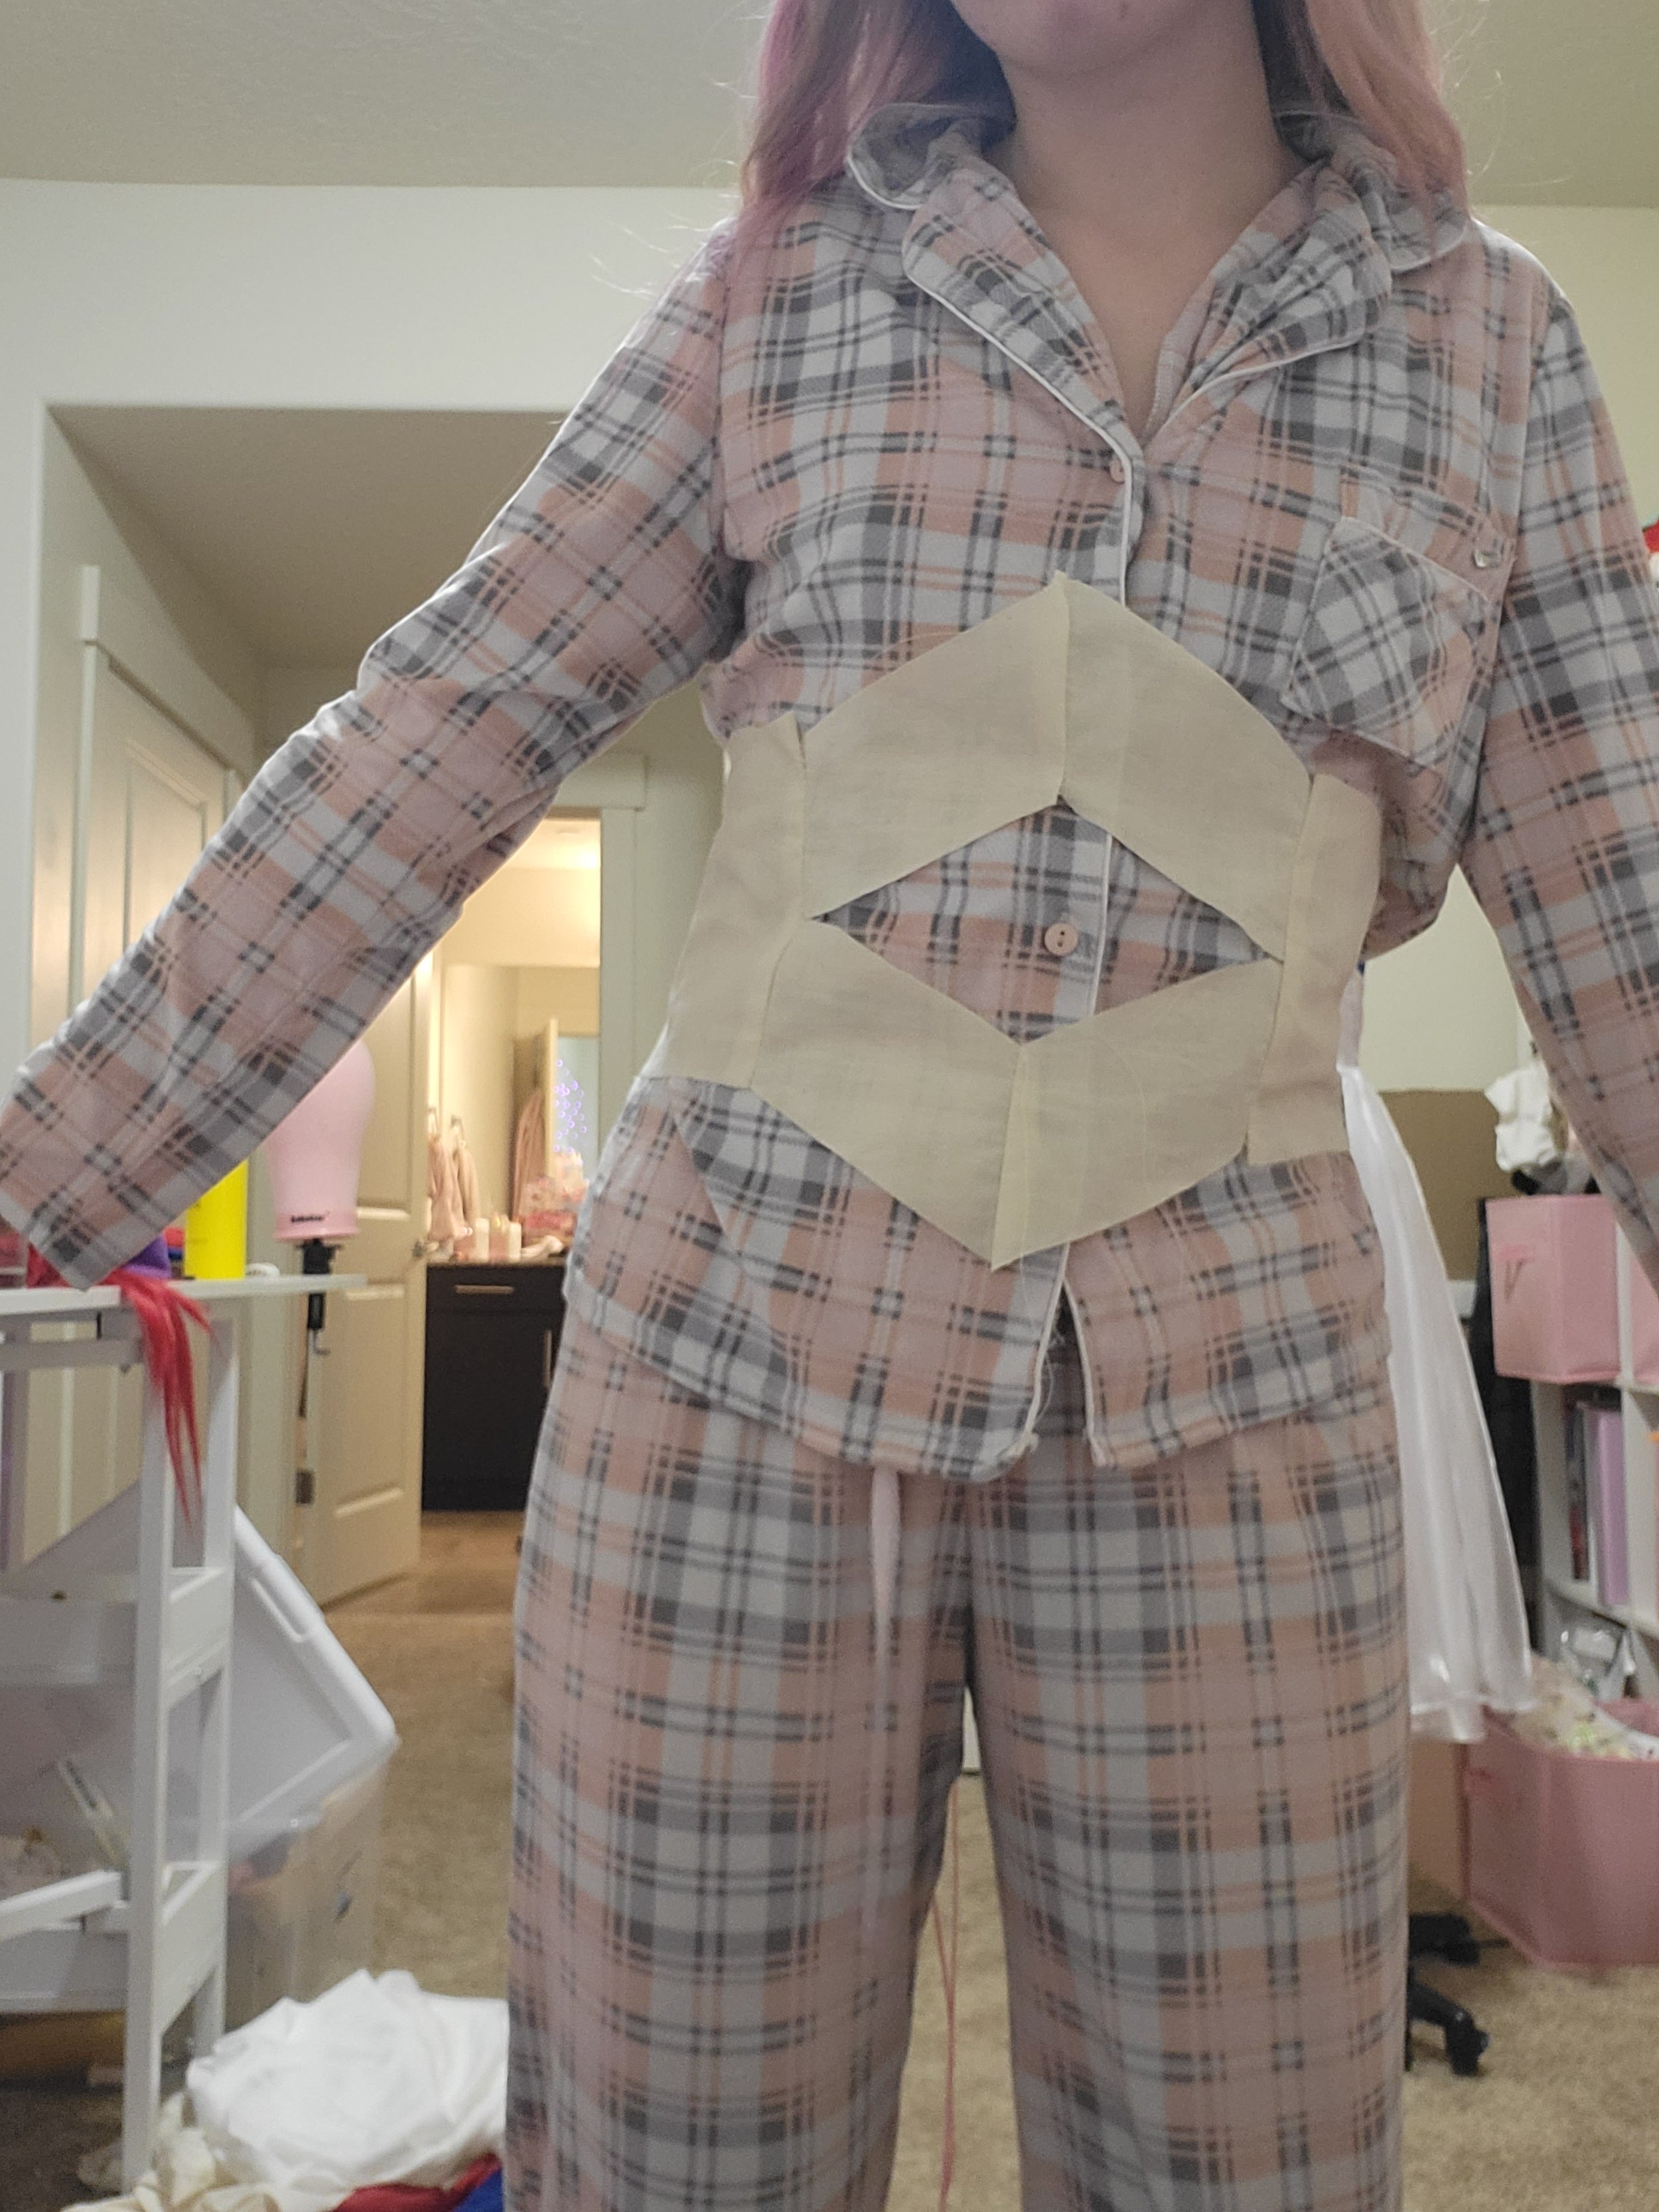
Patterning
To start the pattern, I made a mockup of the initial shape I’d want the corset to be, without seams or anything fancy. Then I cut it into several pieces, adding a seam allowance and cleaning up lines.

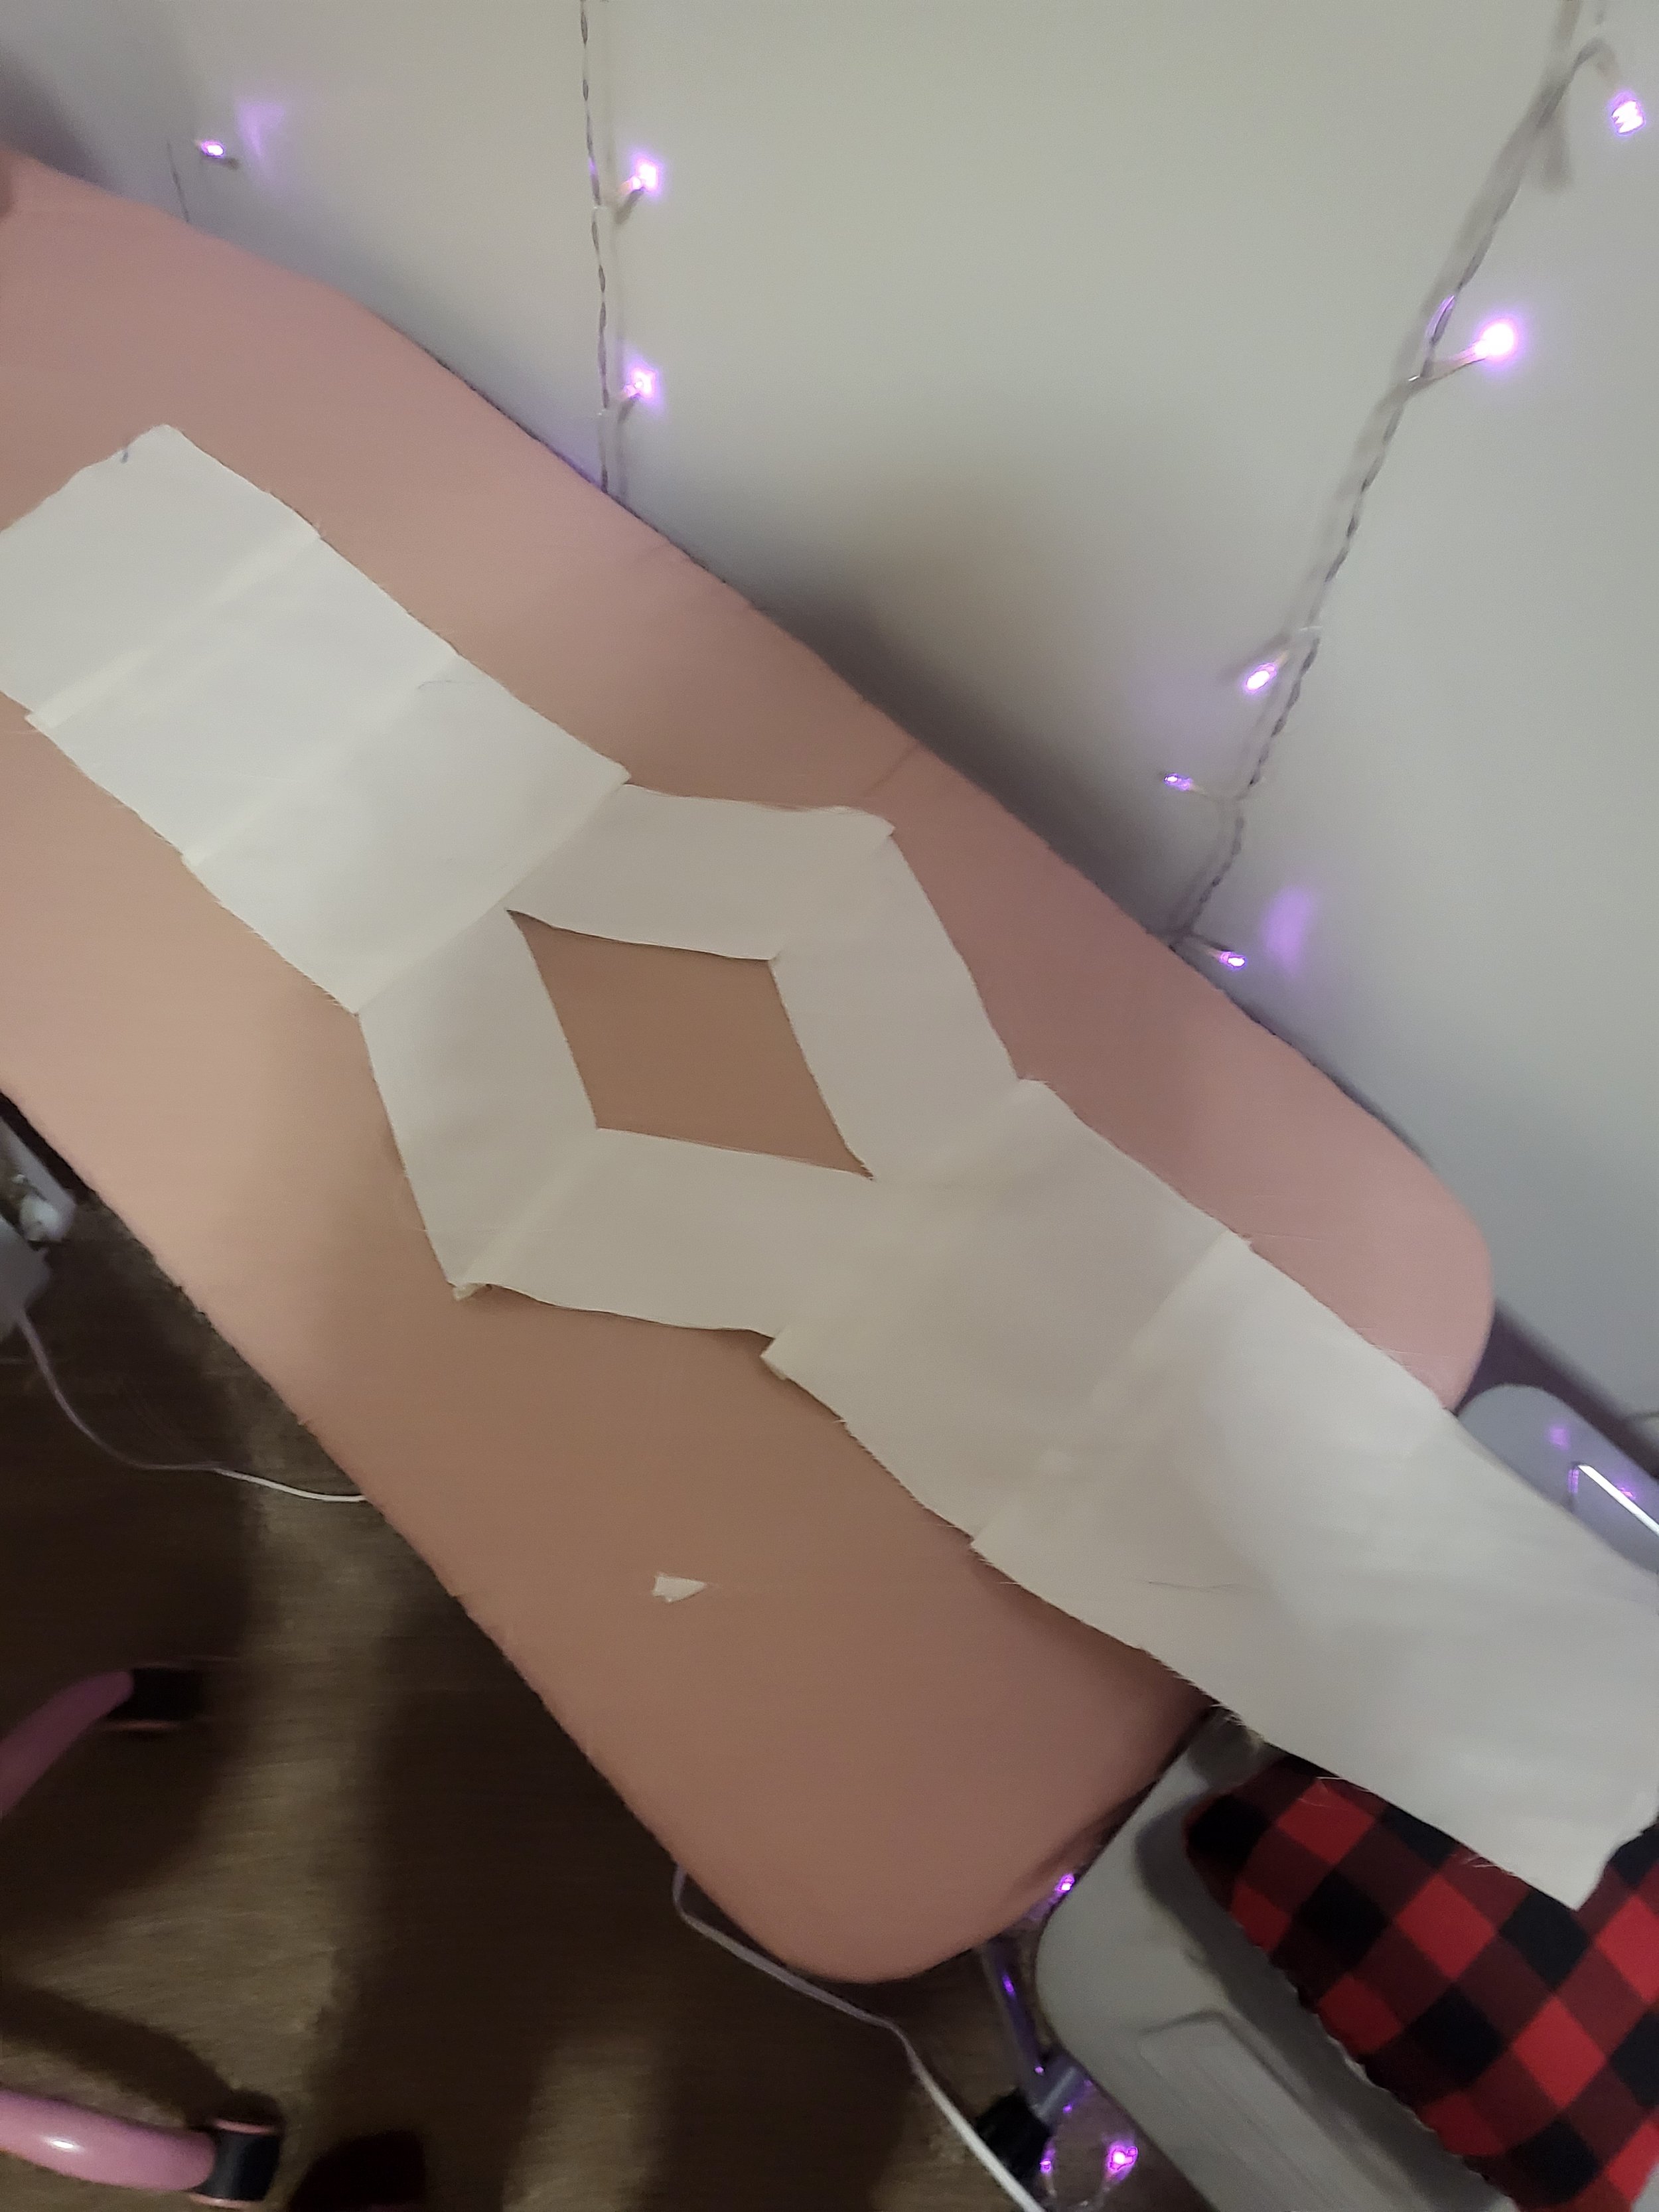
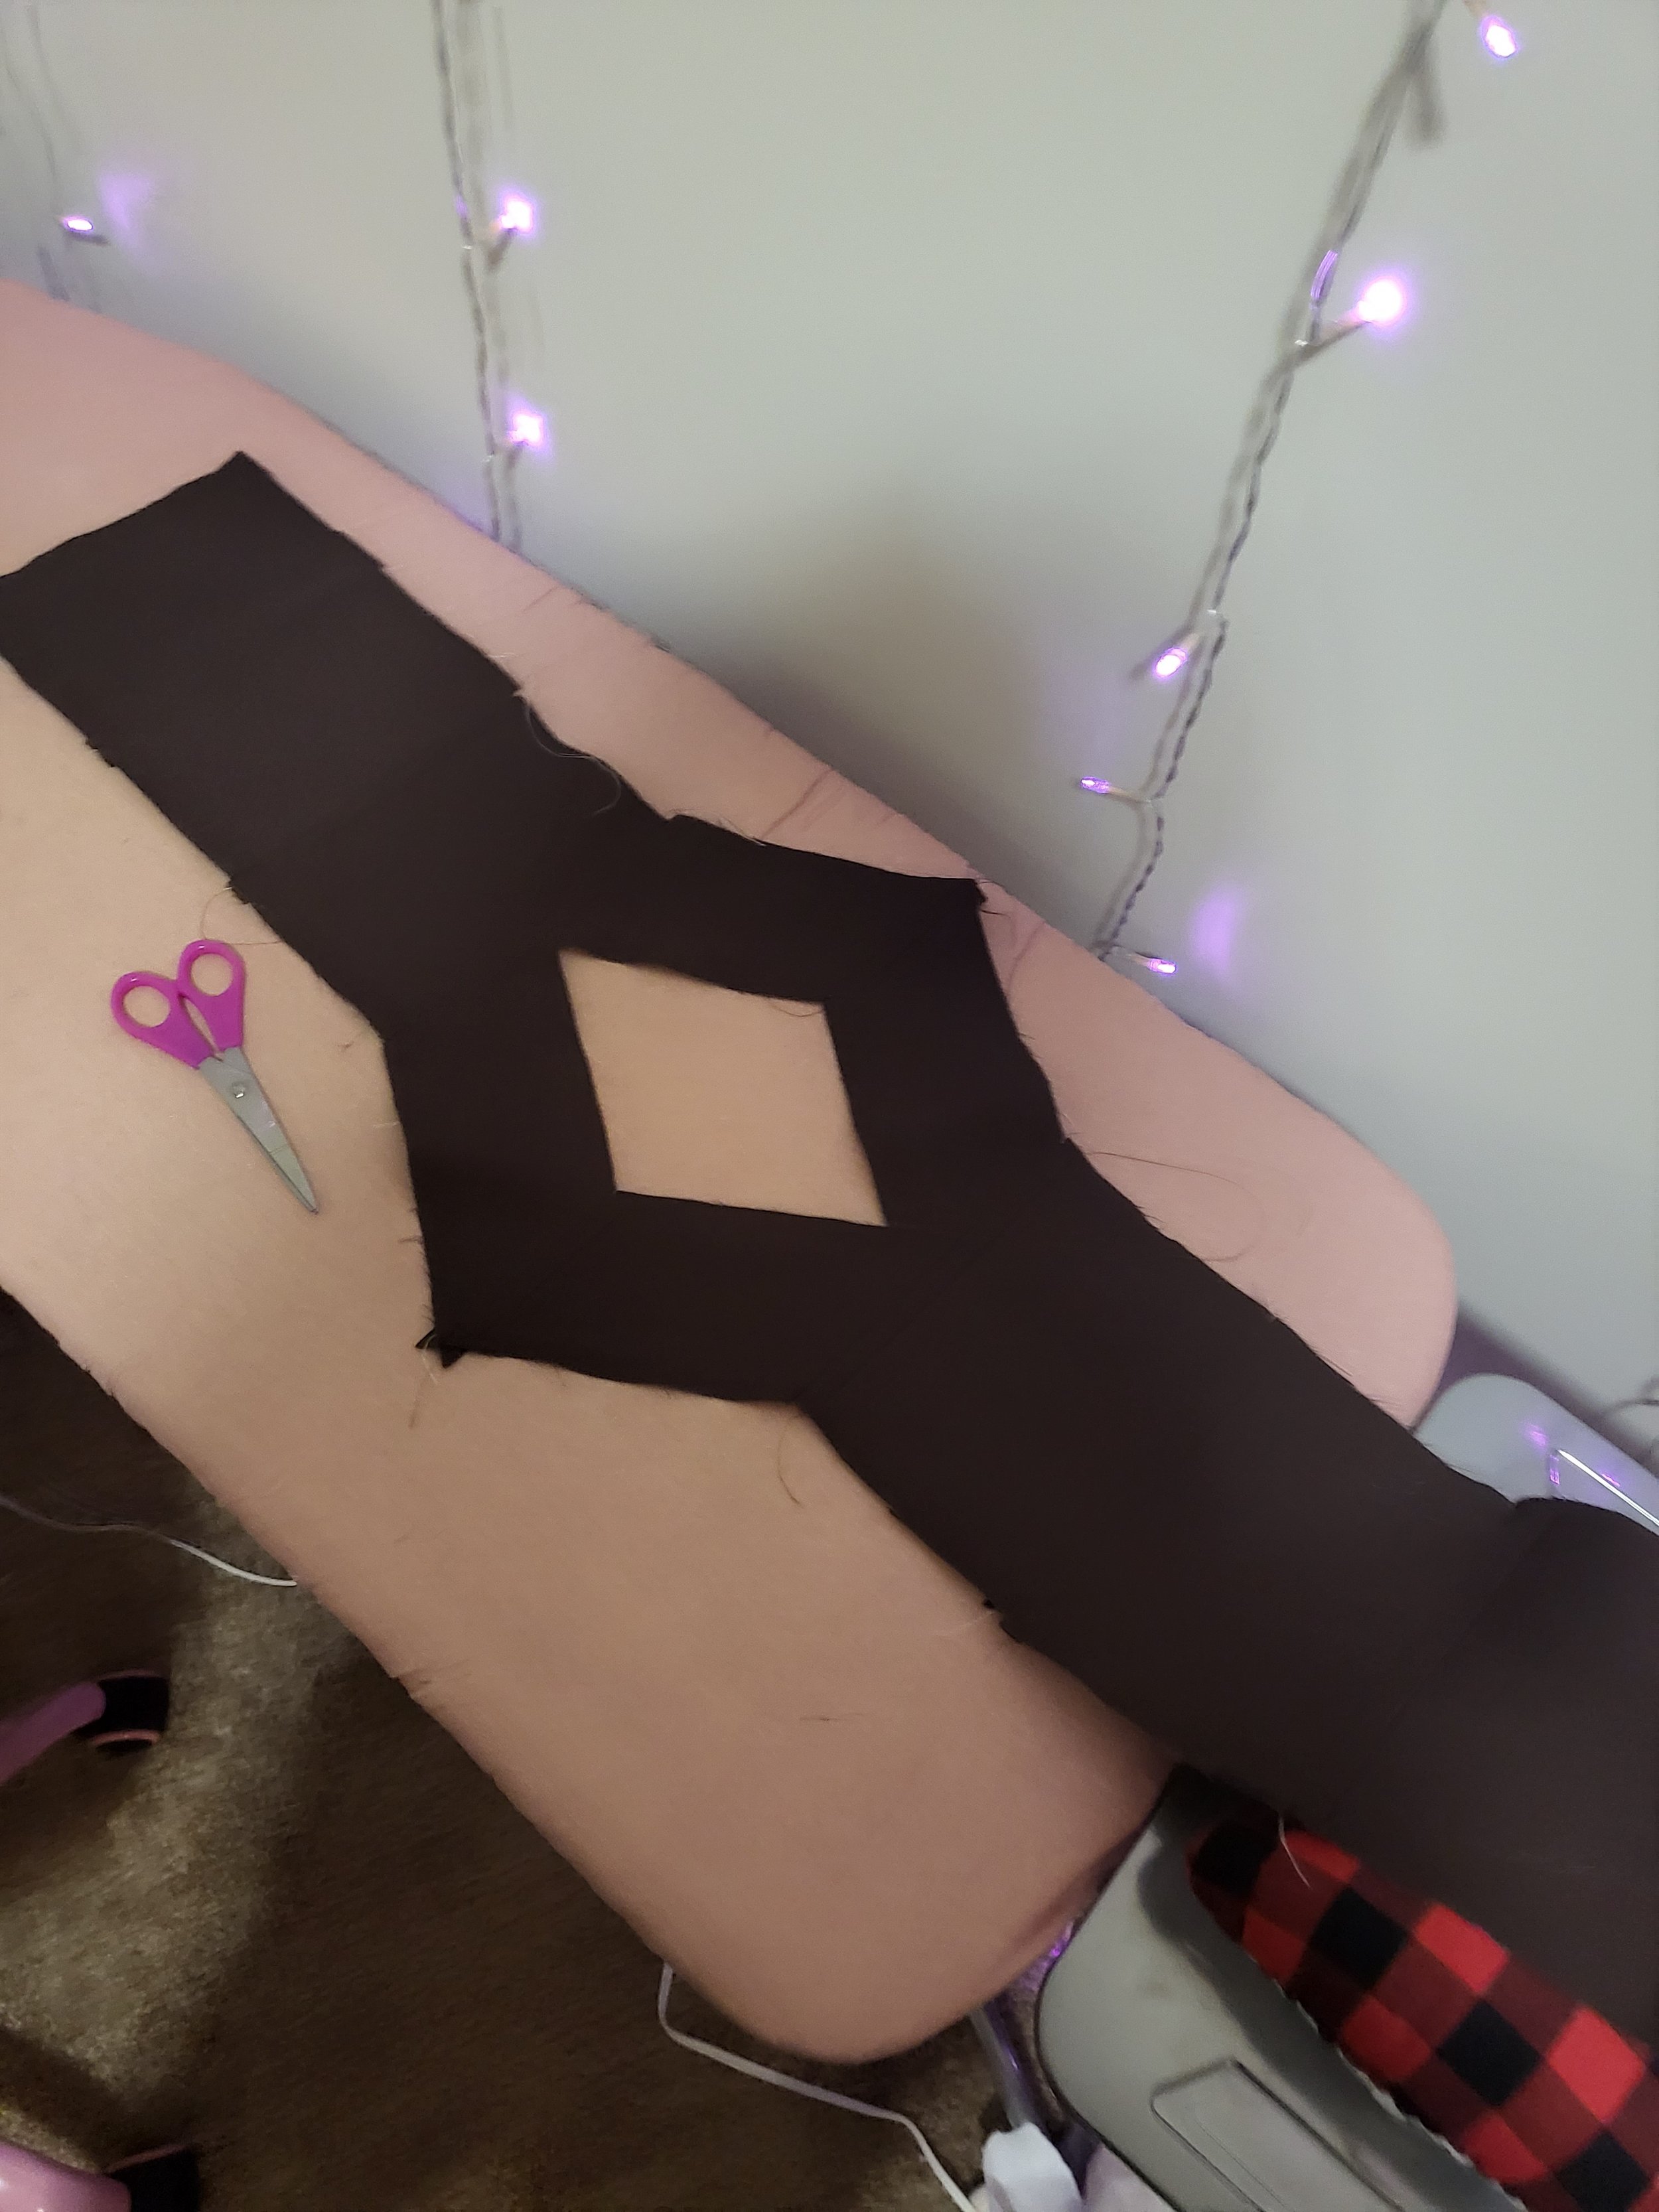
I then copied this onto my cardboard pattern paper once I was happy with it’s final shape.
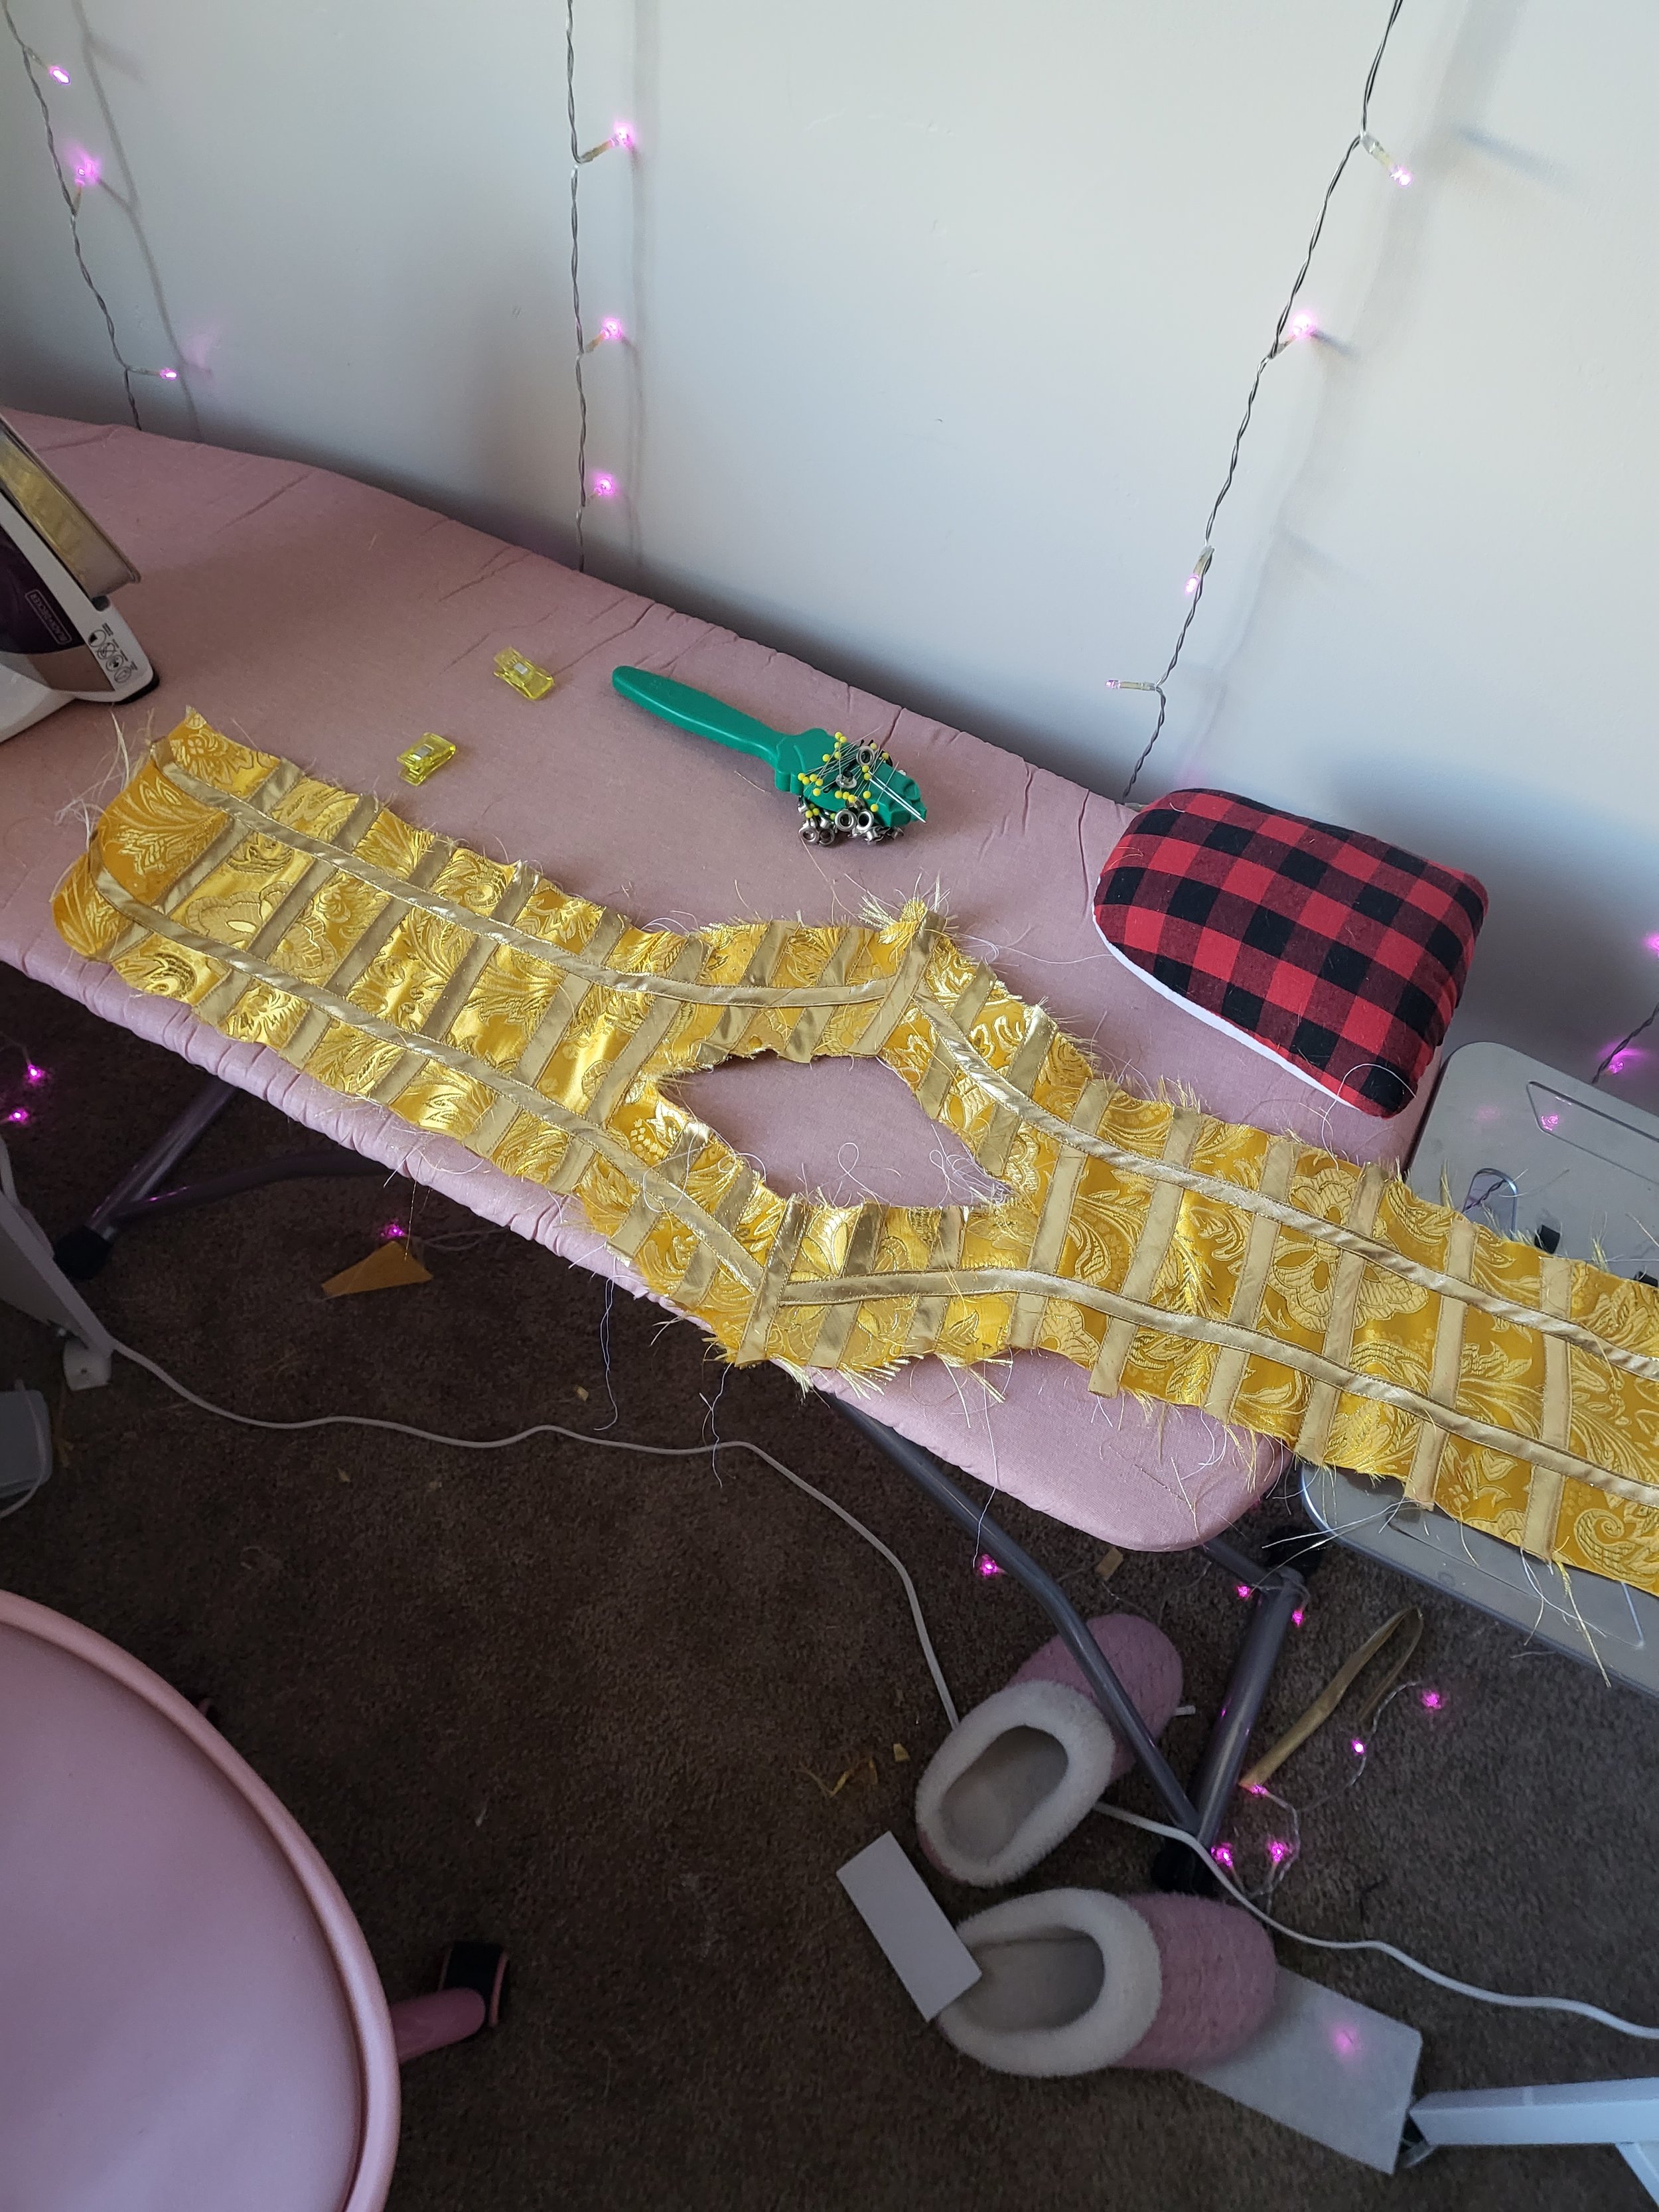
Sewing the Corset
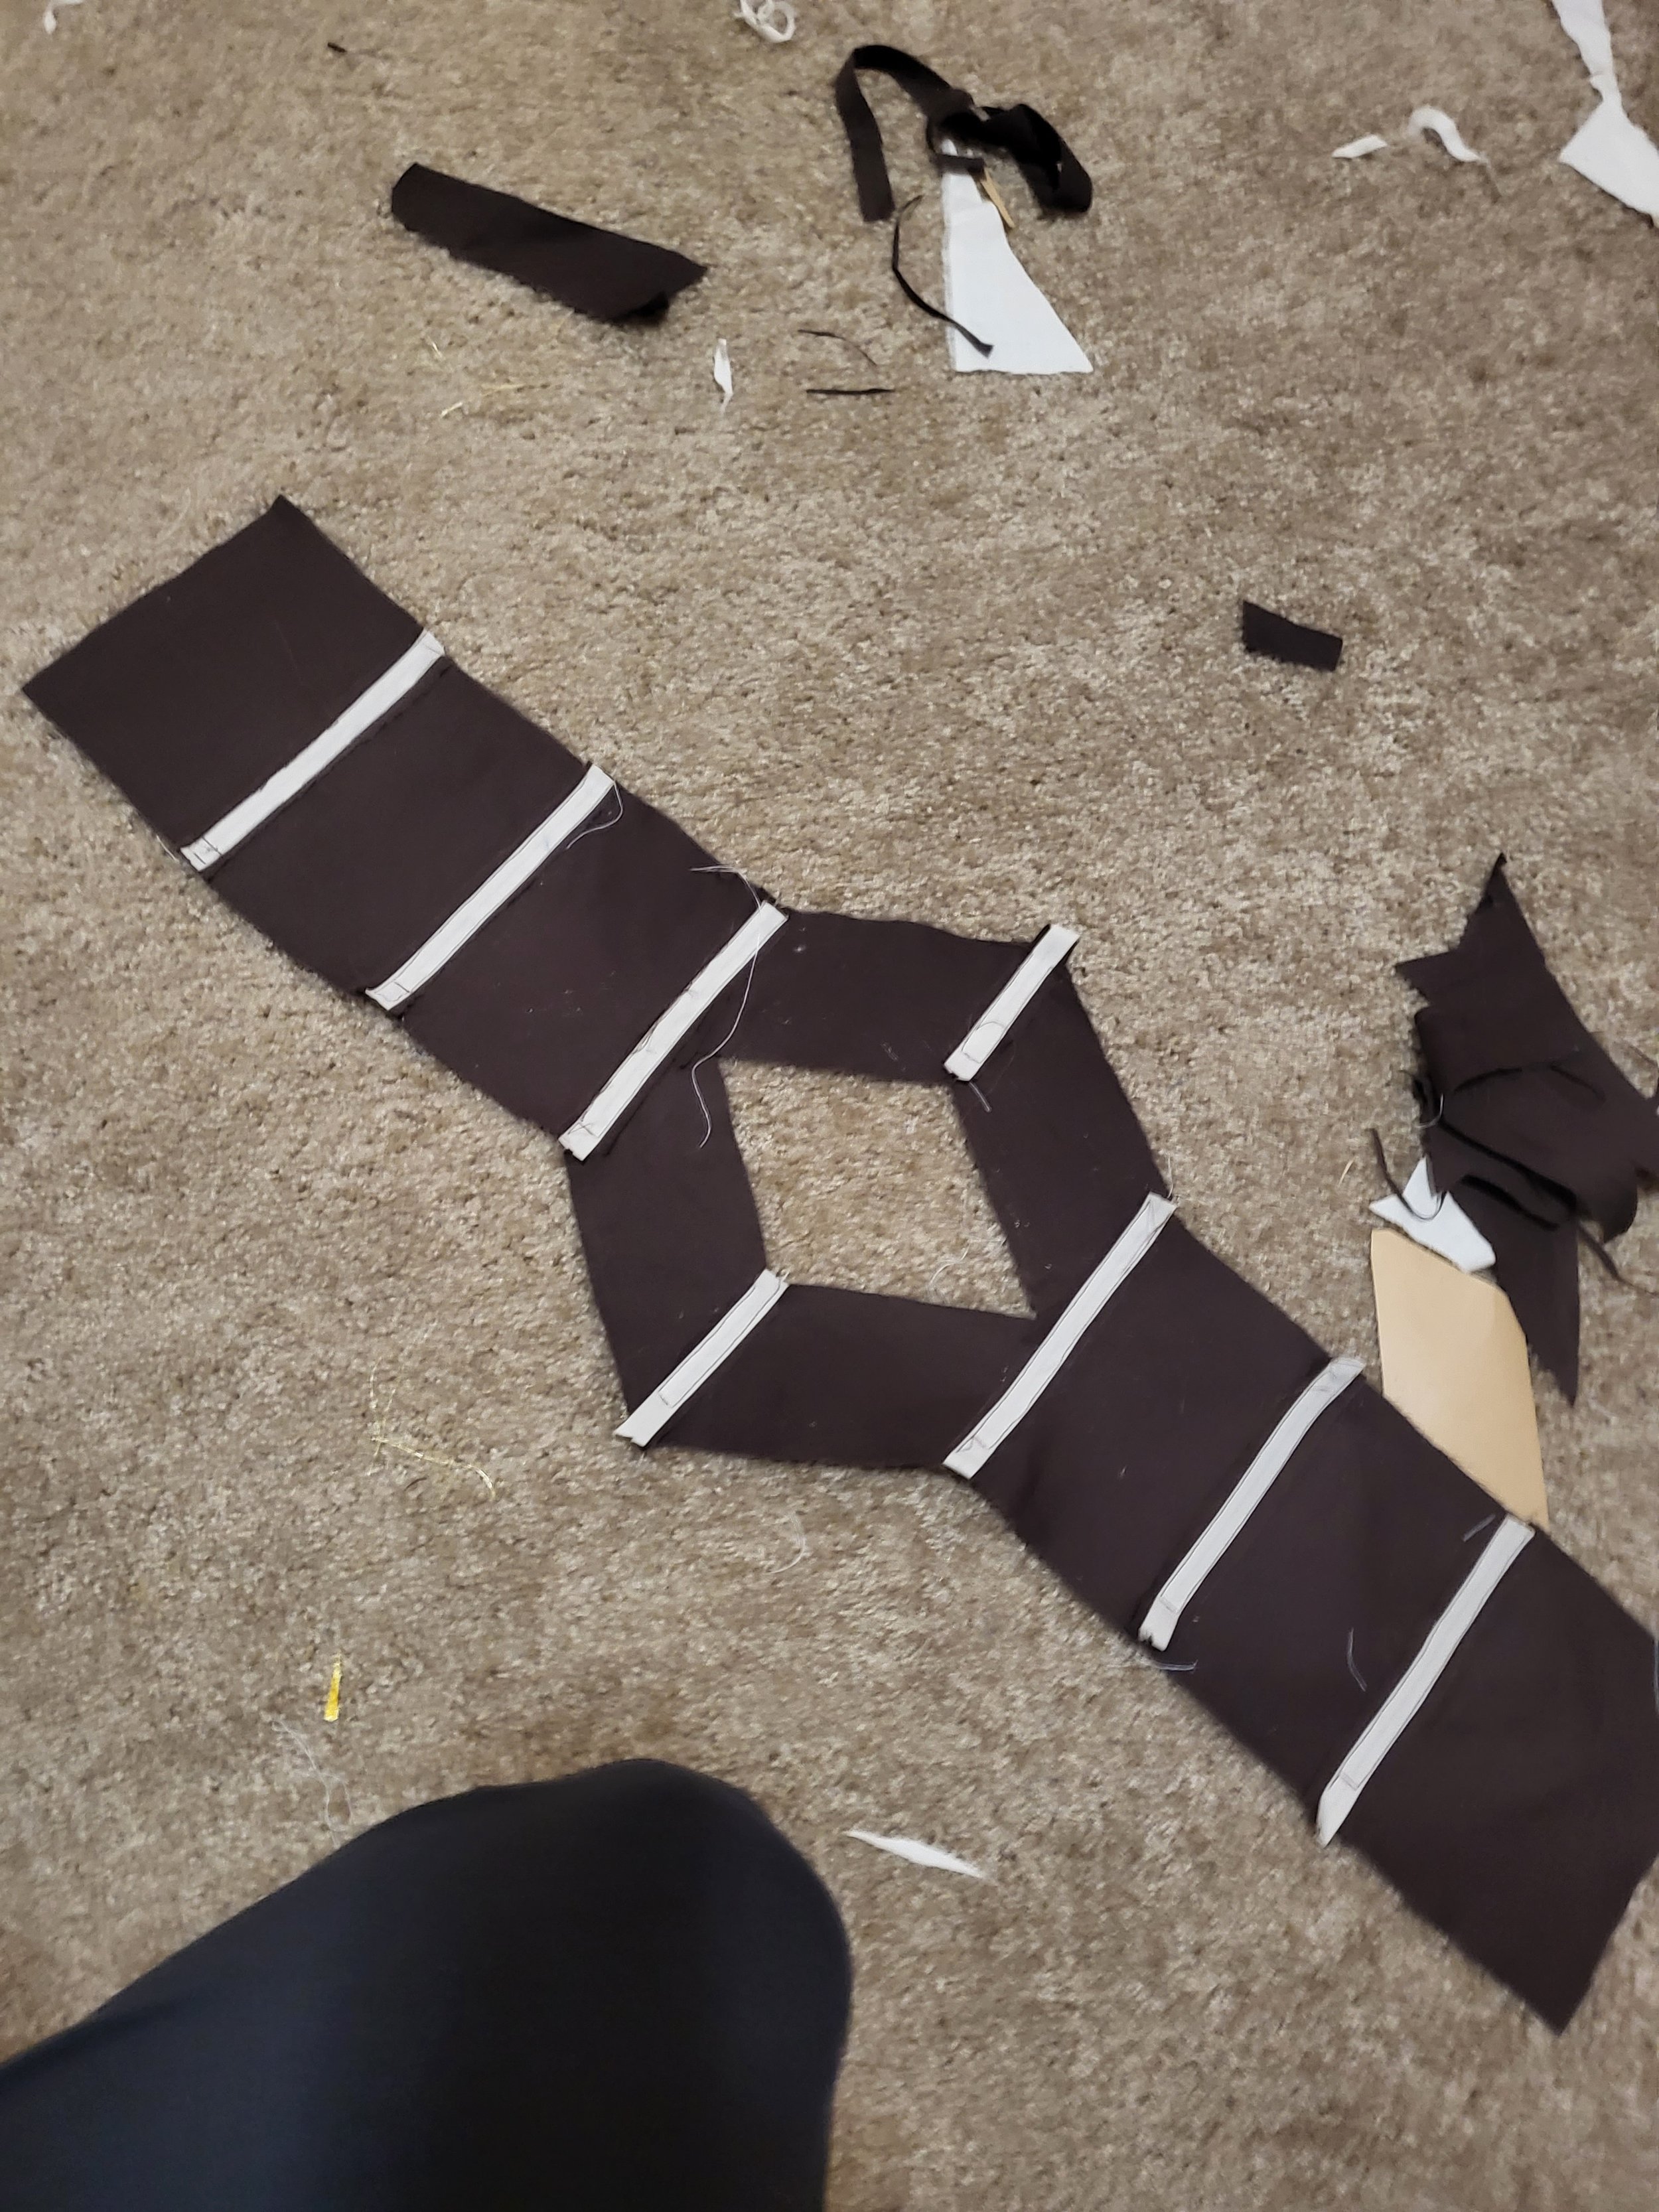
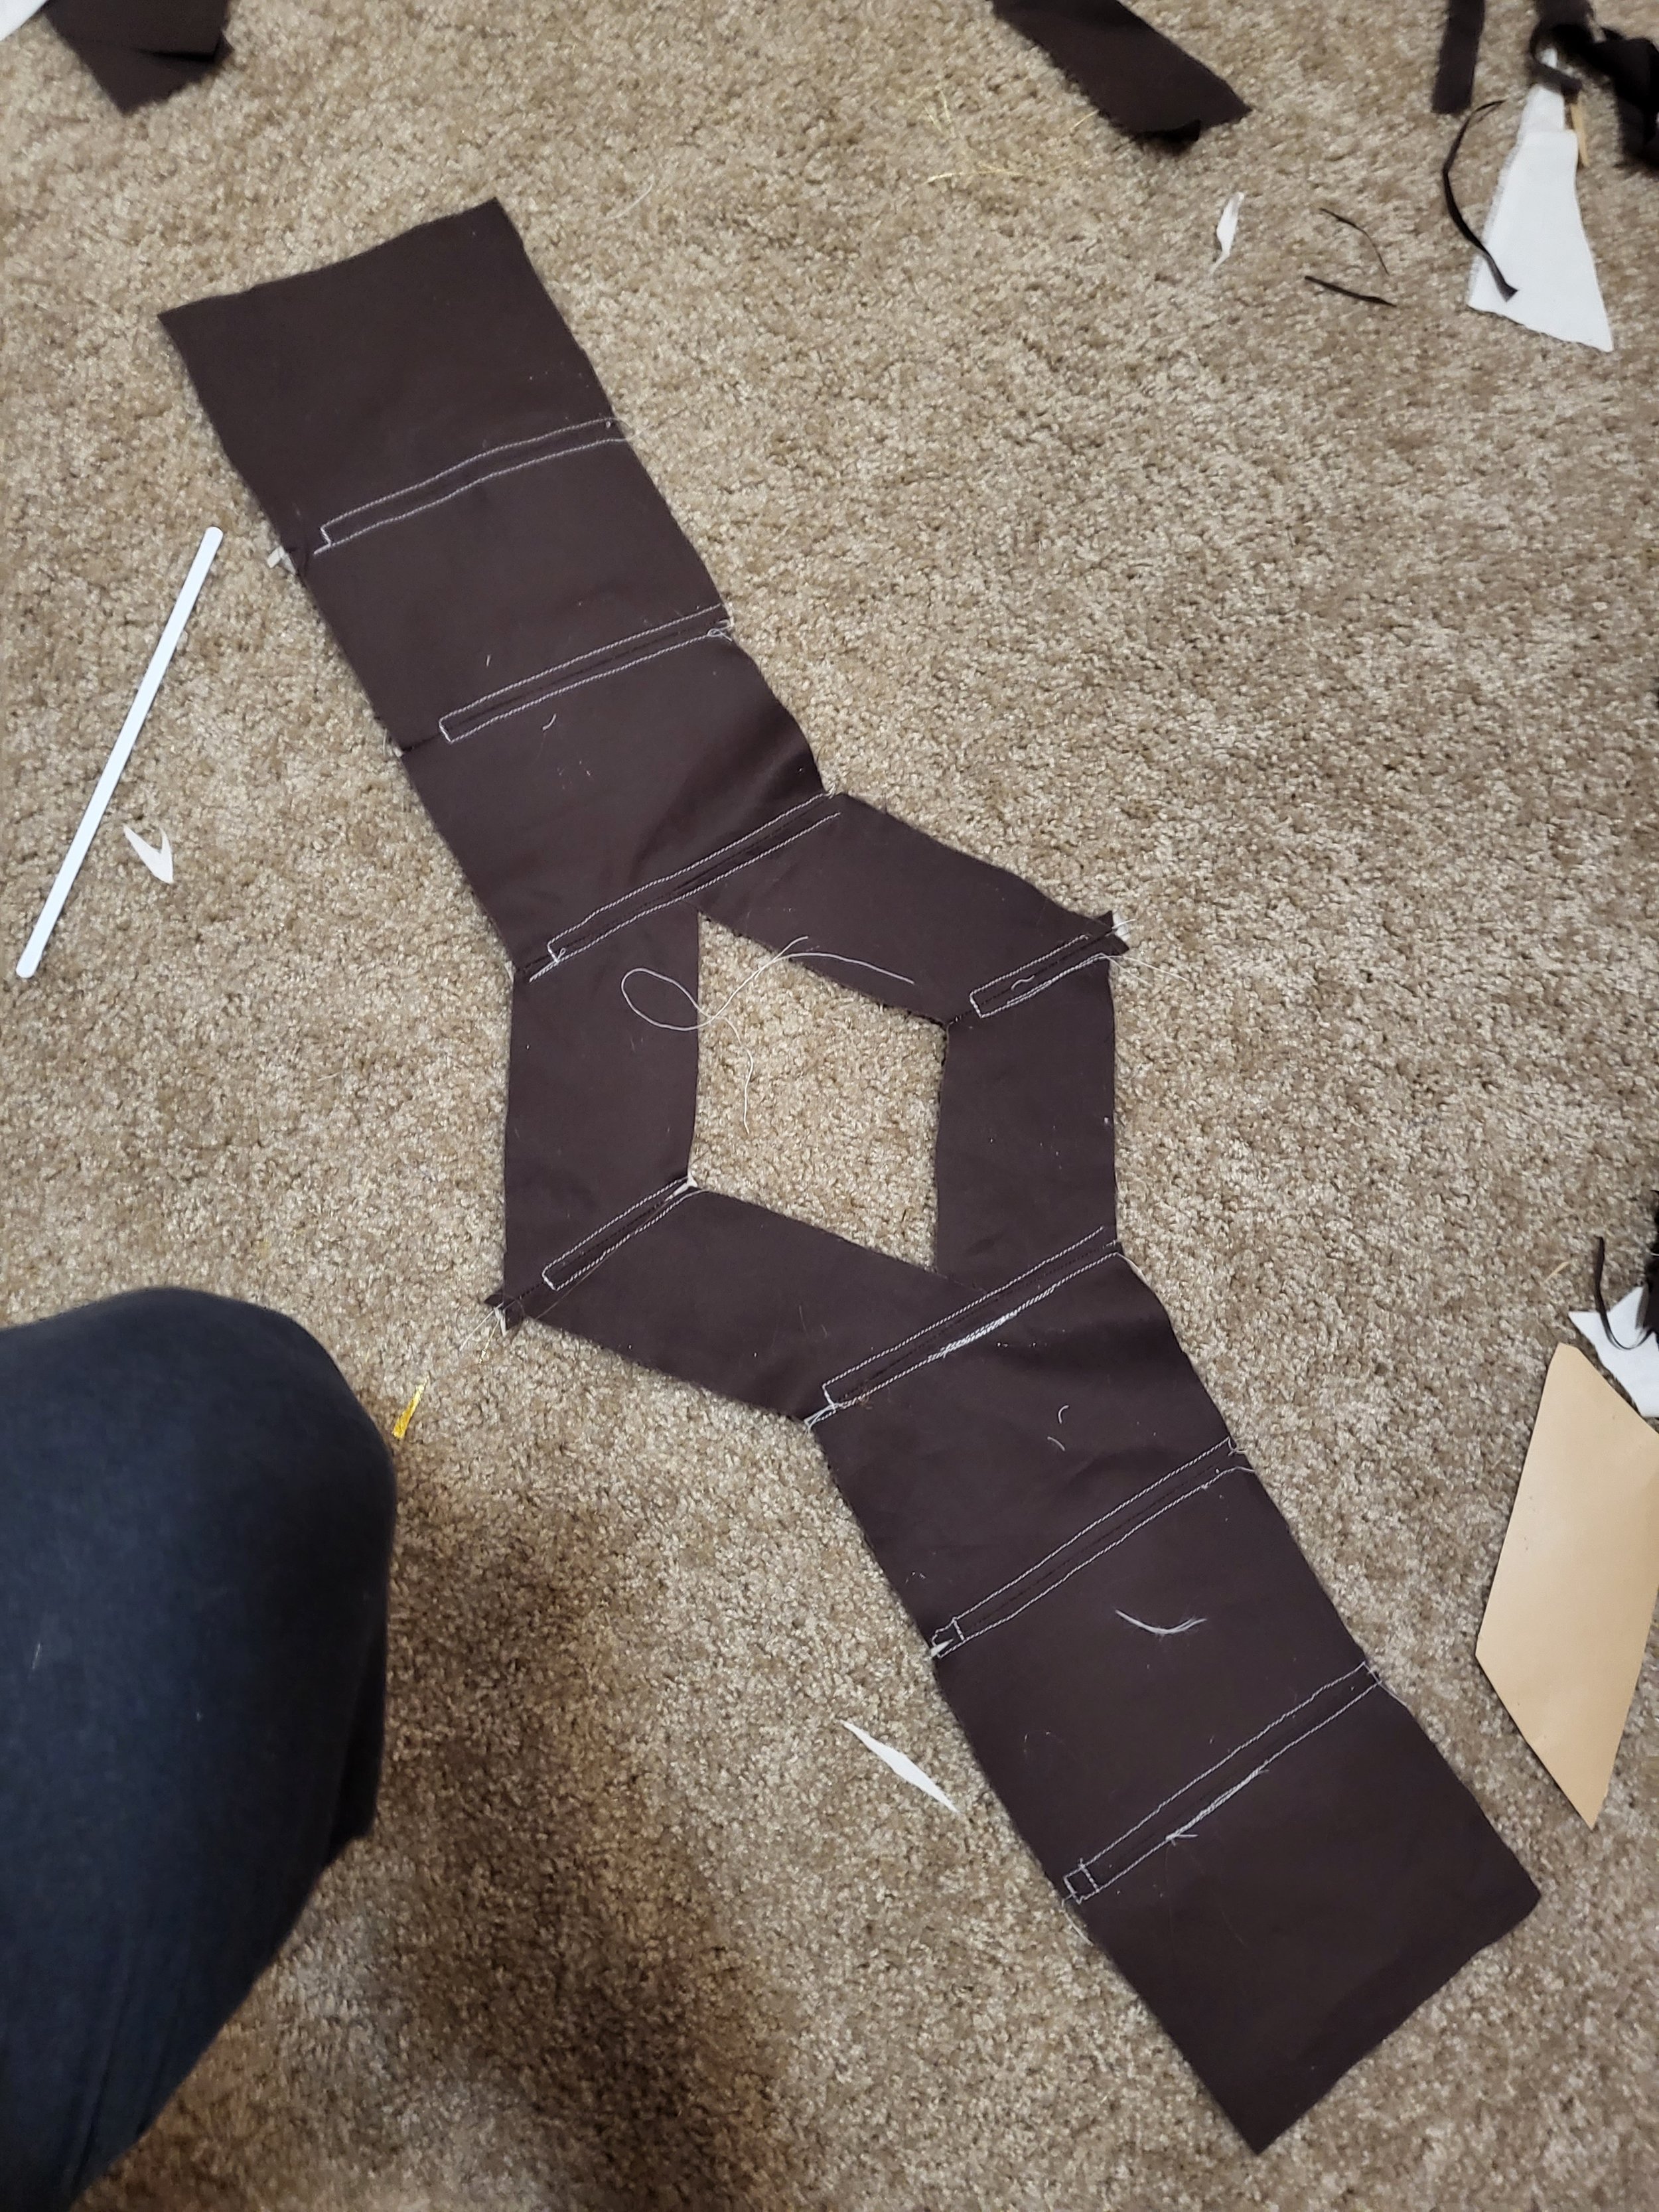
The corset was made of two layers, the inner and outer layer. The inner layer was made of brown non-stretch thick cotton. I sewed bias tape on top of each seam to create a spot for the steel-boning to be inserted to. Then the inner layer was ready to be sewn on later. Each piece of boning was cut to about 0.5 inch less than the end of the fabric and was finished off in nail polish.

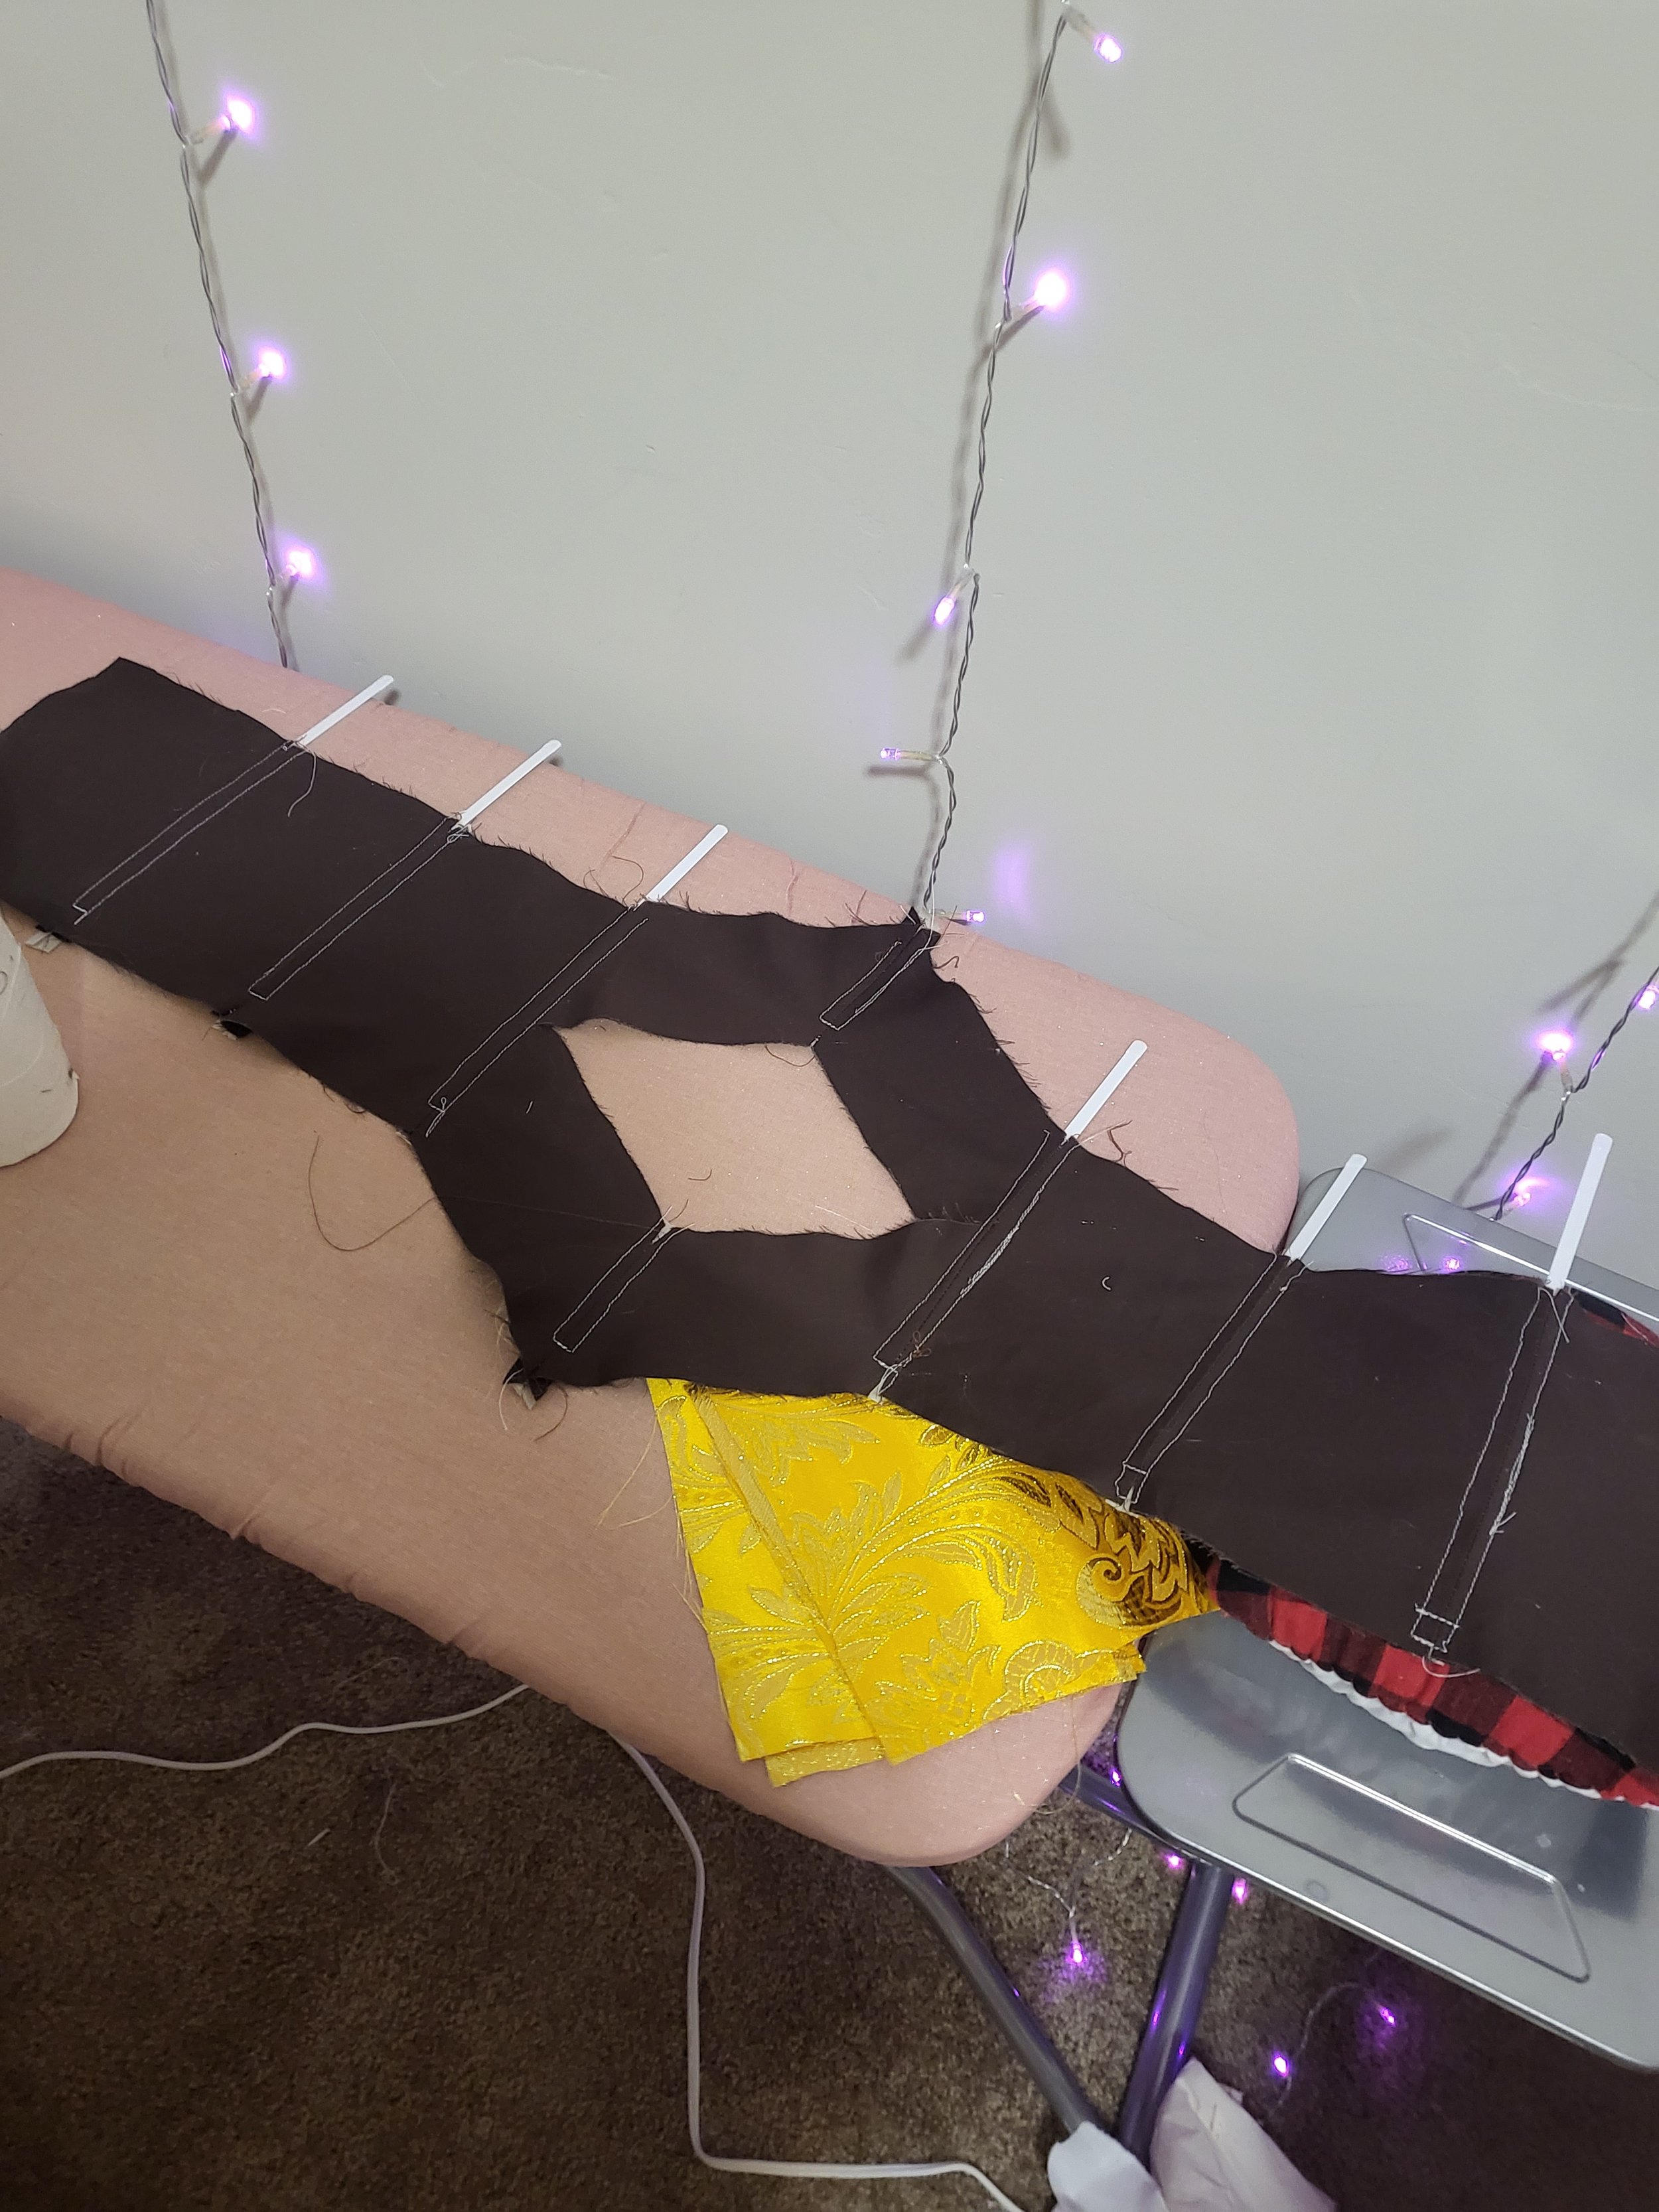
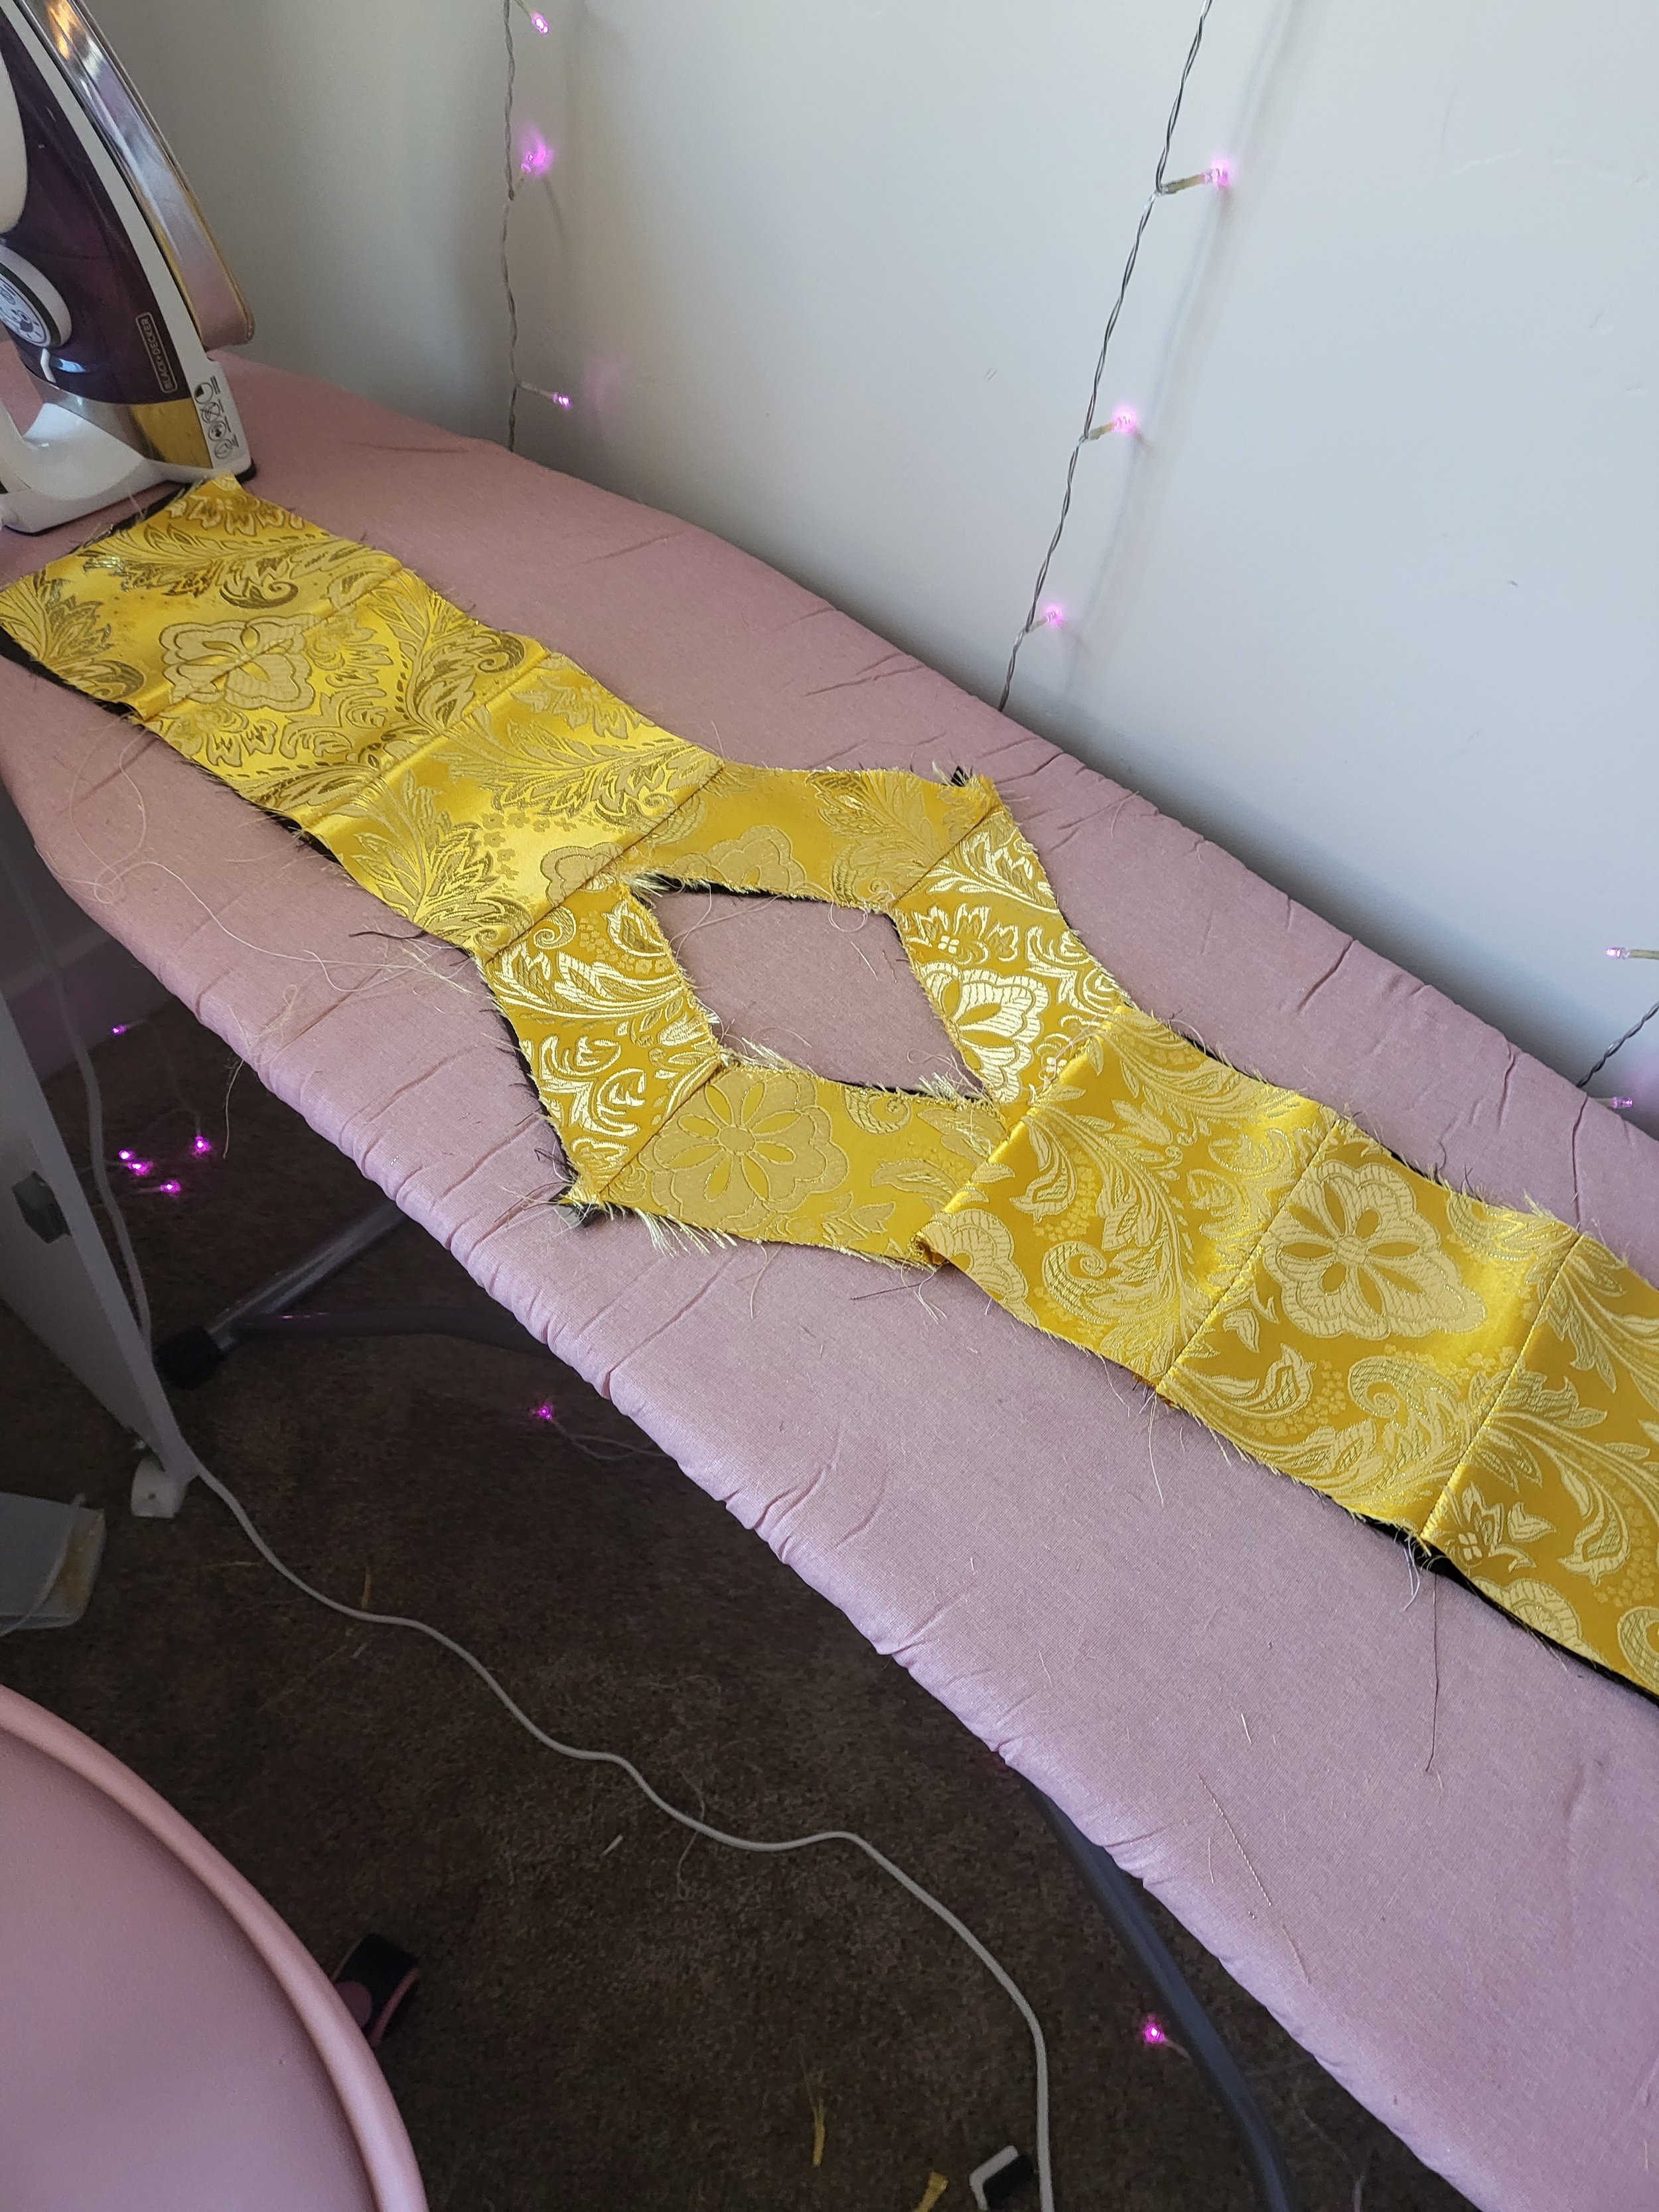
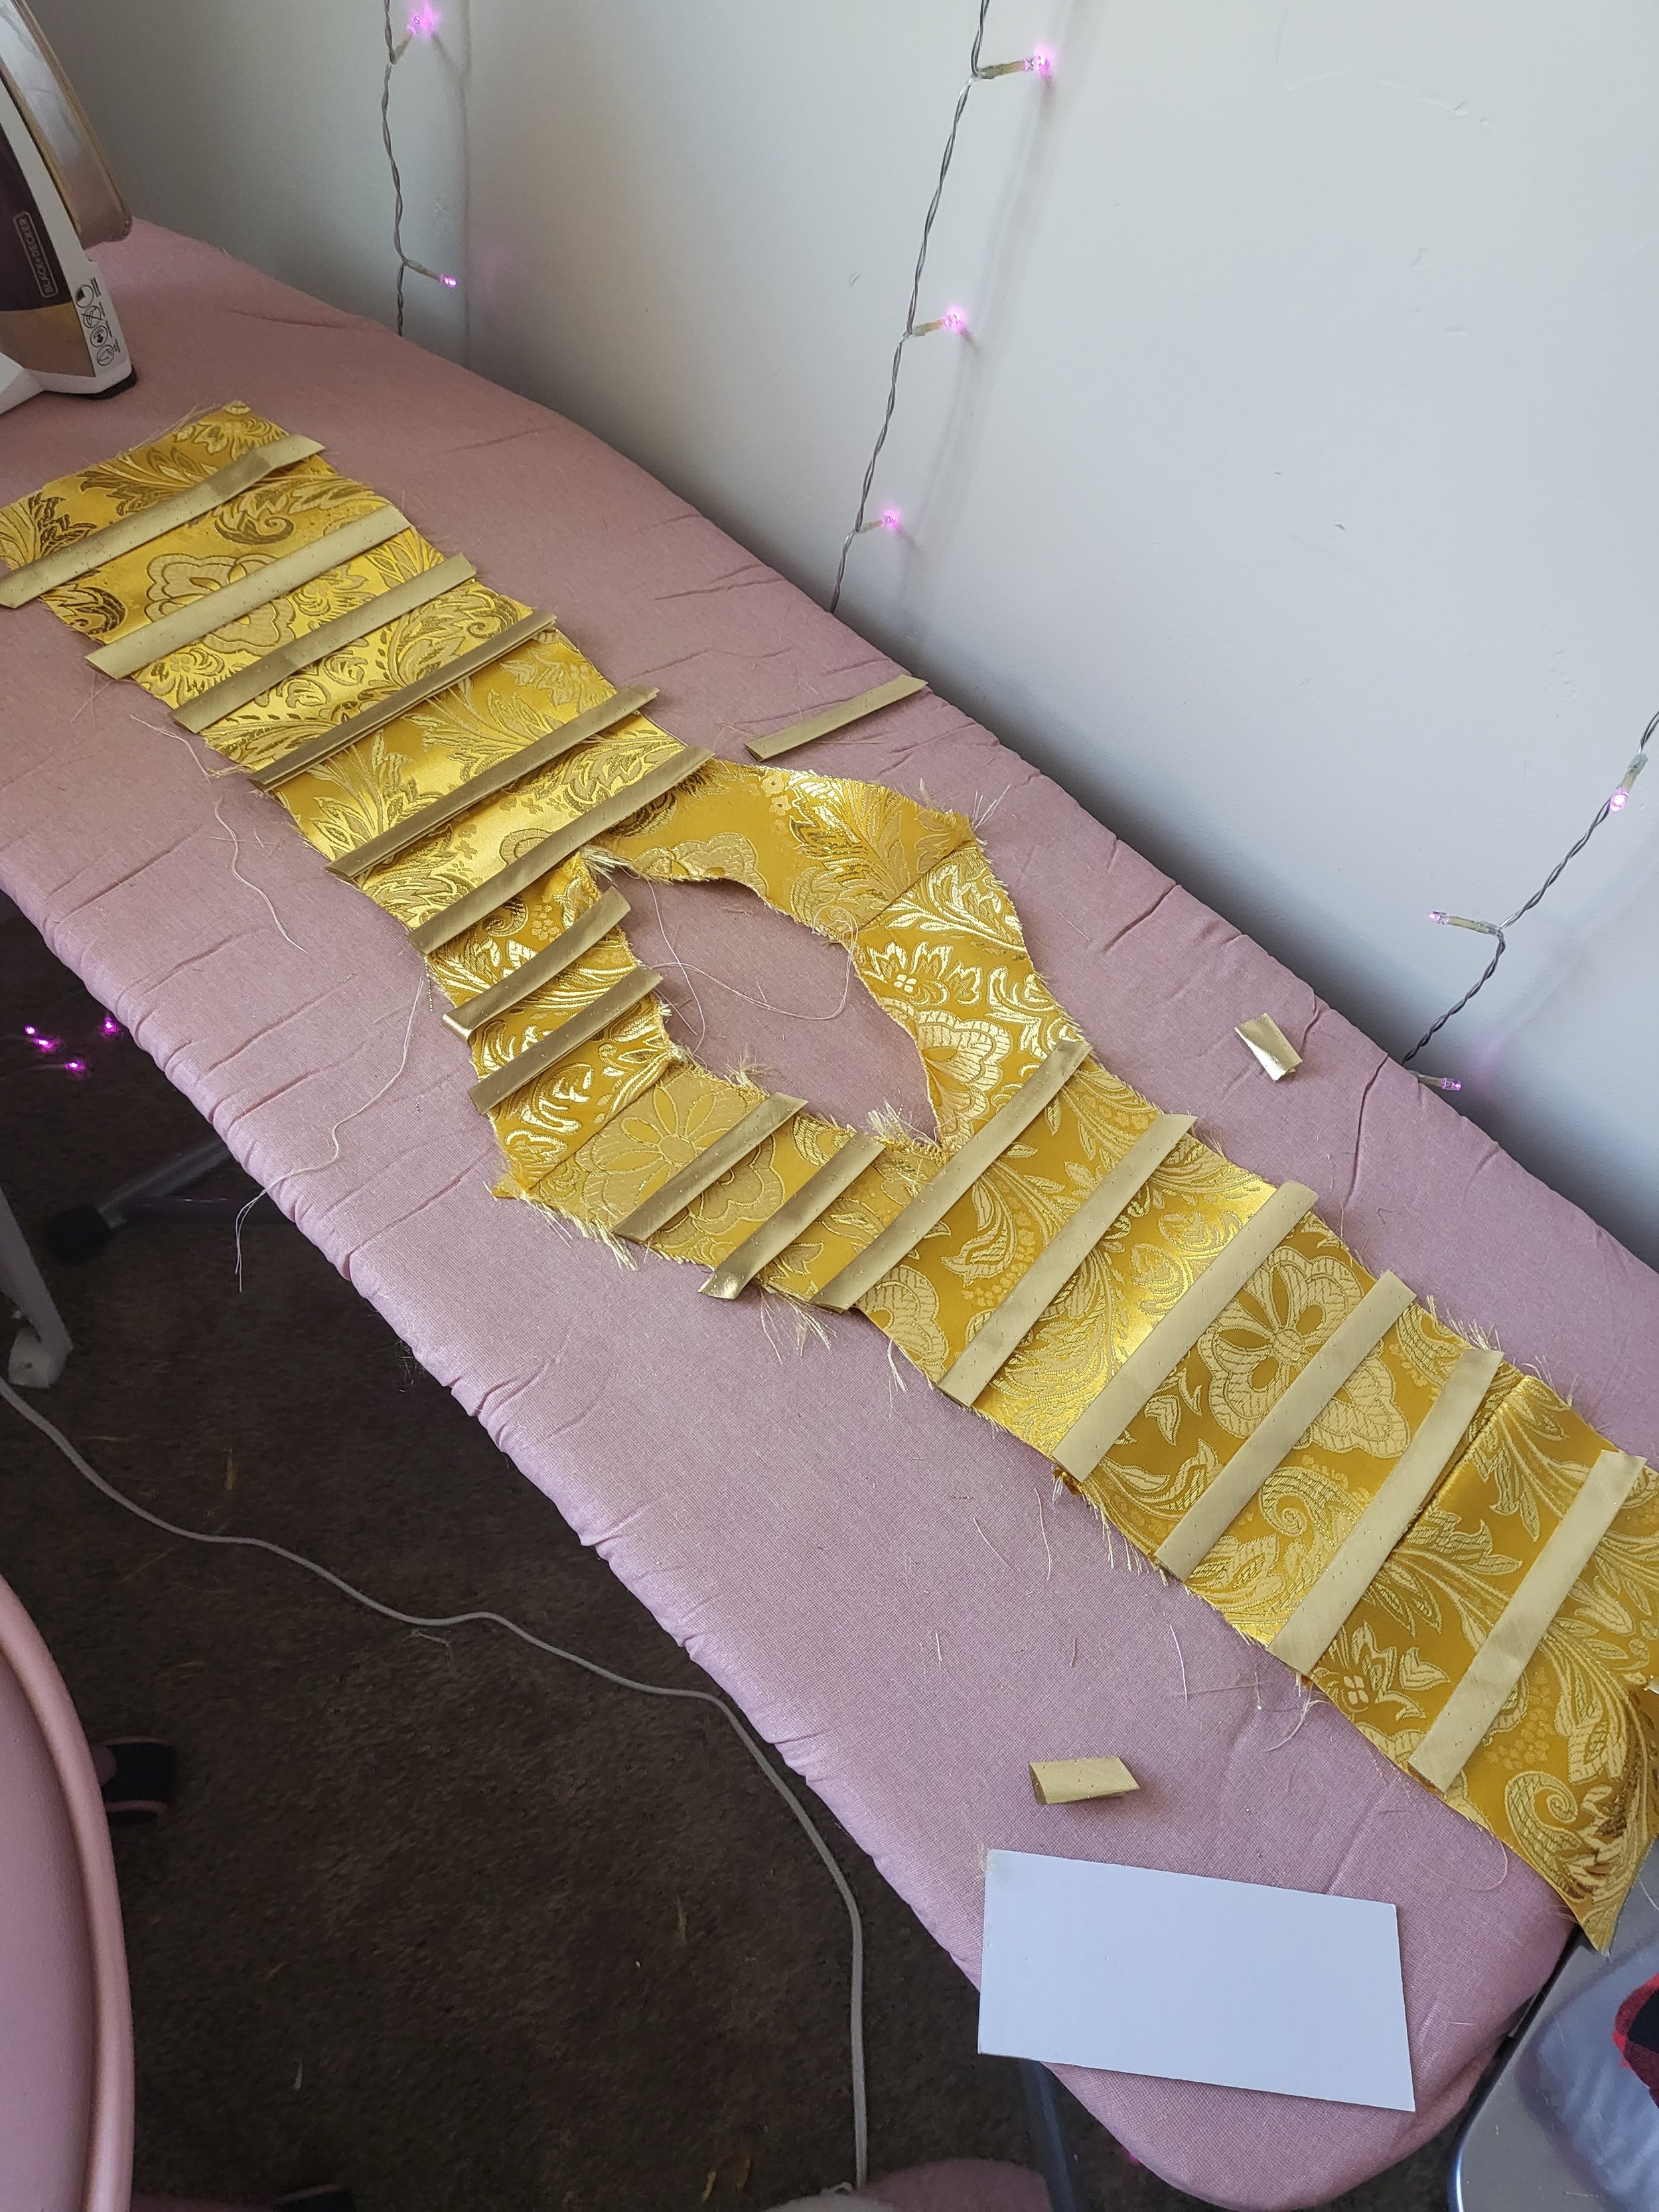
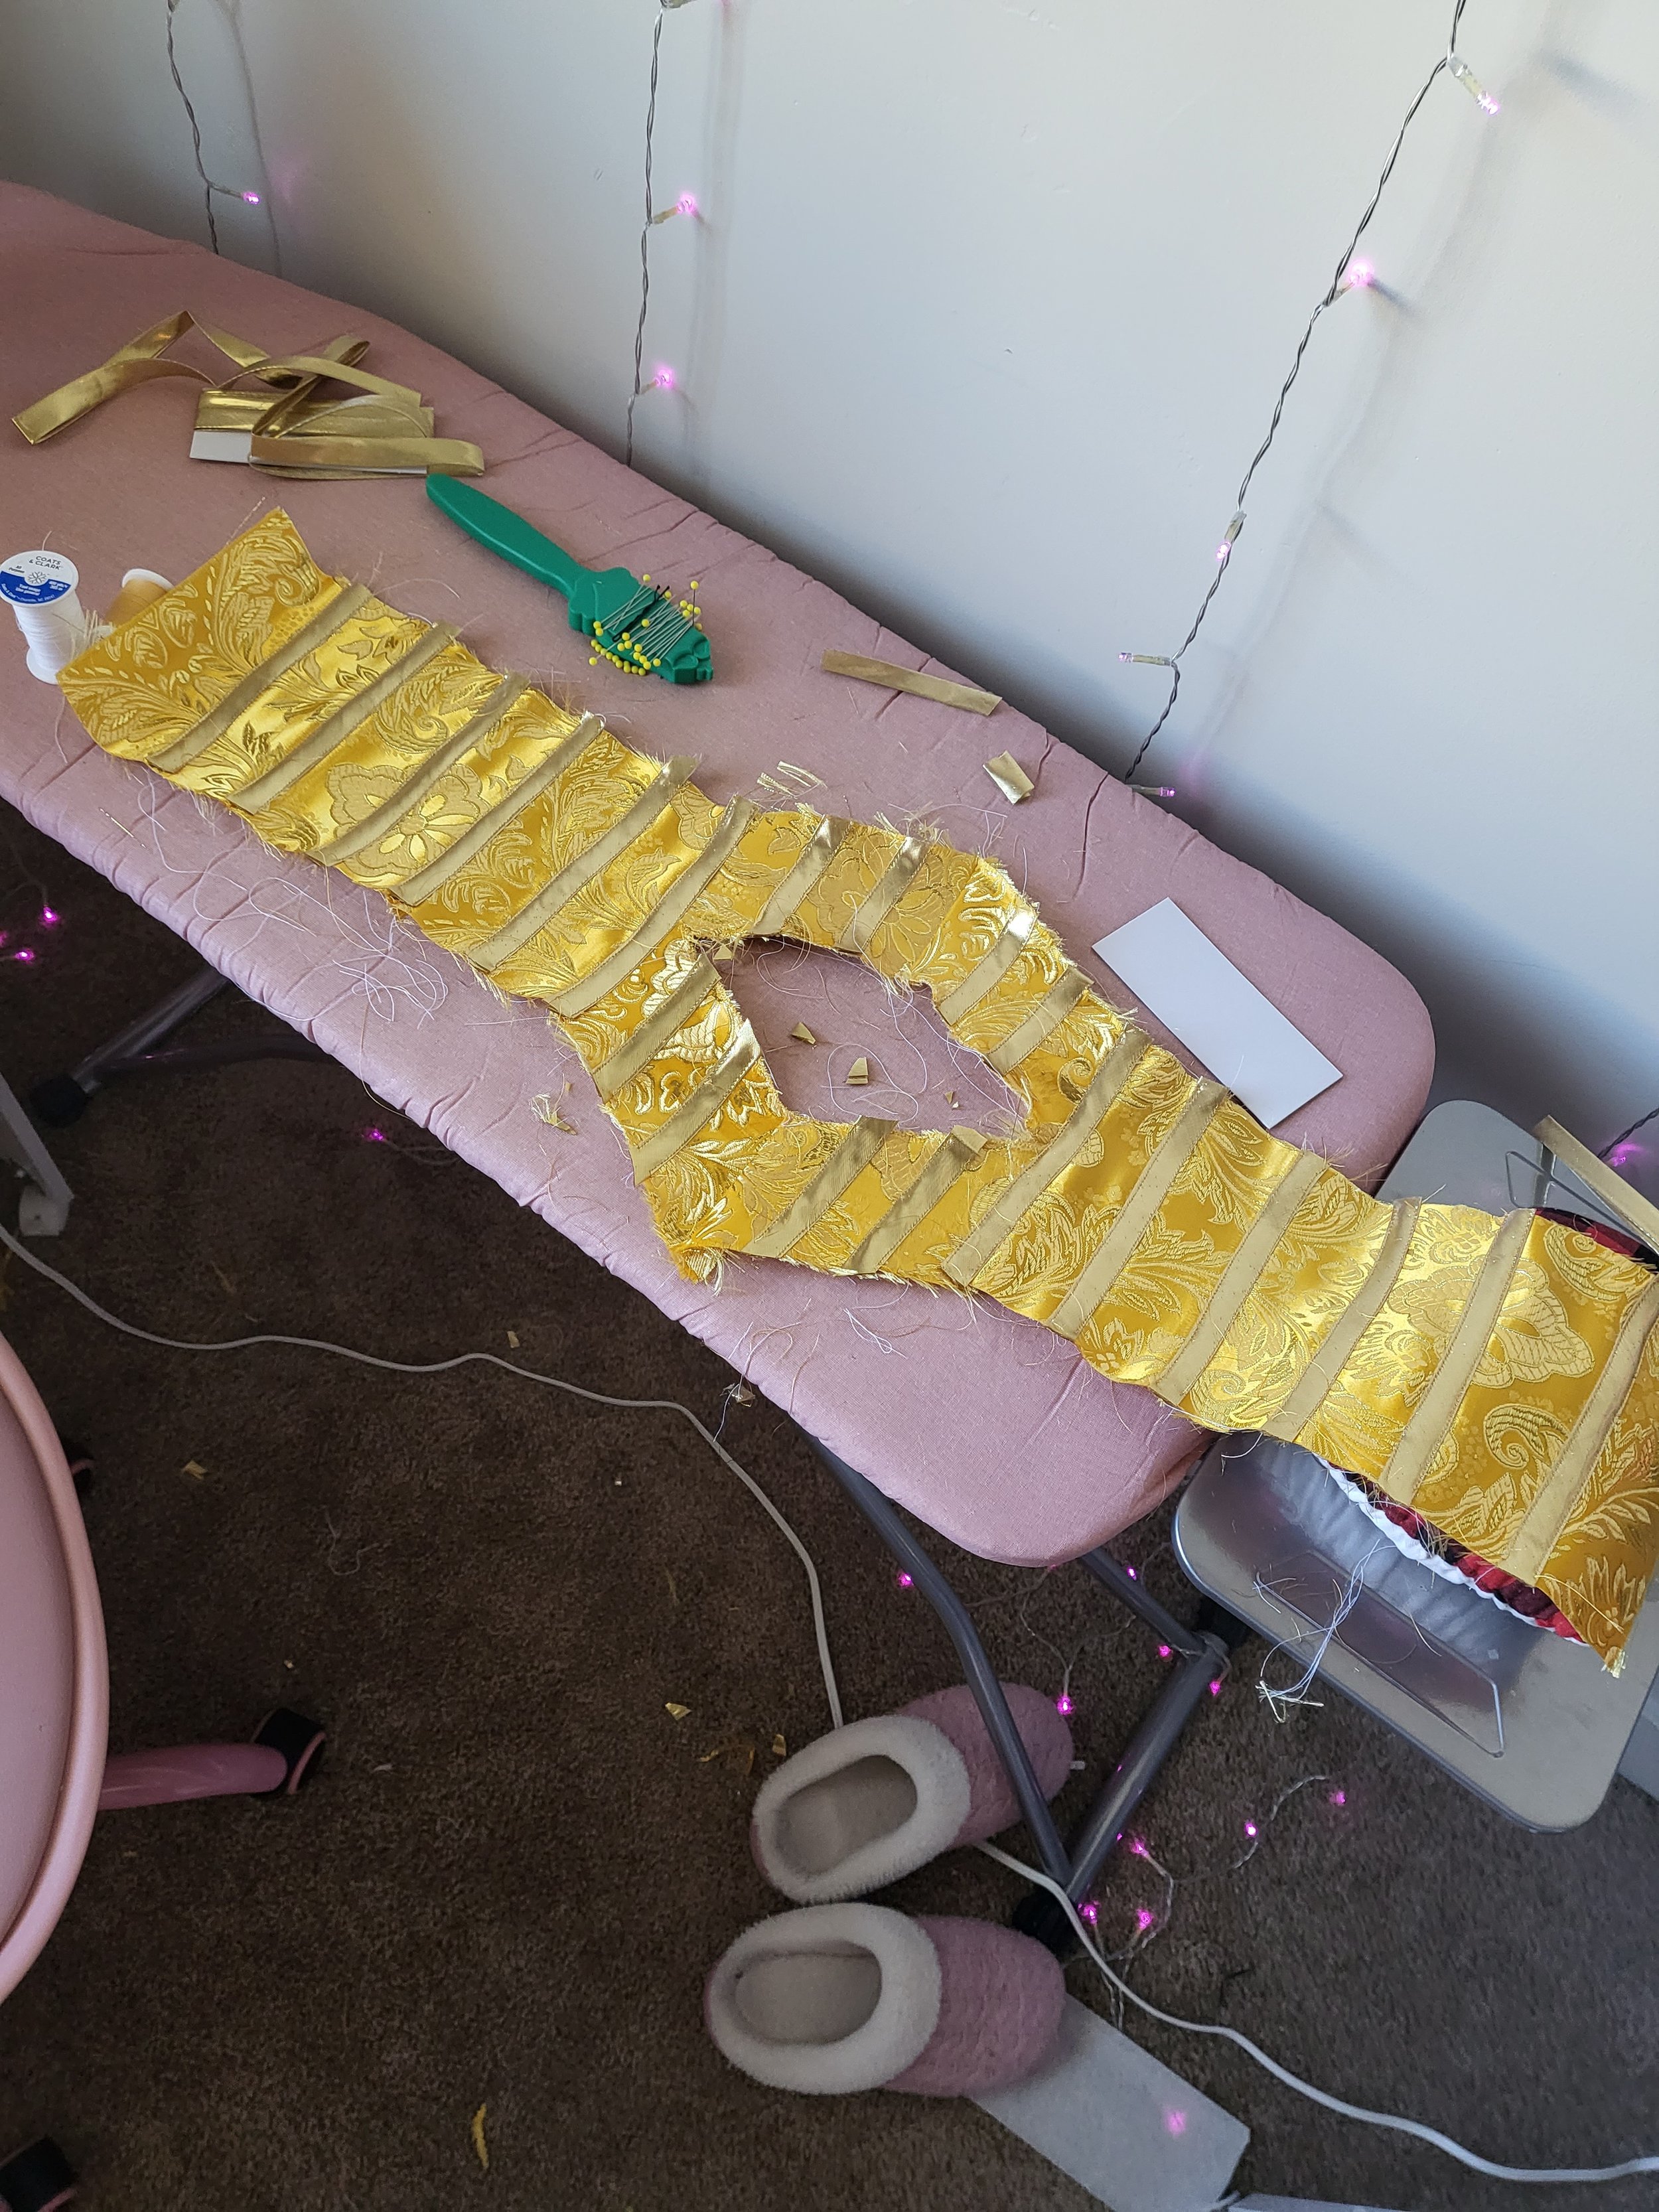
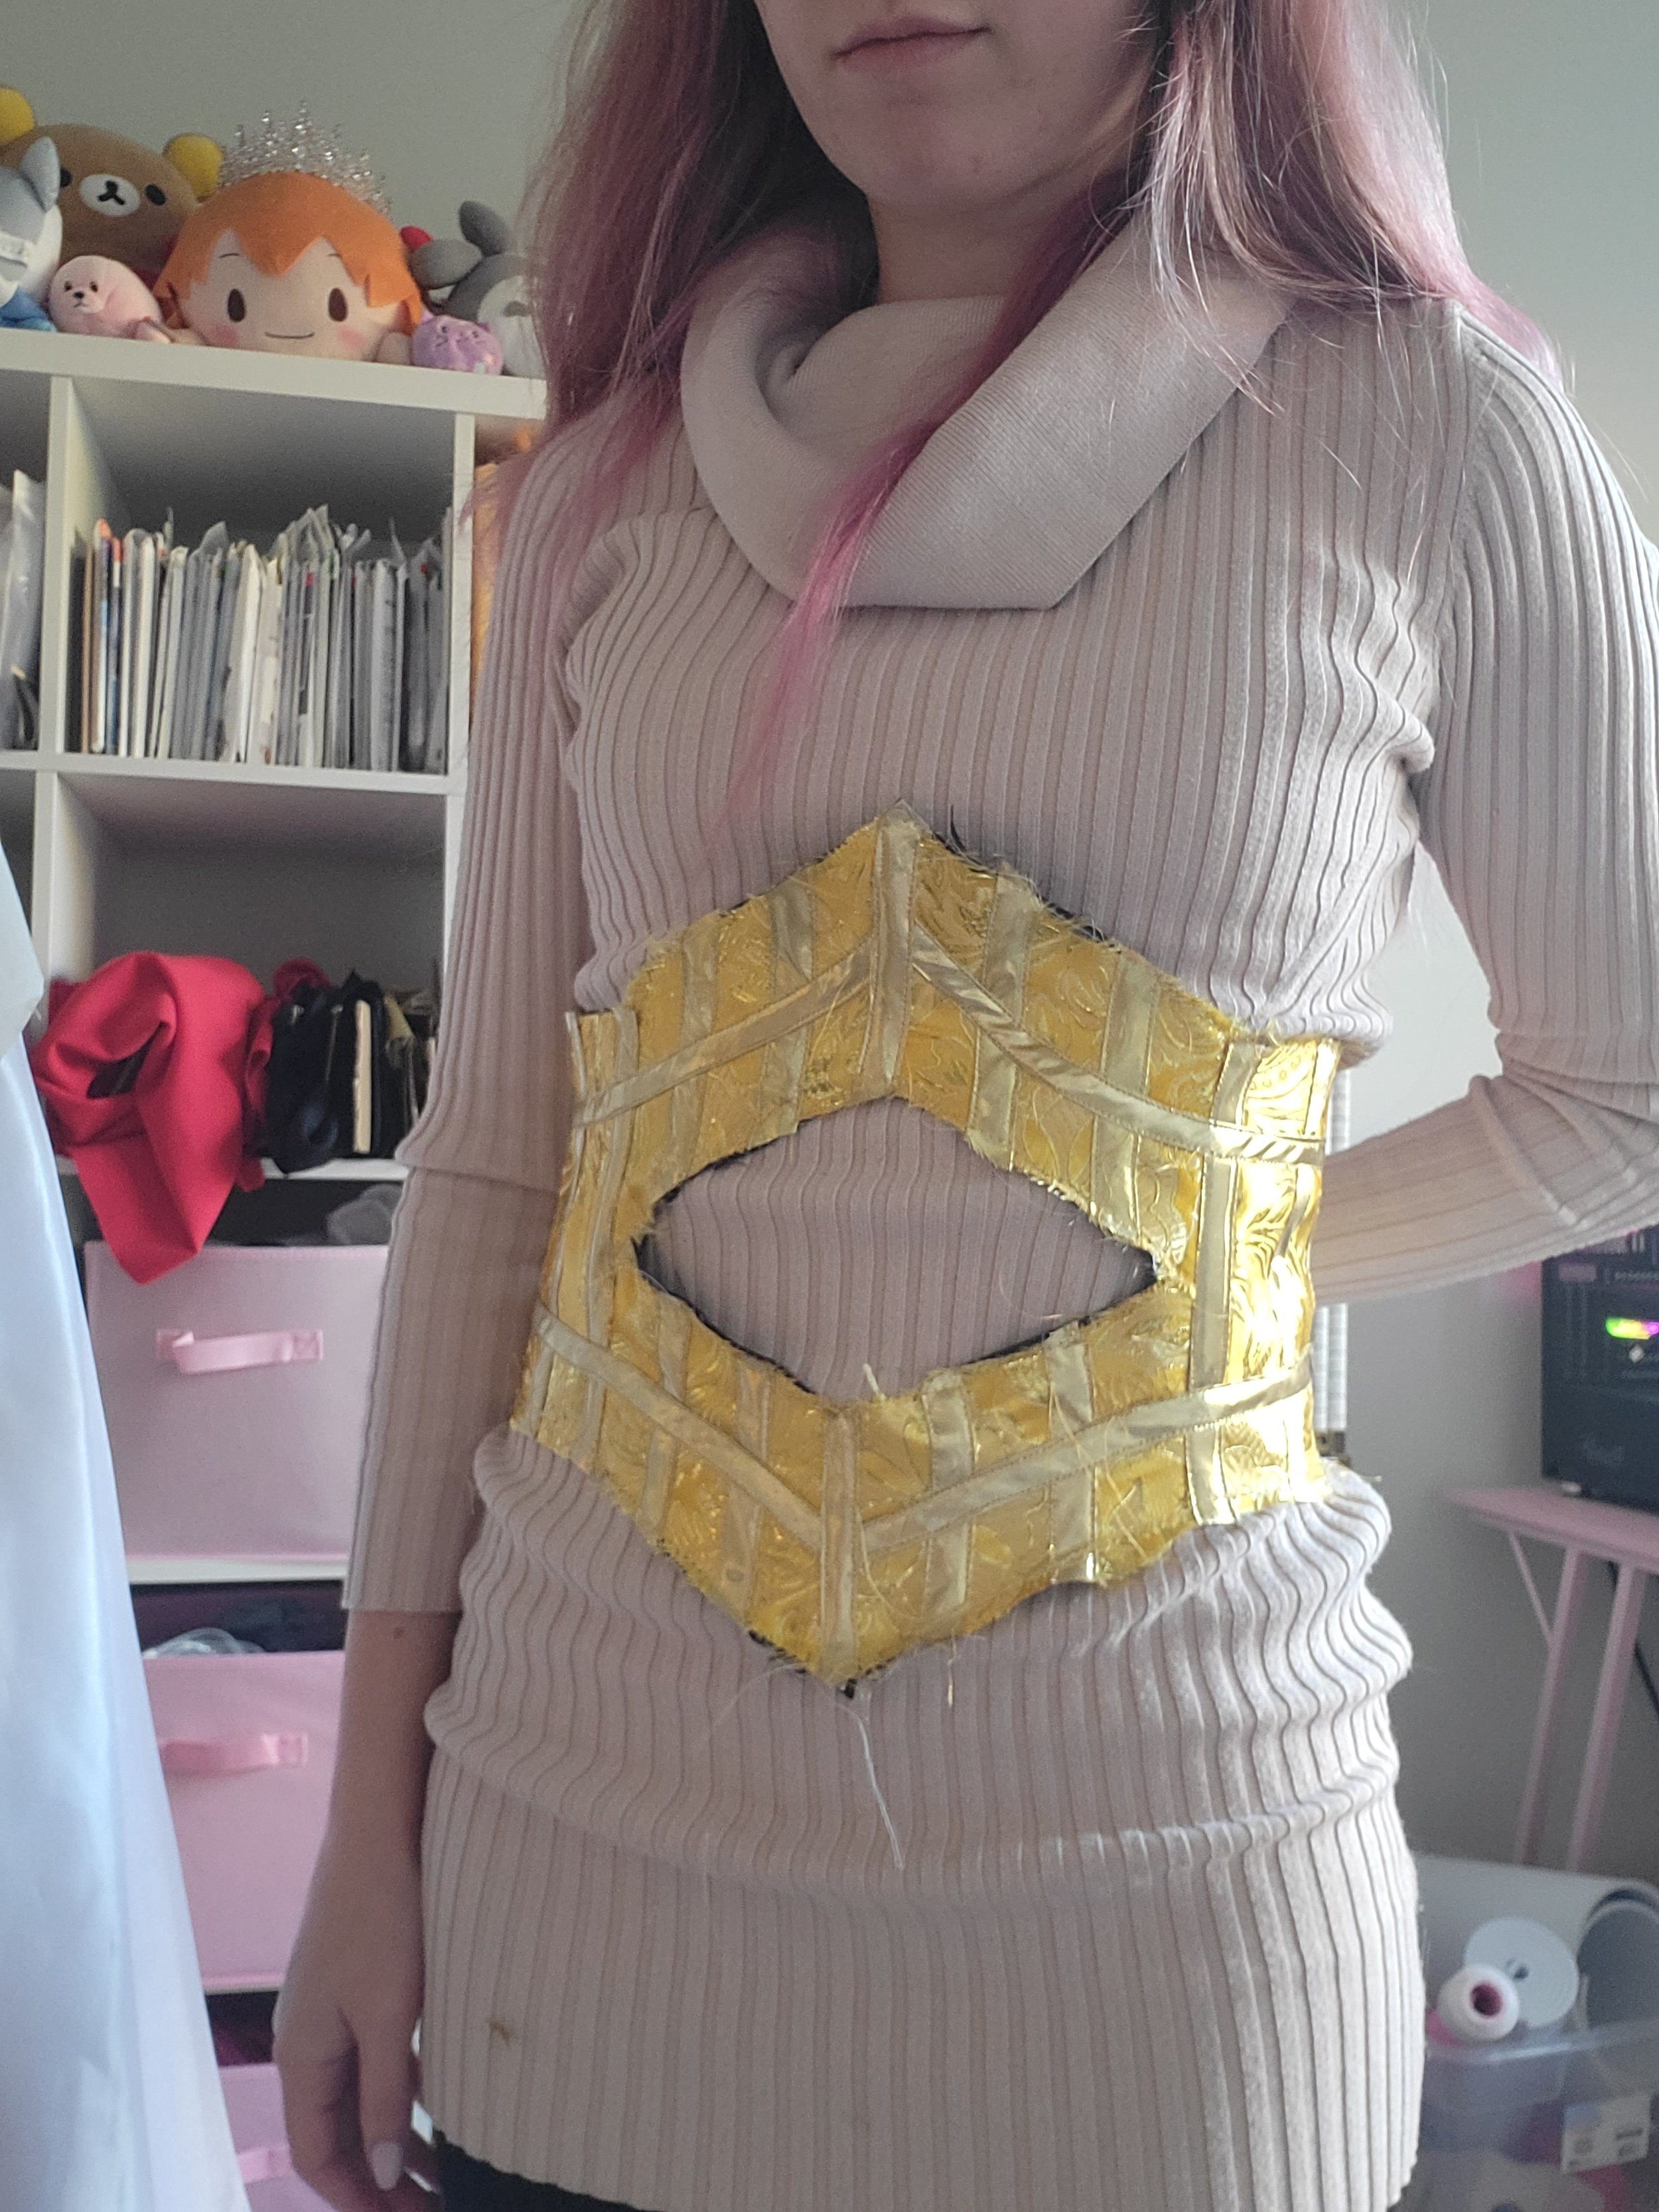
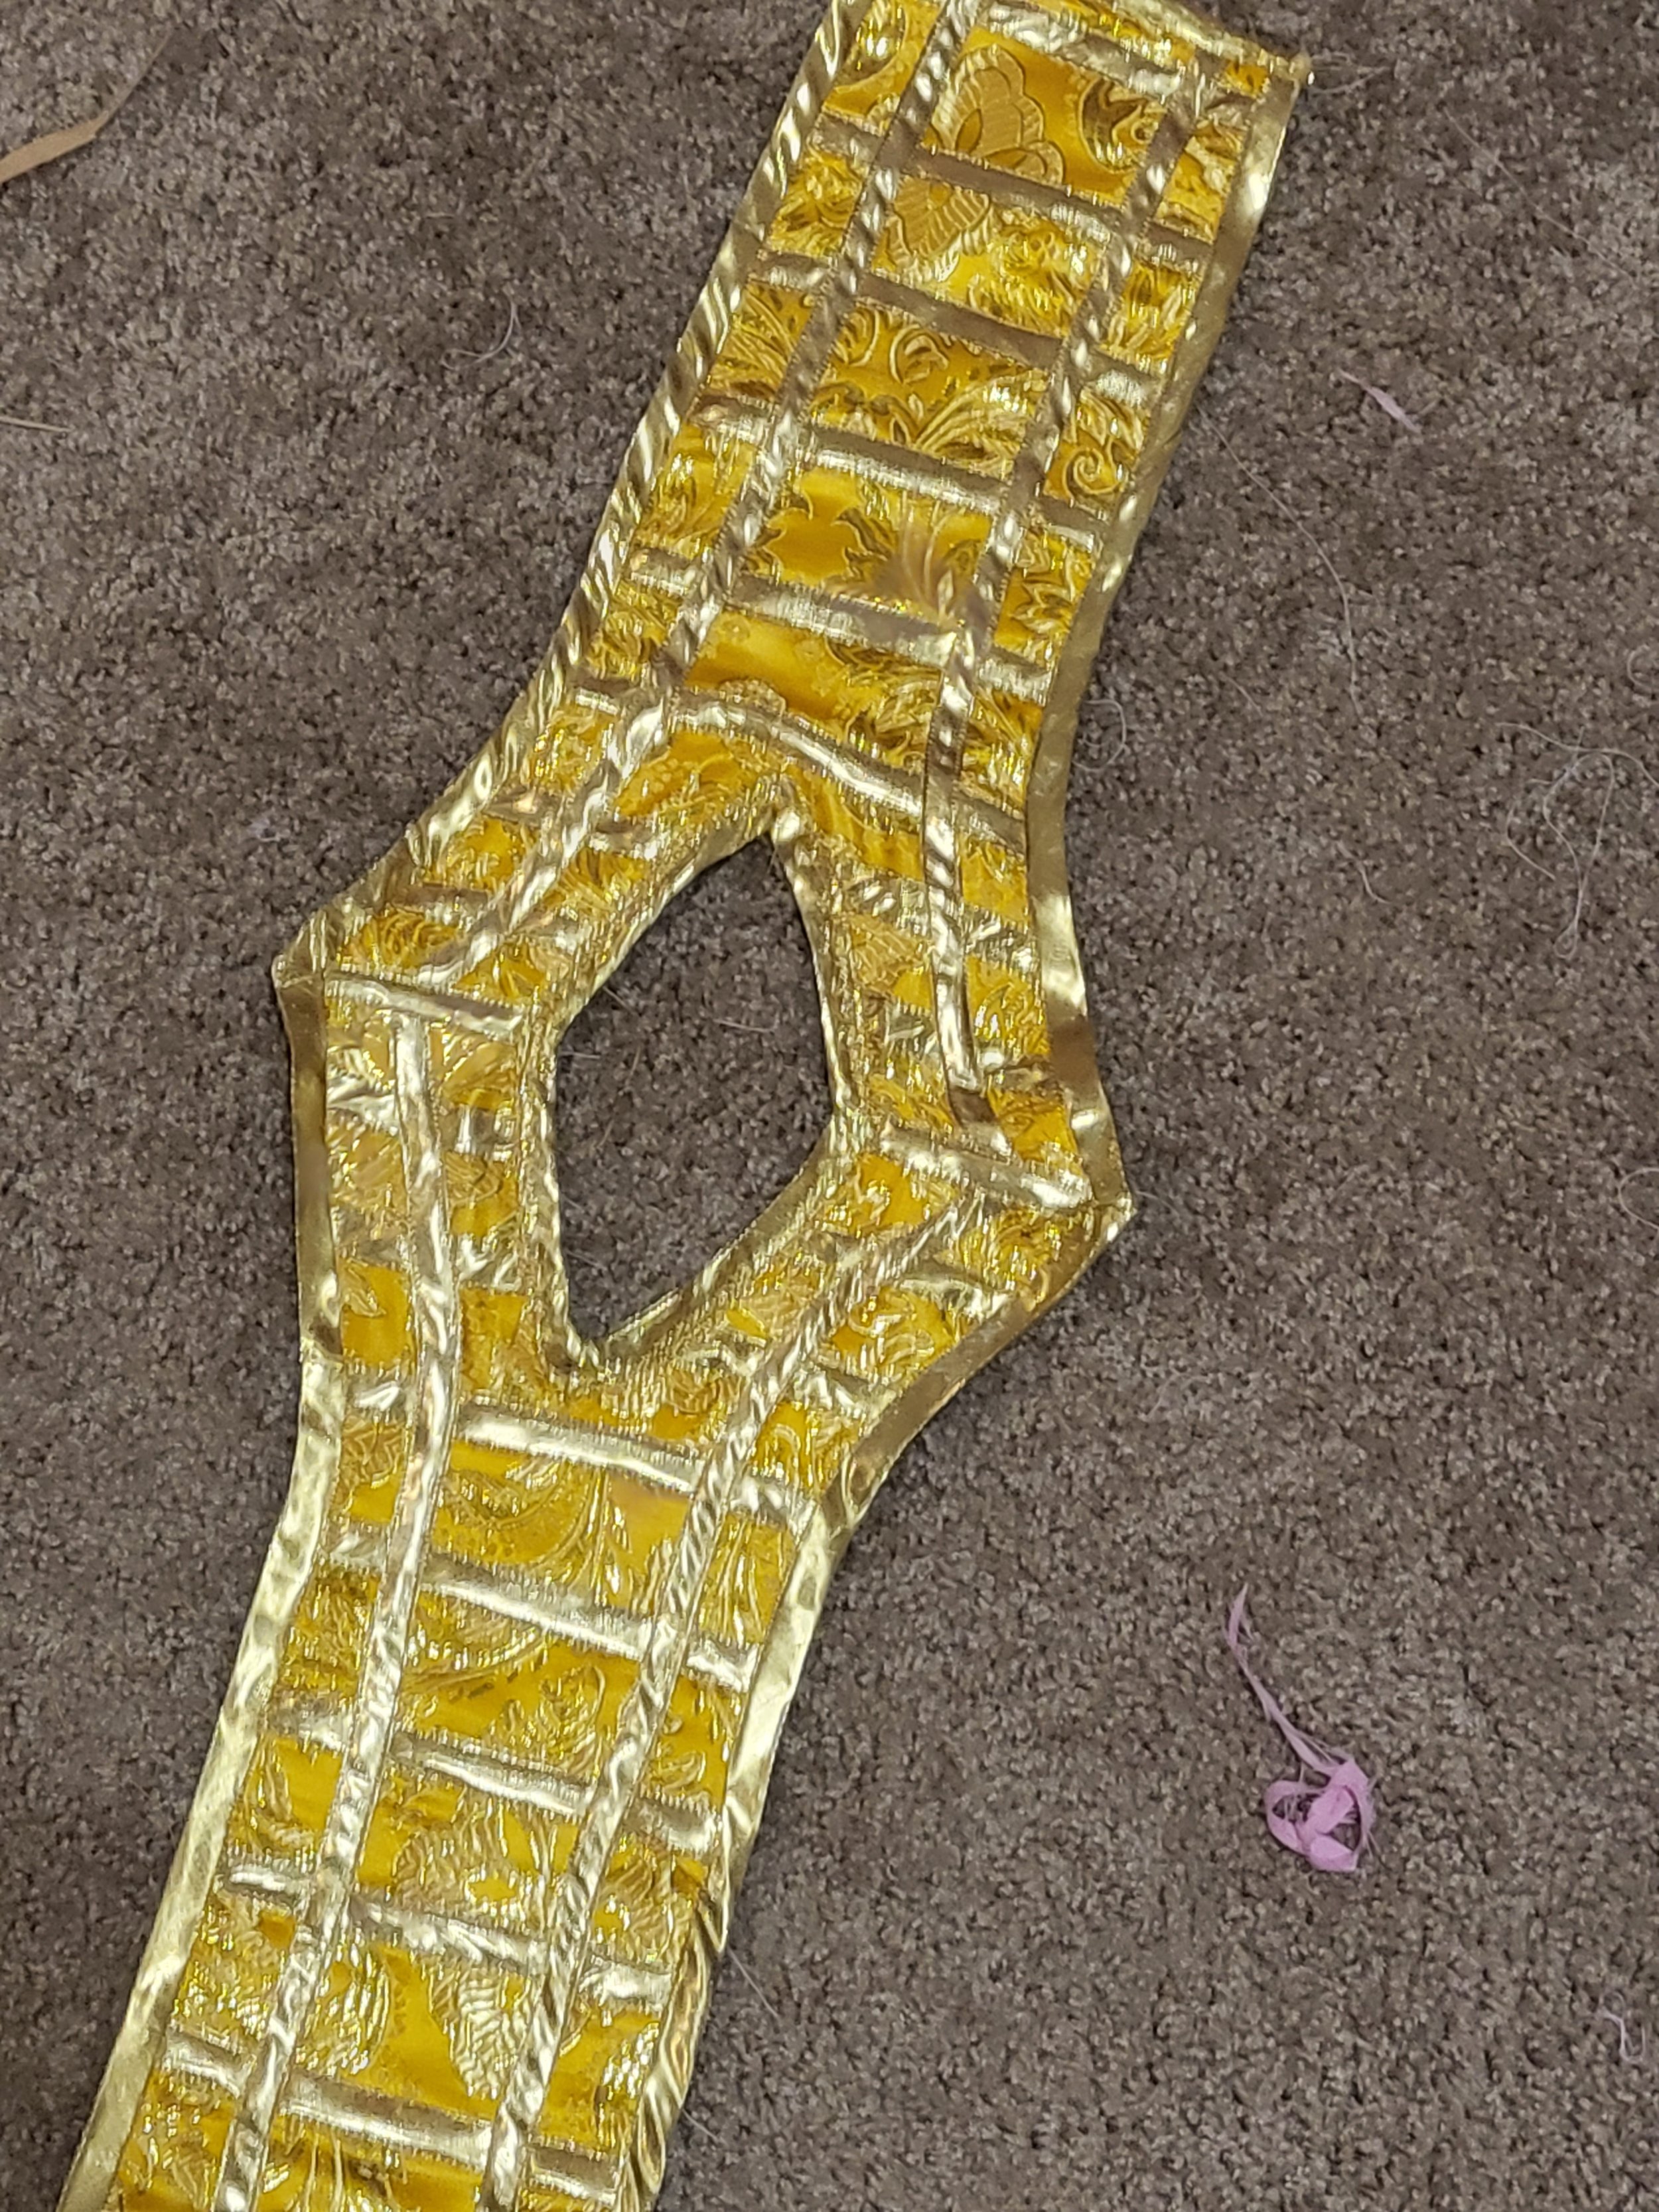
For the outer layer, I sewed the same pieces together. Then I added the grid-like pattern on top of the layer. I used gold bias tape for this process so it would match the gold bias tape used to finish off the cosplay.

Cape and Overskirt
To create these patterns I loosely used a cape pattern and the pattern for the skirt to estimate how much fabric would be needed and cut it out. Then I hung it up and cut around until it looked how I wanted. After that I cleaned up the patterns on cardboard paper again with seam allowances to recreate on the actual fabric.
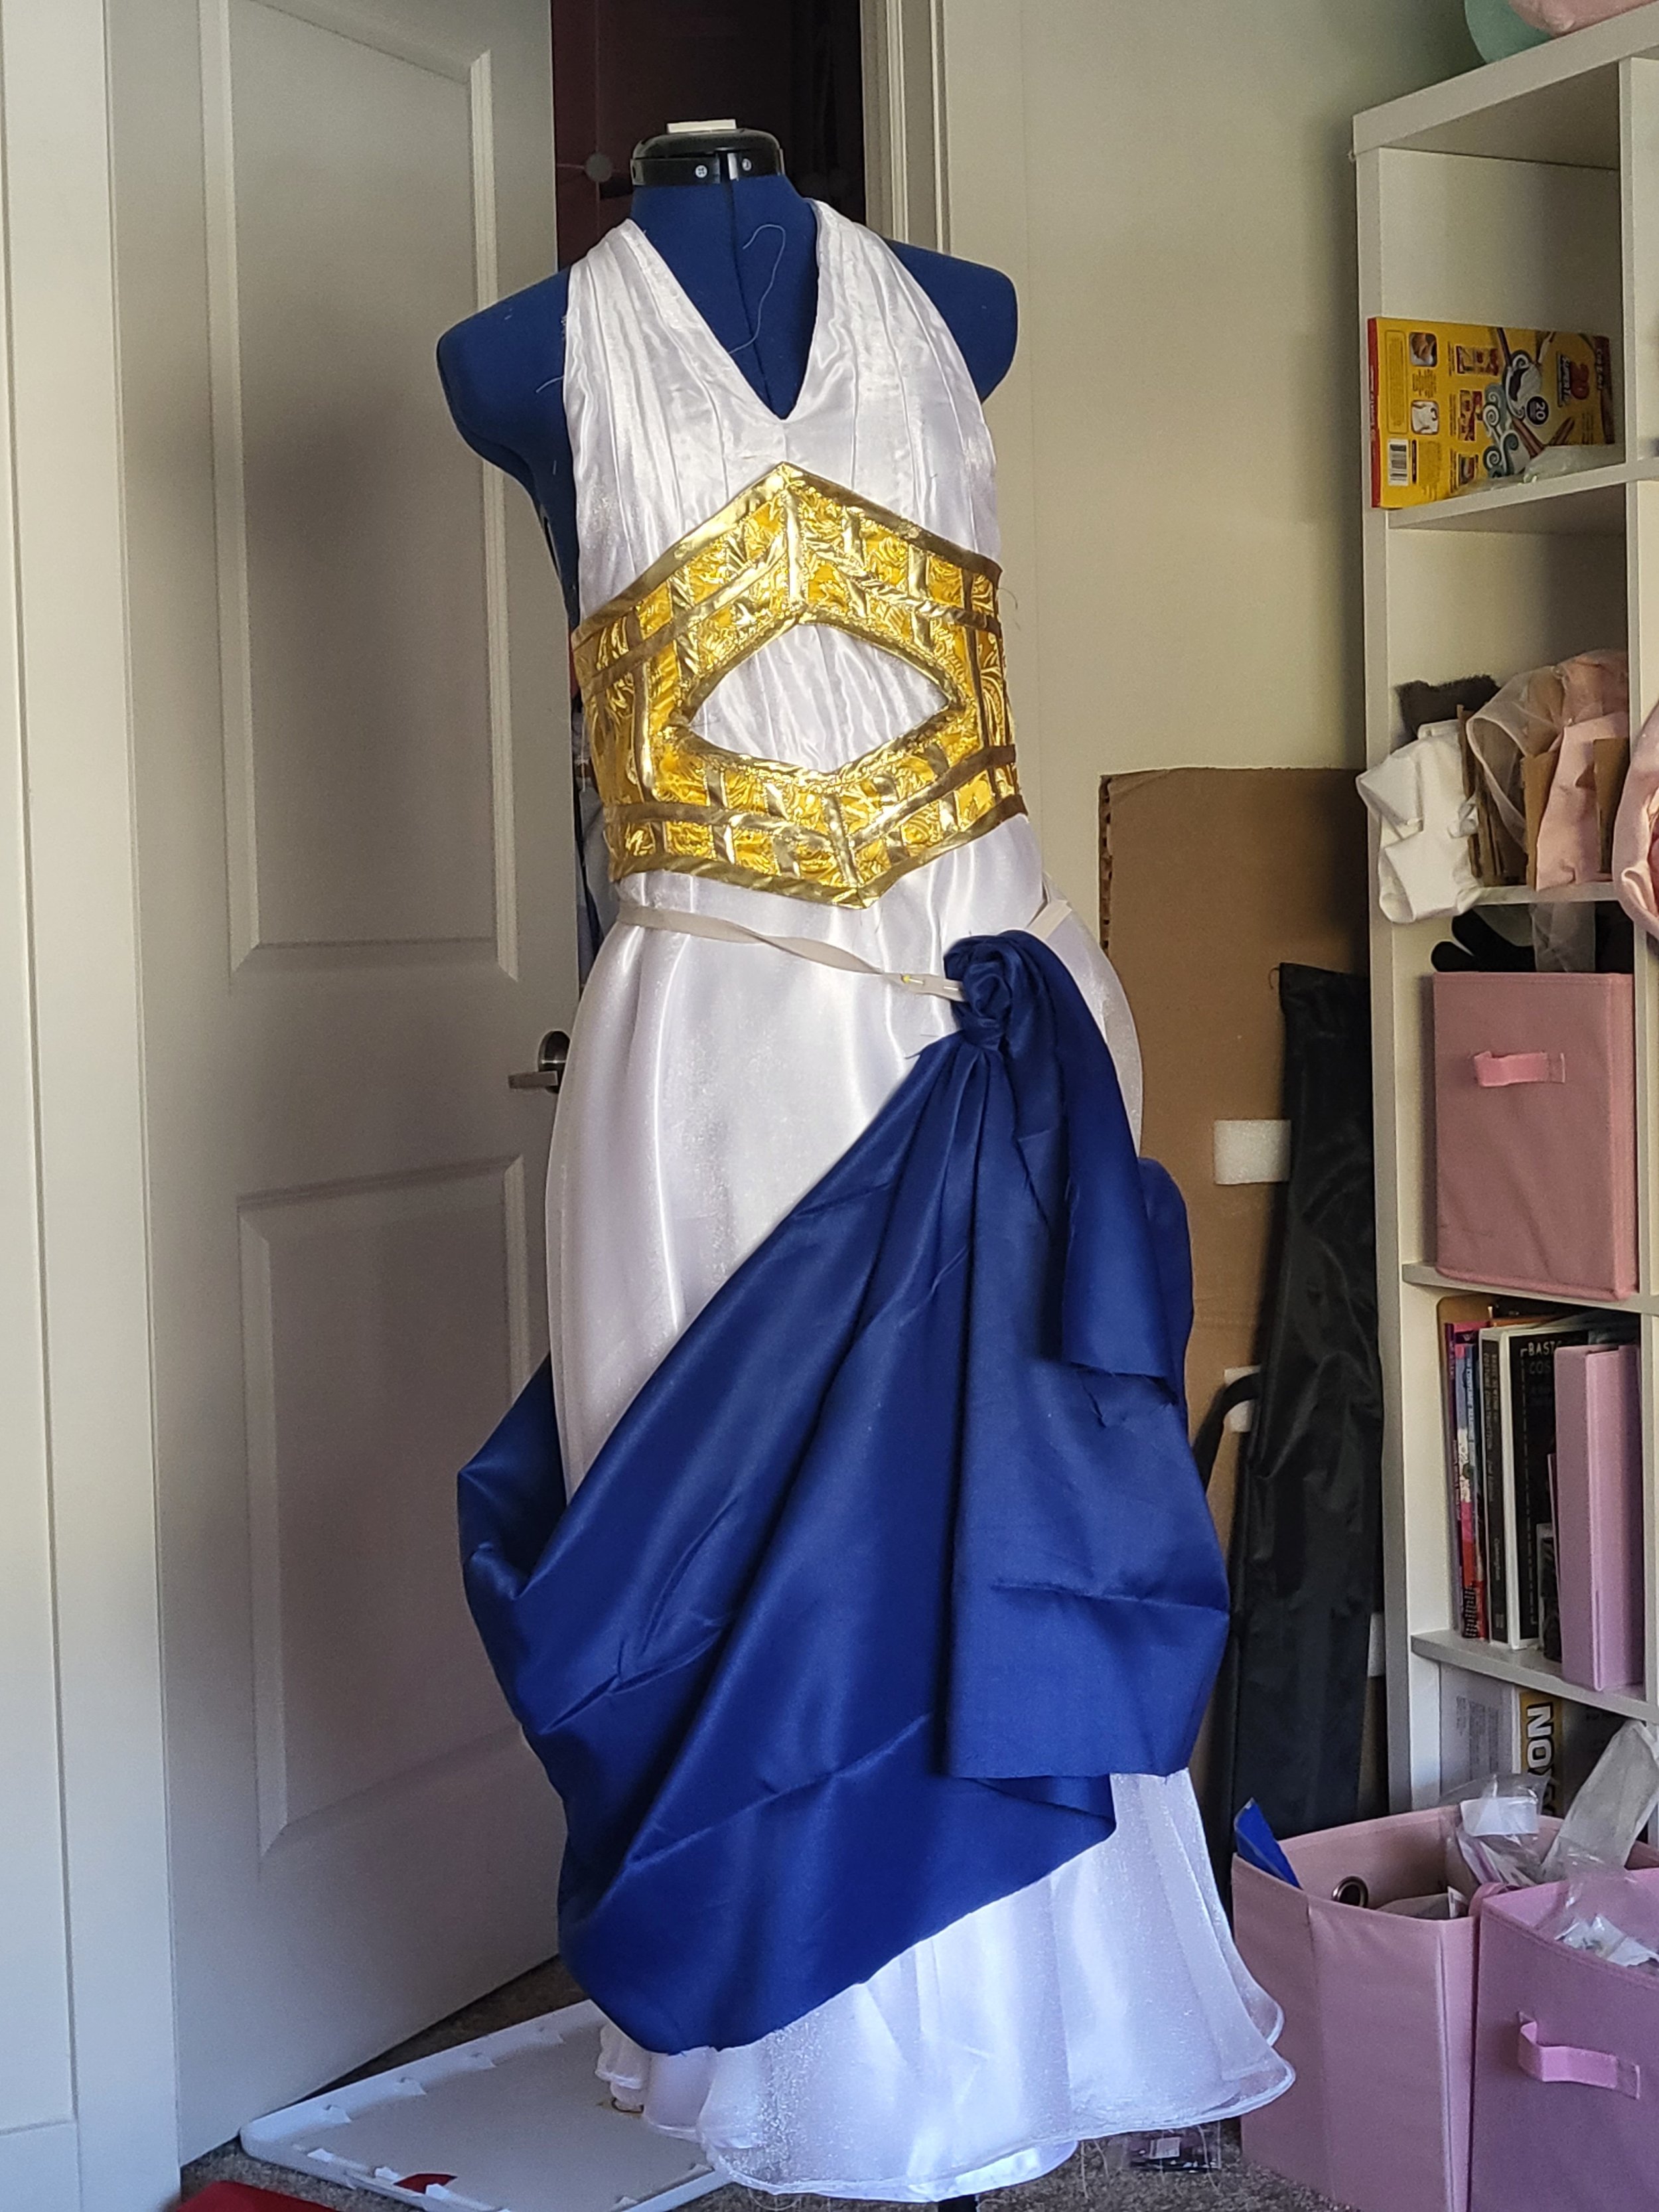
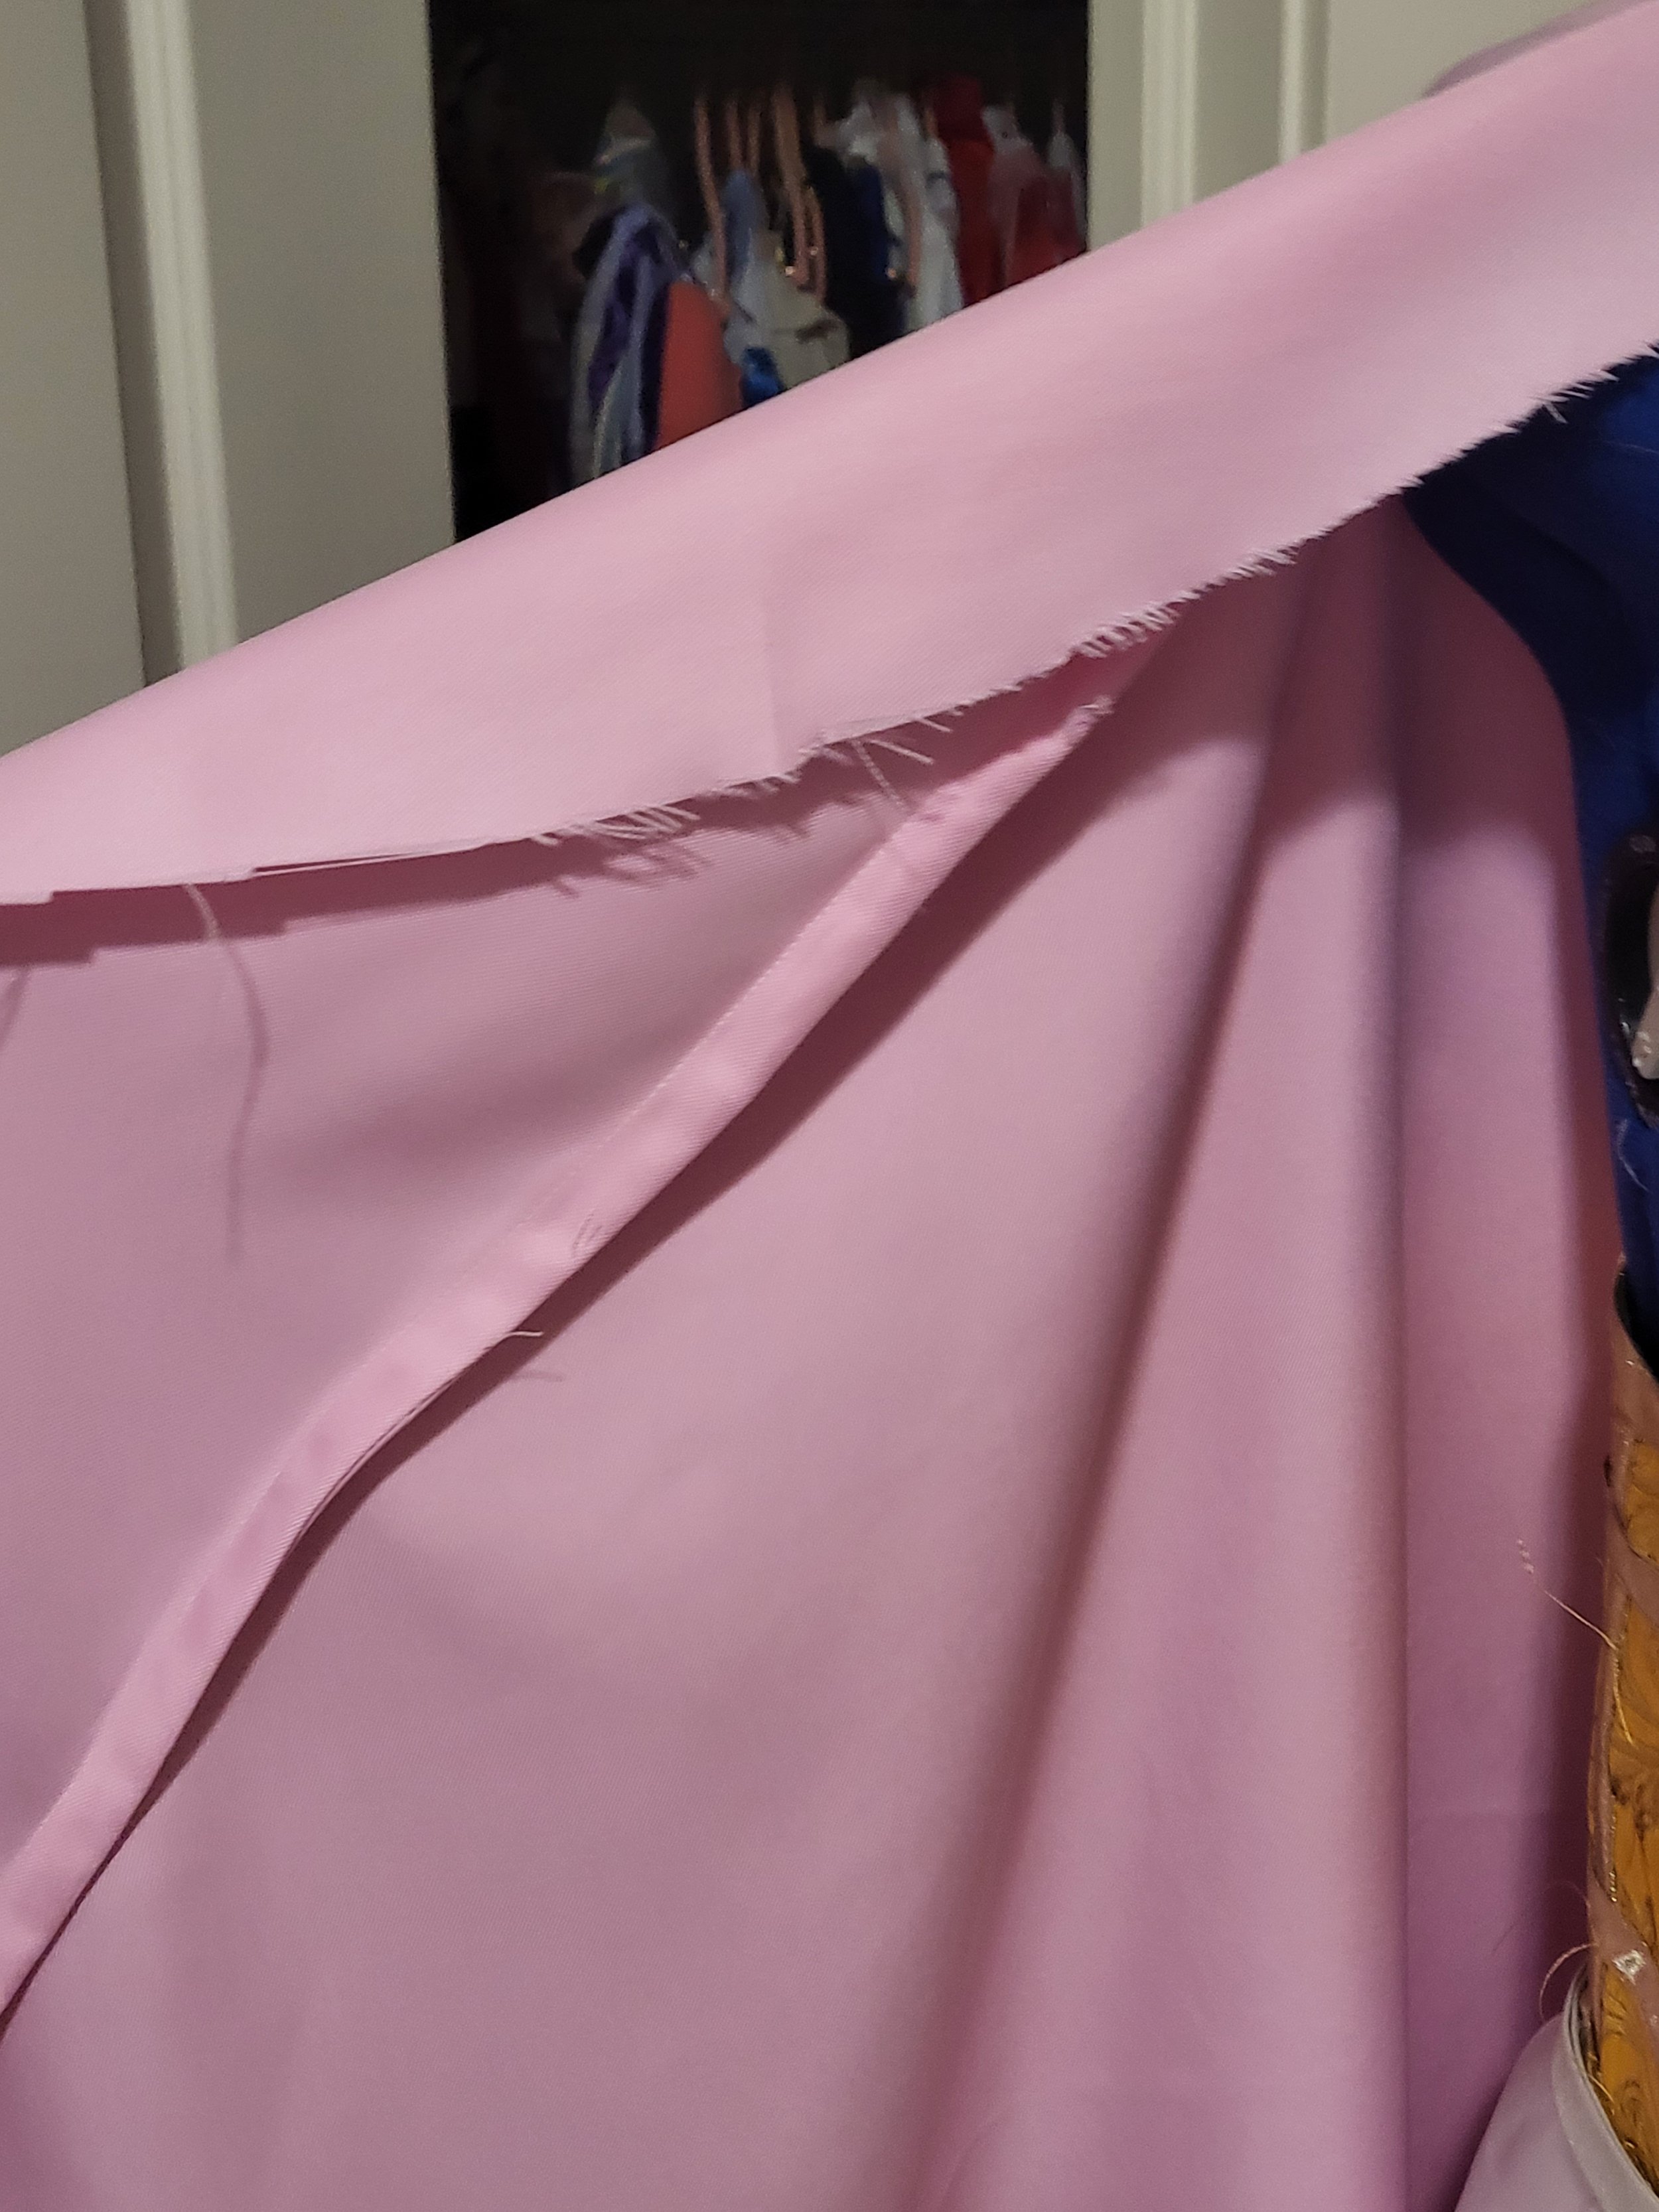
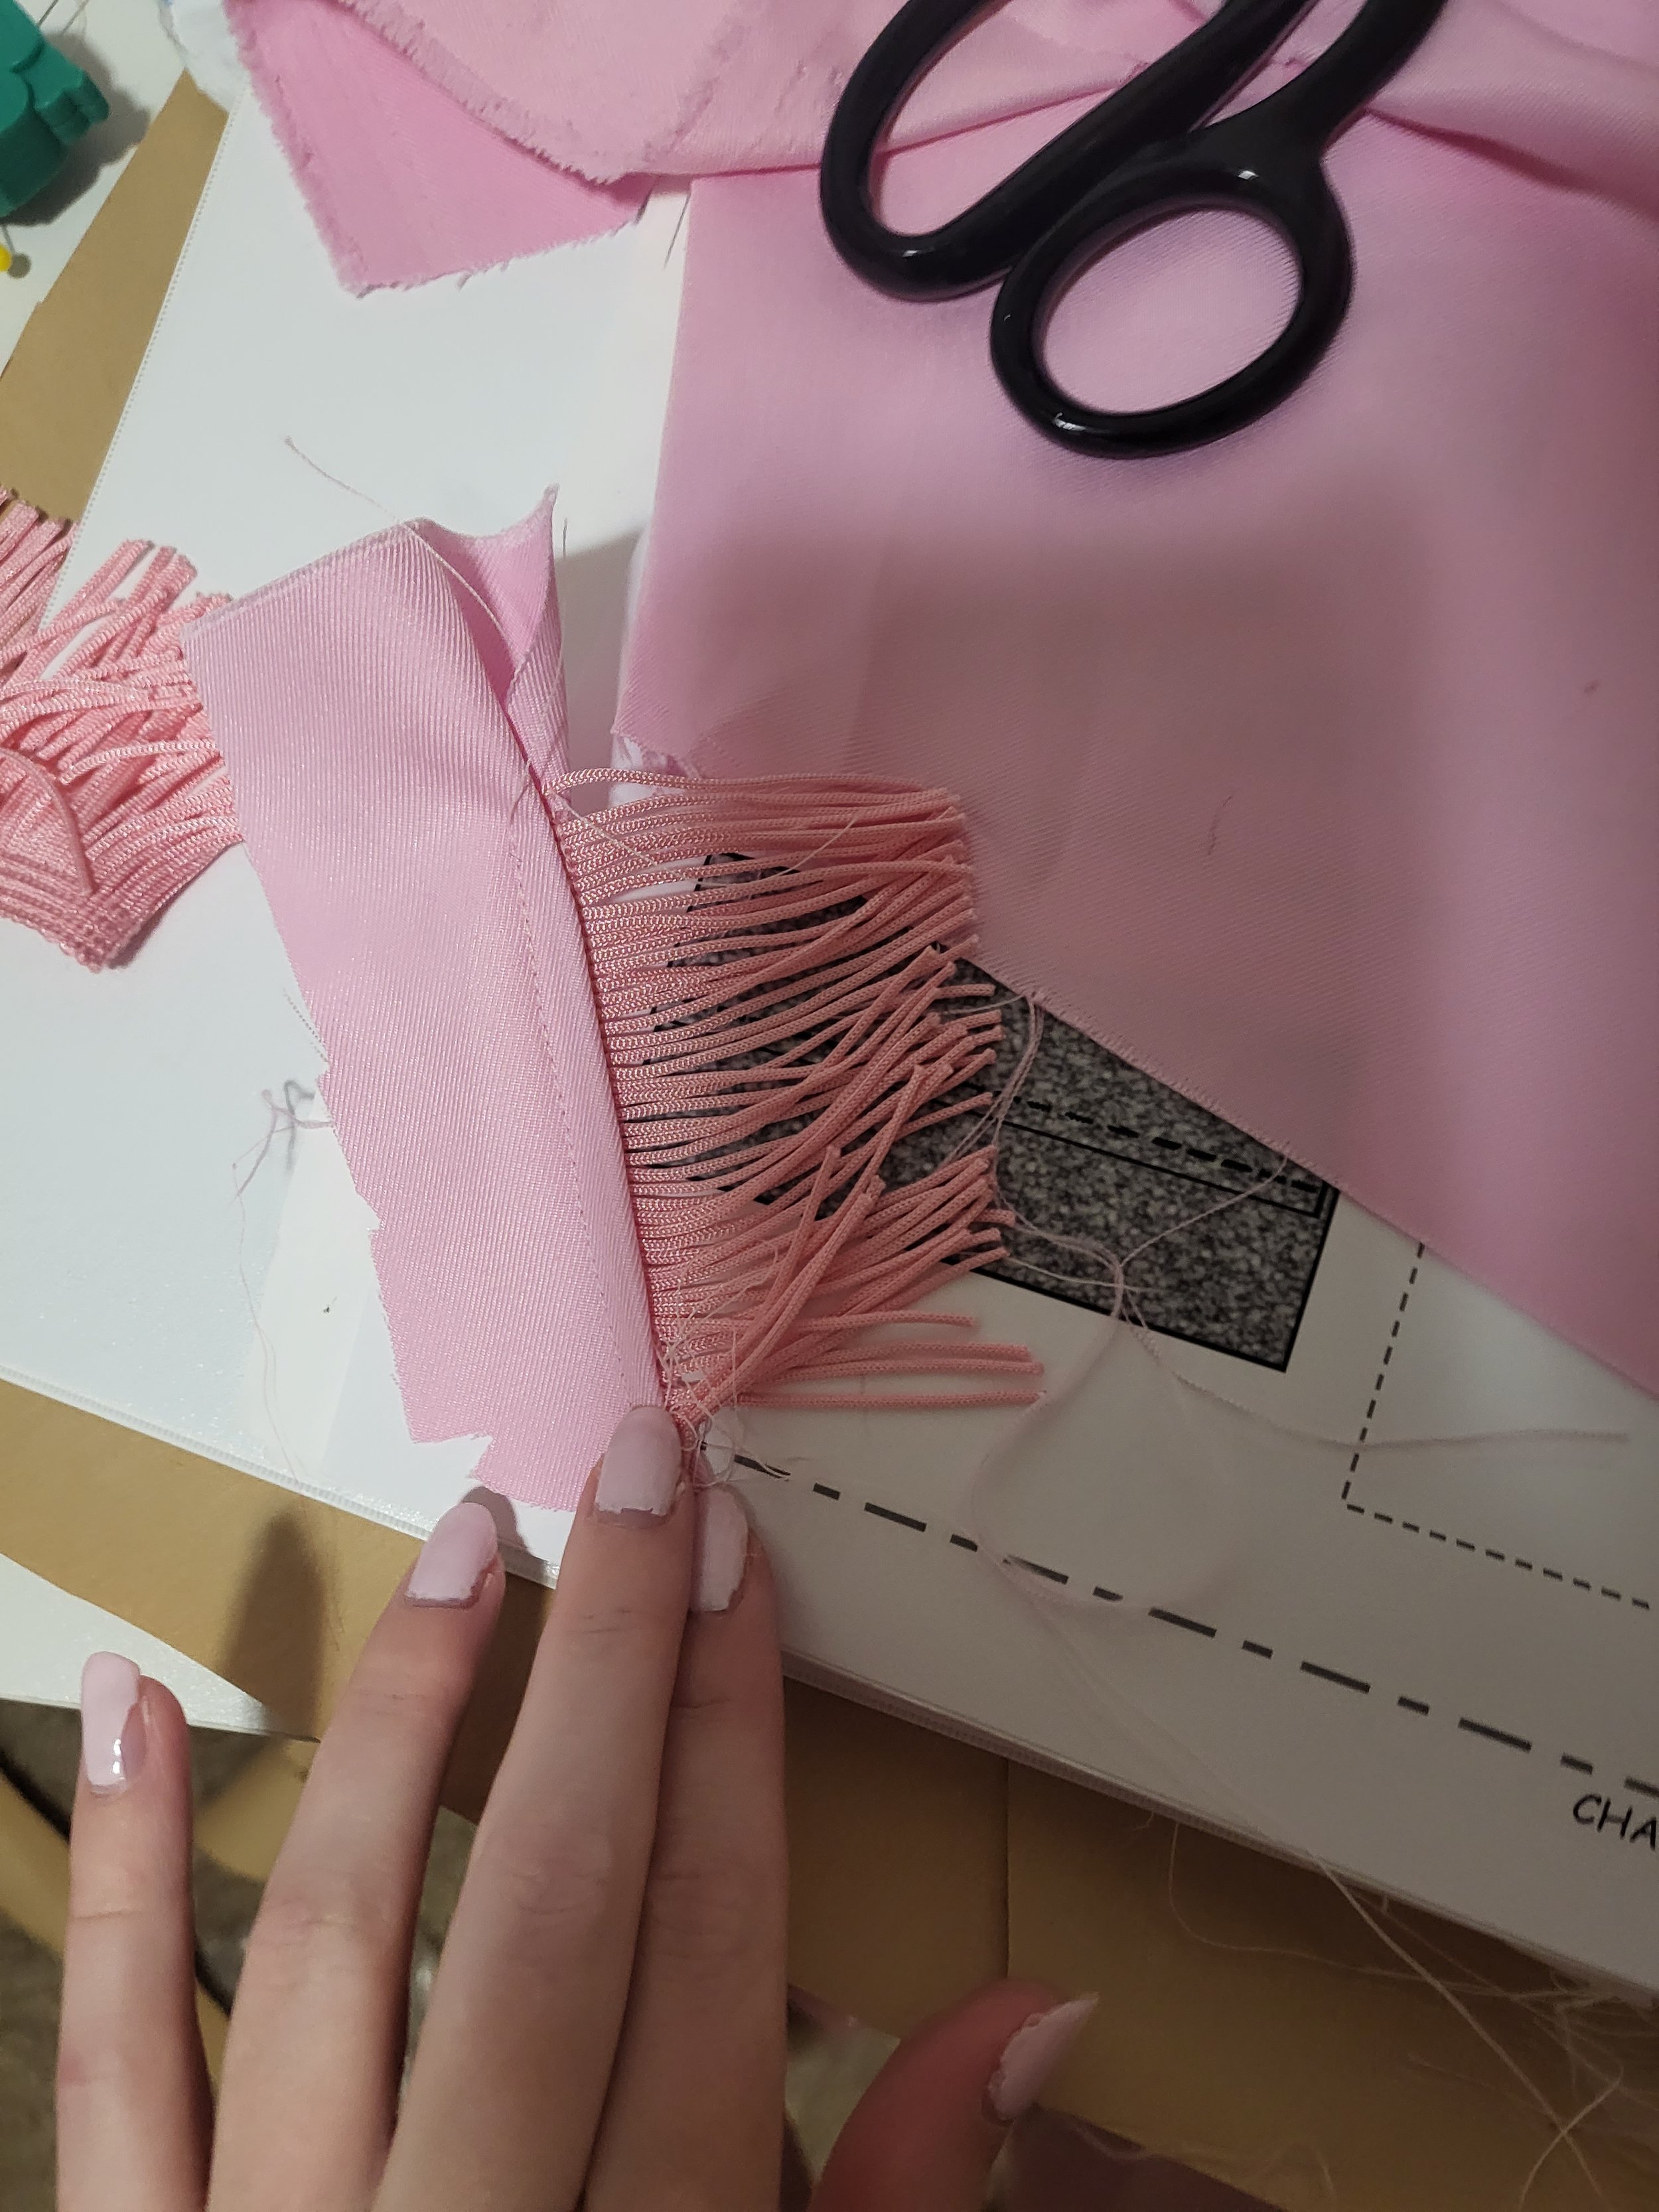
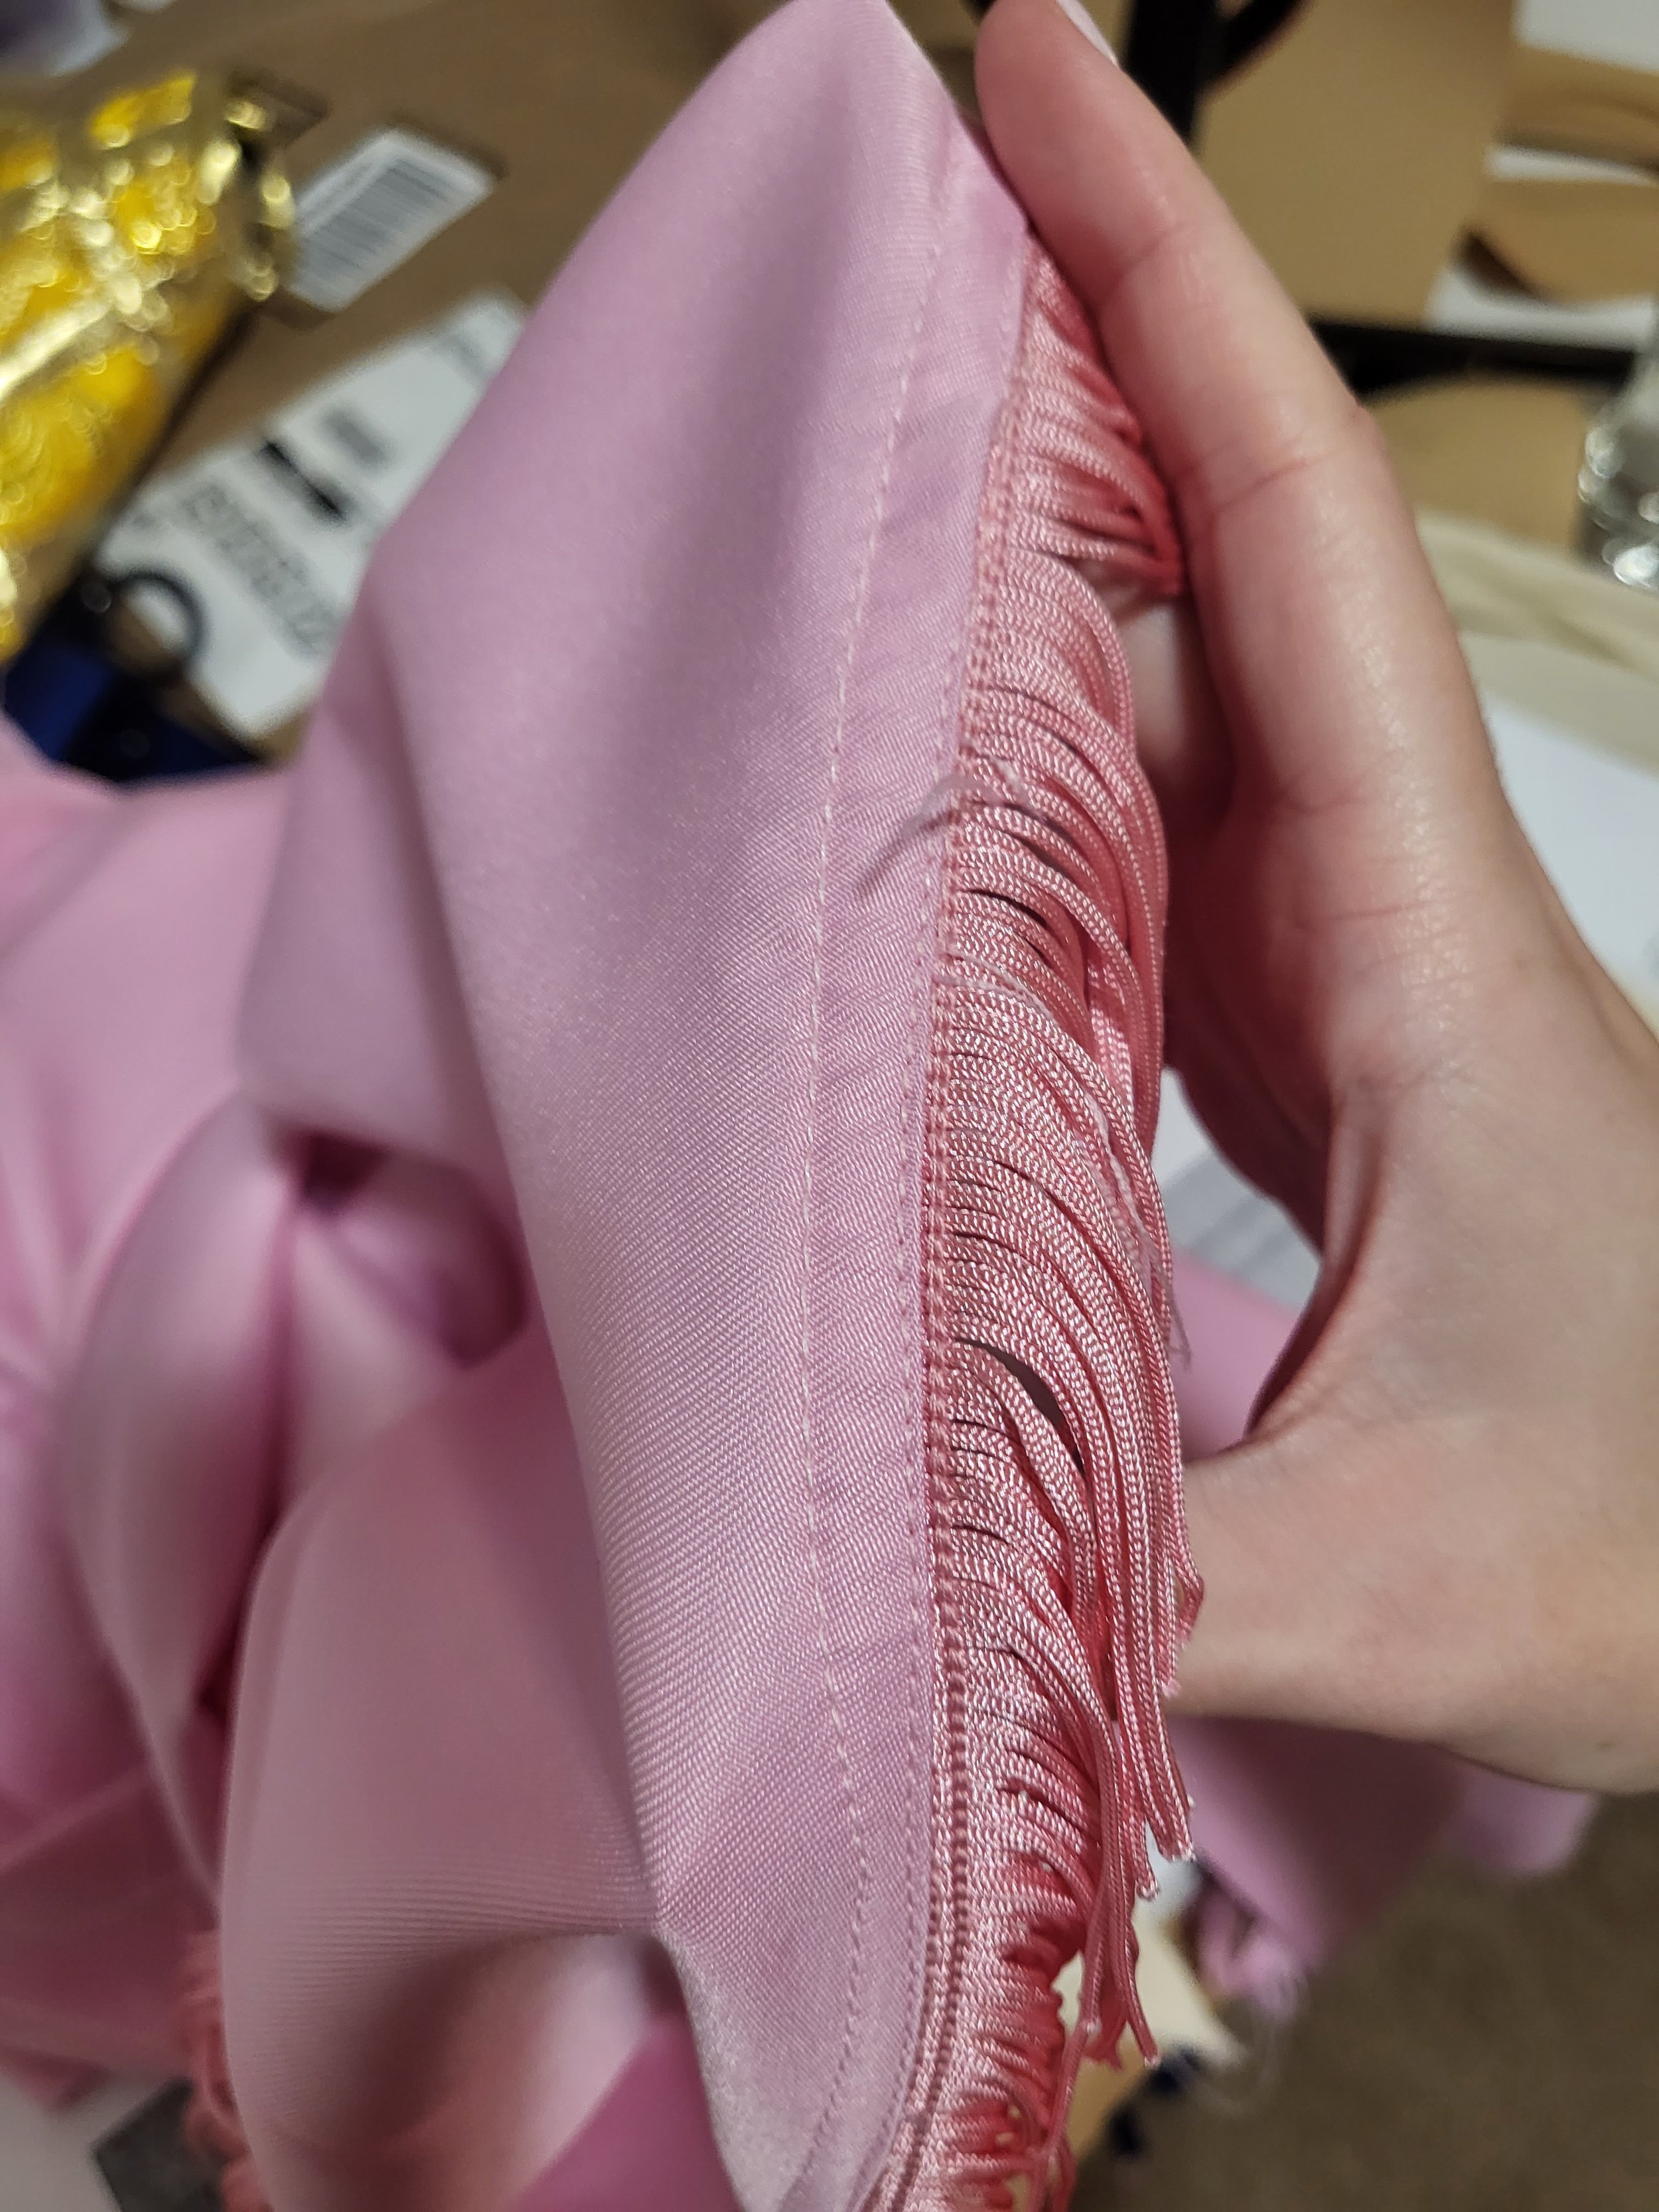
Following the patterns I made, I sewed the pieces together of the pink twill. The biggest challenge between these pieces was actually the fringe though. I managed a pseudo-flat line seam that looked clean on both sides since the inside of the cape is visible. This perfectly concealed the top of the fringe so it was a clean final look.